
I need A Re-do

Give your old, uninspired furniture the life you never had.
Down but not out
For about two years now I’ve been storing this old, beat up end table. This table came into my possession when I bought my kitchen table and chairs at a garage sale for $50. The seller threw in this end table and said that he planned to refinish it but never got around to it. Well, sir, I too know what it’s like to give up on something. And I almost gave up on this table too. But one day out of every month I actually feel ambitious and this table finally found it’s way into my shop. For this upcycling project I painted the base and I built a new top using scrap materials I had laying around. I am planning on using the old top for a different project. In about two days of work I then proceeded to build what is now the most feminine thing in my house, even more so than my female dog, who I actually believe is gender fluid. She’s still finding herself.
Stripping is the first step
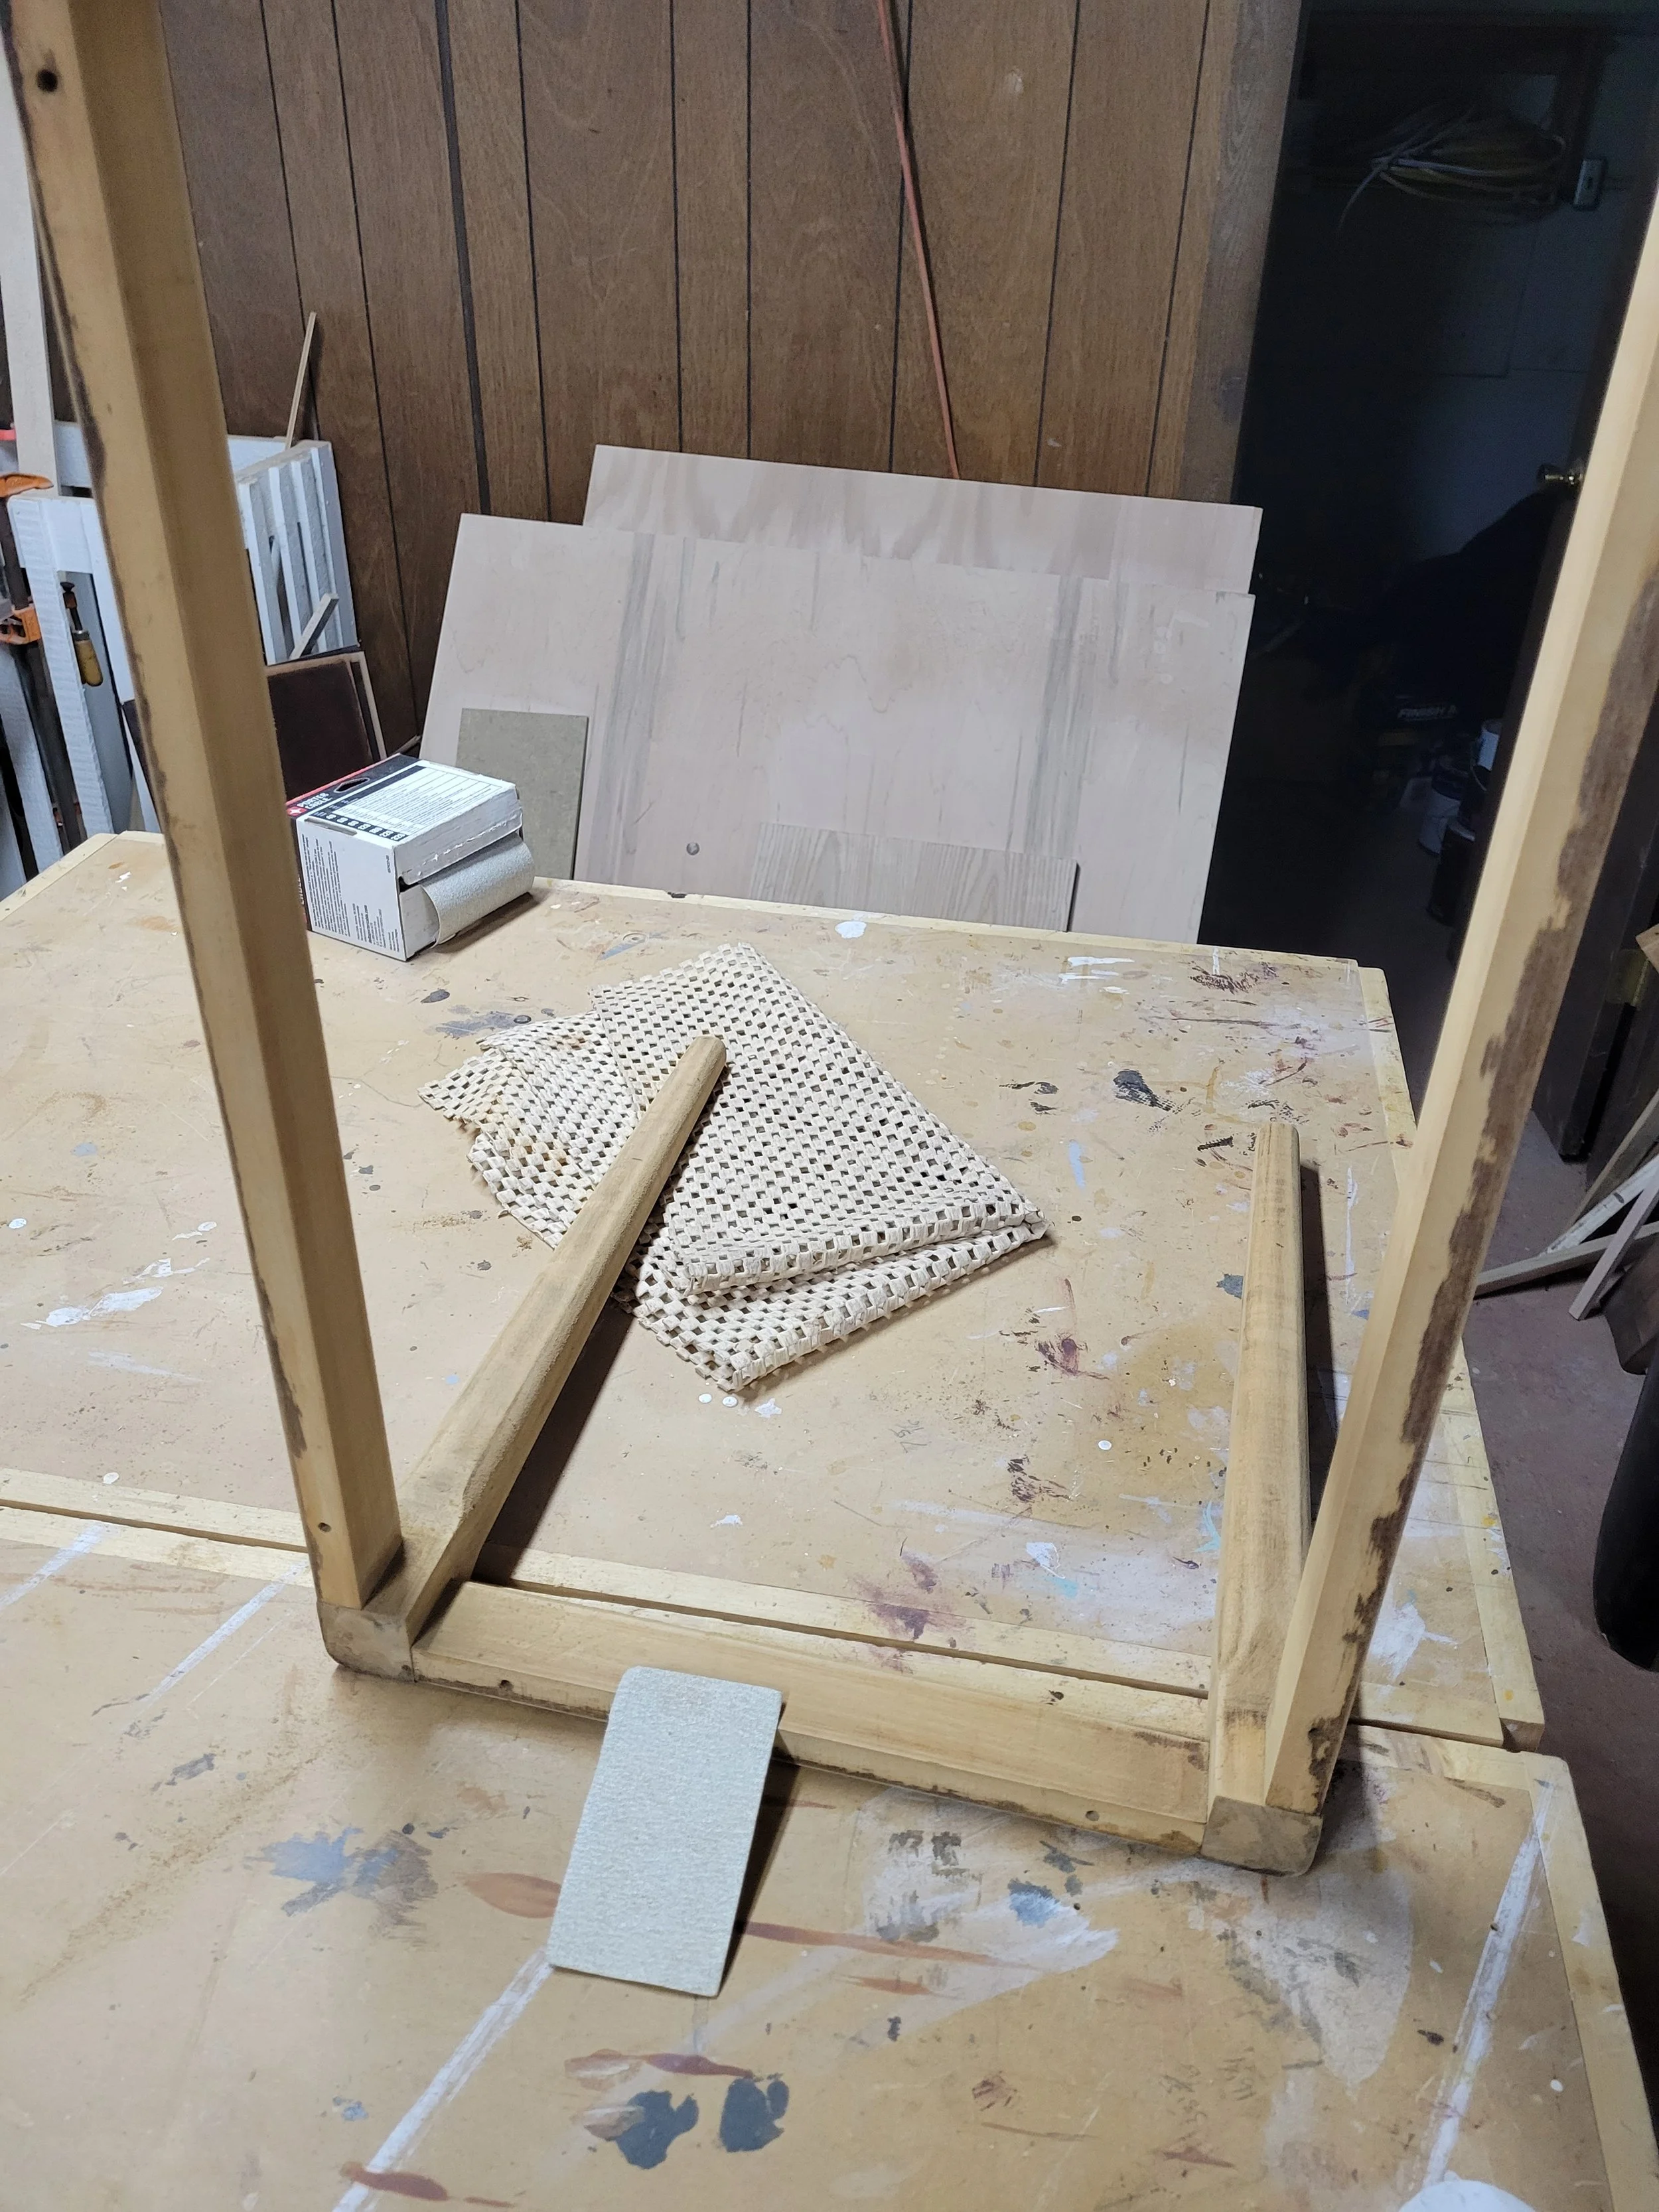
I planned to paint the base. So after I took the top off I needed to remove the finish that was already on the wood. You can do this a couple of ways, either using chemicals, or the old fashioned way of rubbing it out with your hands and sandpaper. There wasn’t much wood and my forearms are much trained for this task, so I opted to use 80 grit sandpaper and sand off the finish. I then went through and sanded with 150 grit and 220 to get a smooth surface for the paint.

I noticed during my violent forearm exercise that the joints were a little loose. I decided to add some security by using my pocket hole jig to put in some screws and help tighten things up.
Top Shopping
There were many options for a top for this. I chose to make a new one rather than just the paint the old one. I decided to make a top out of Hickory flooring that I had left over from a bar I had built. I made it the same the way I had built the bar. I used some scrap plywood I had for a base which I would lay the flooring over. I also made a frame around the flooring to hide the edges. I built this frame out of maple strips that I had reclaimed from an old couch I had deconstructed. I used maple because I planned on painting the frame. Maple is one of the best woods to paint because it has a very tight grain, which means the grain won’t show through the paint like an open grain wood, such as Oak.
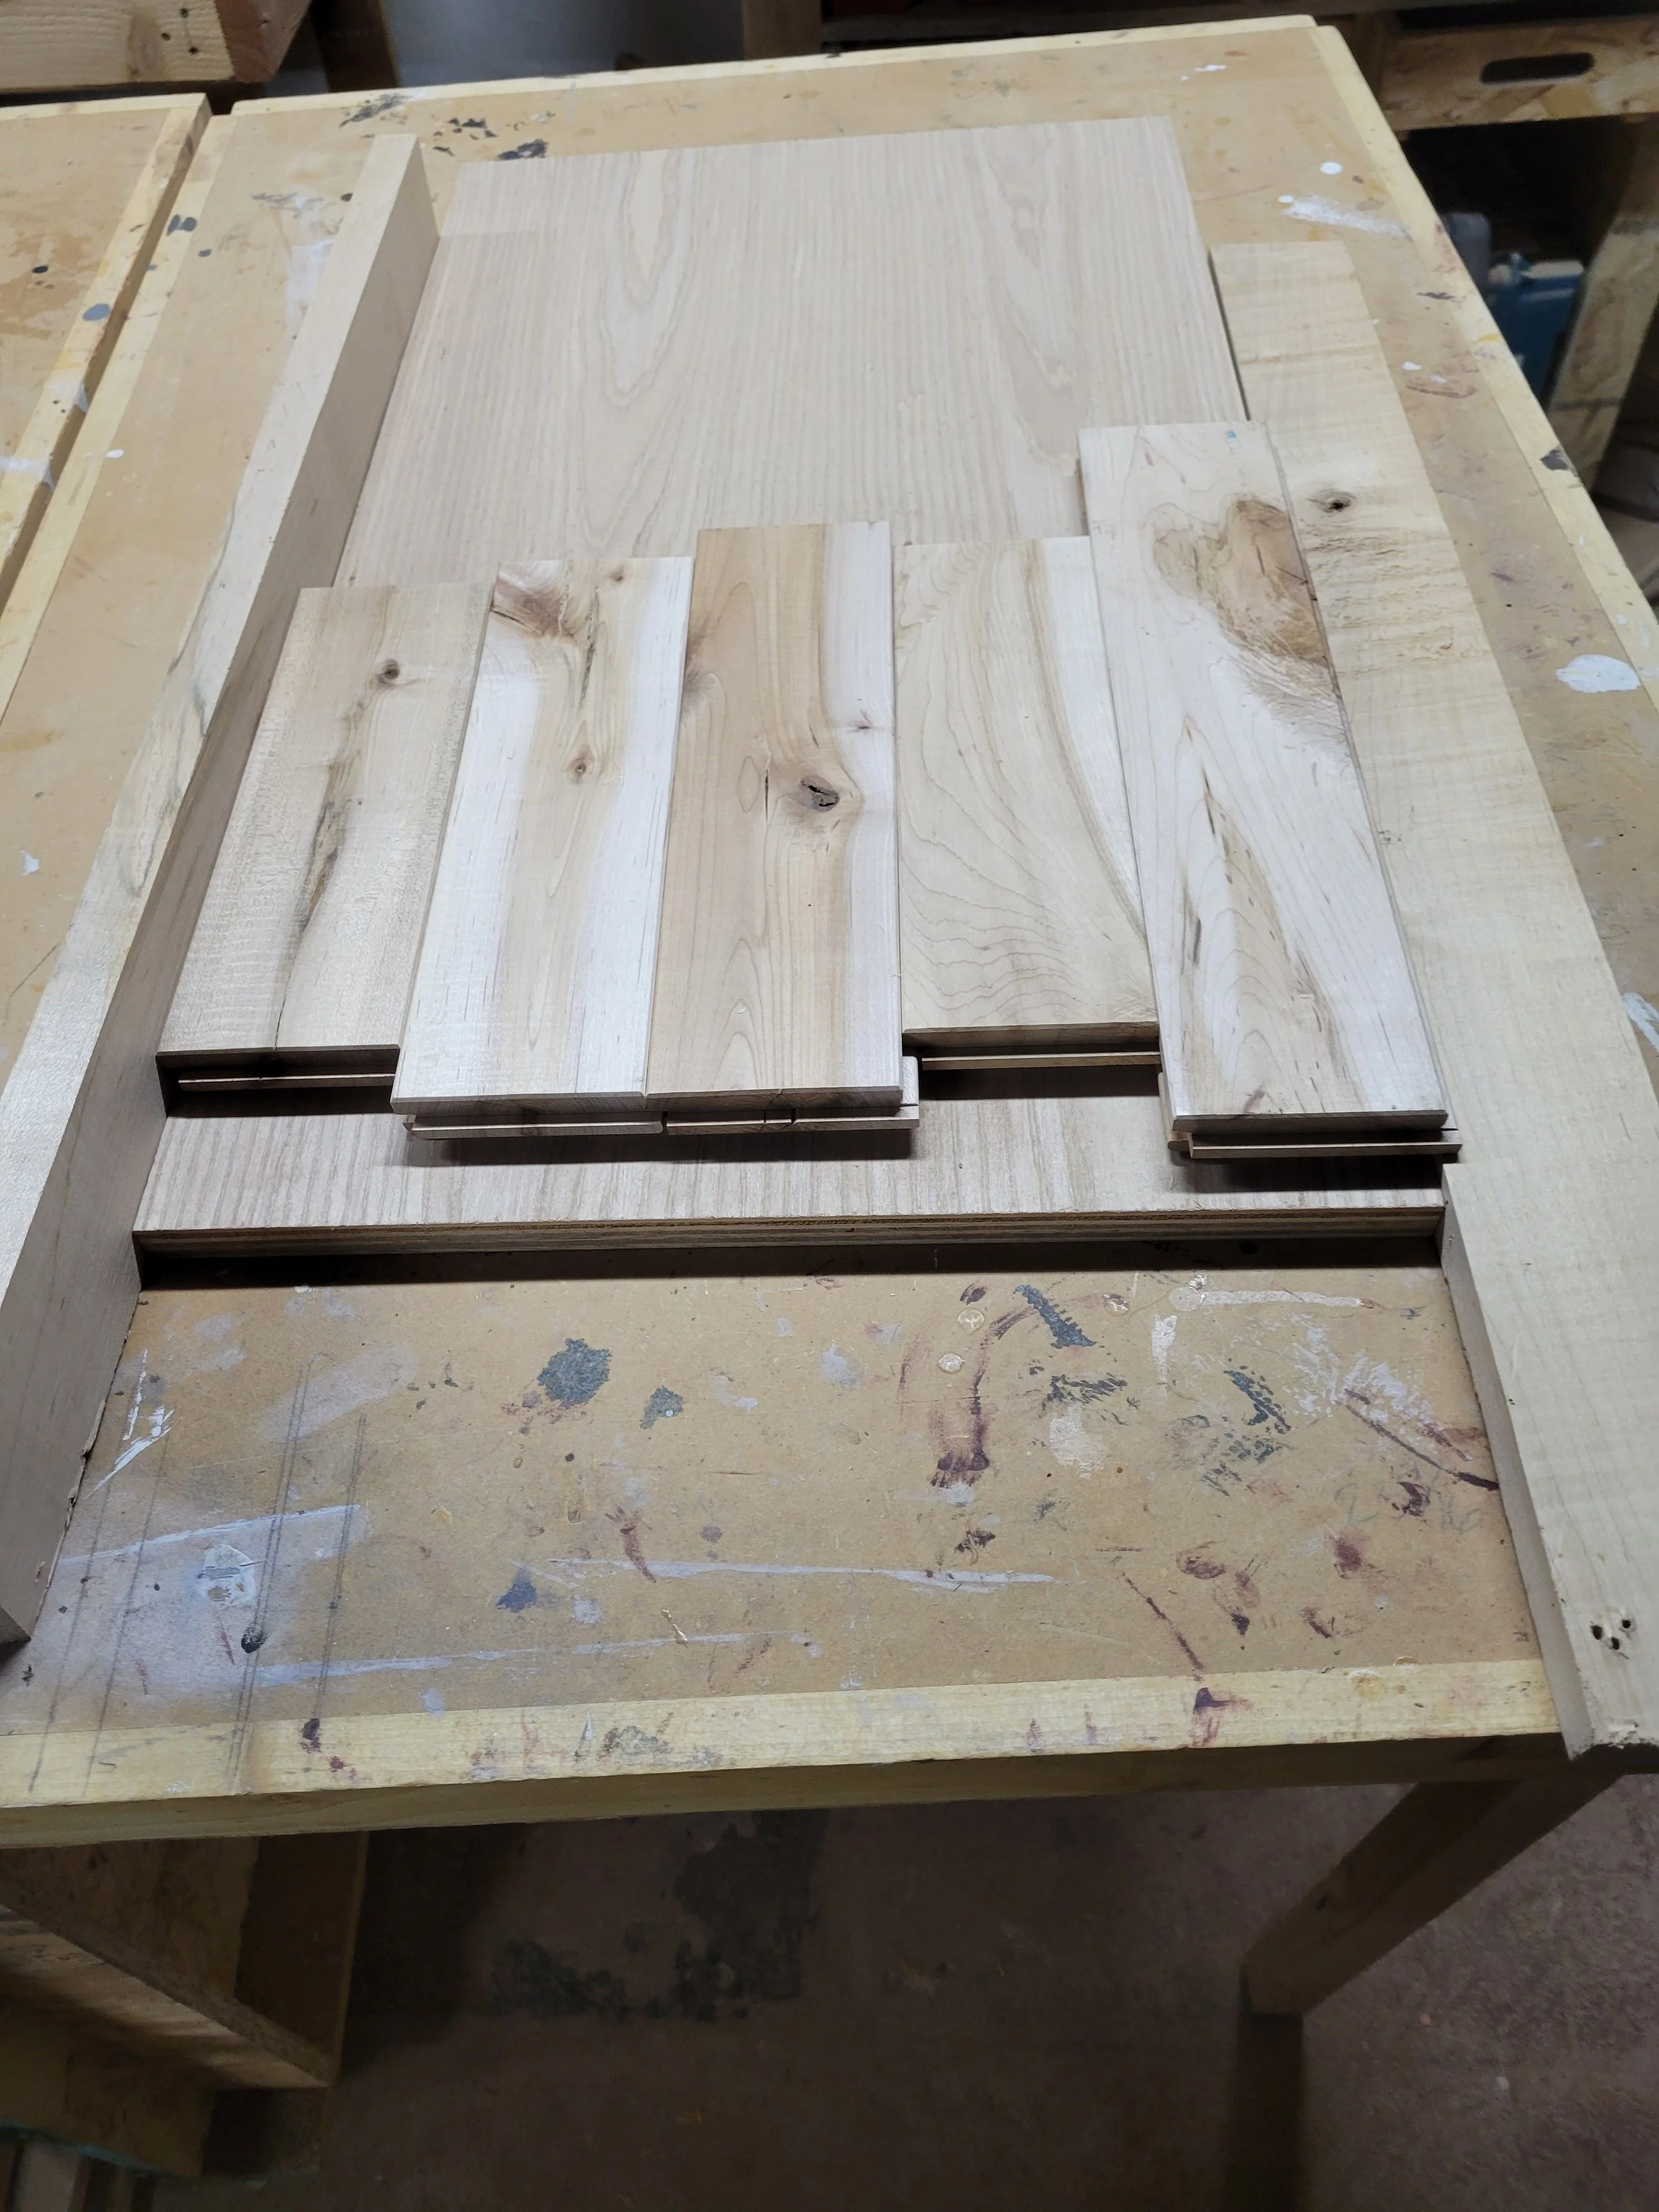
I had a piece of plywood that was almost the same size as the original top. The only cut I had to make was to match the width of the flooring I was going to use. I found that 5 rows of flooring was very close to the width of the original top so I cut the plywood to match that width.
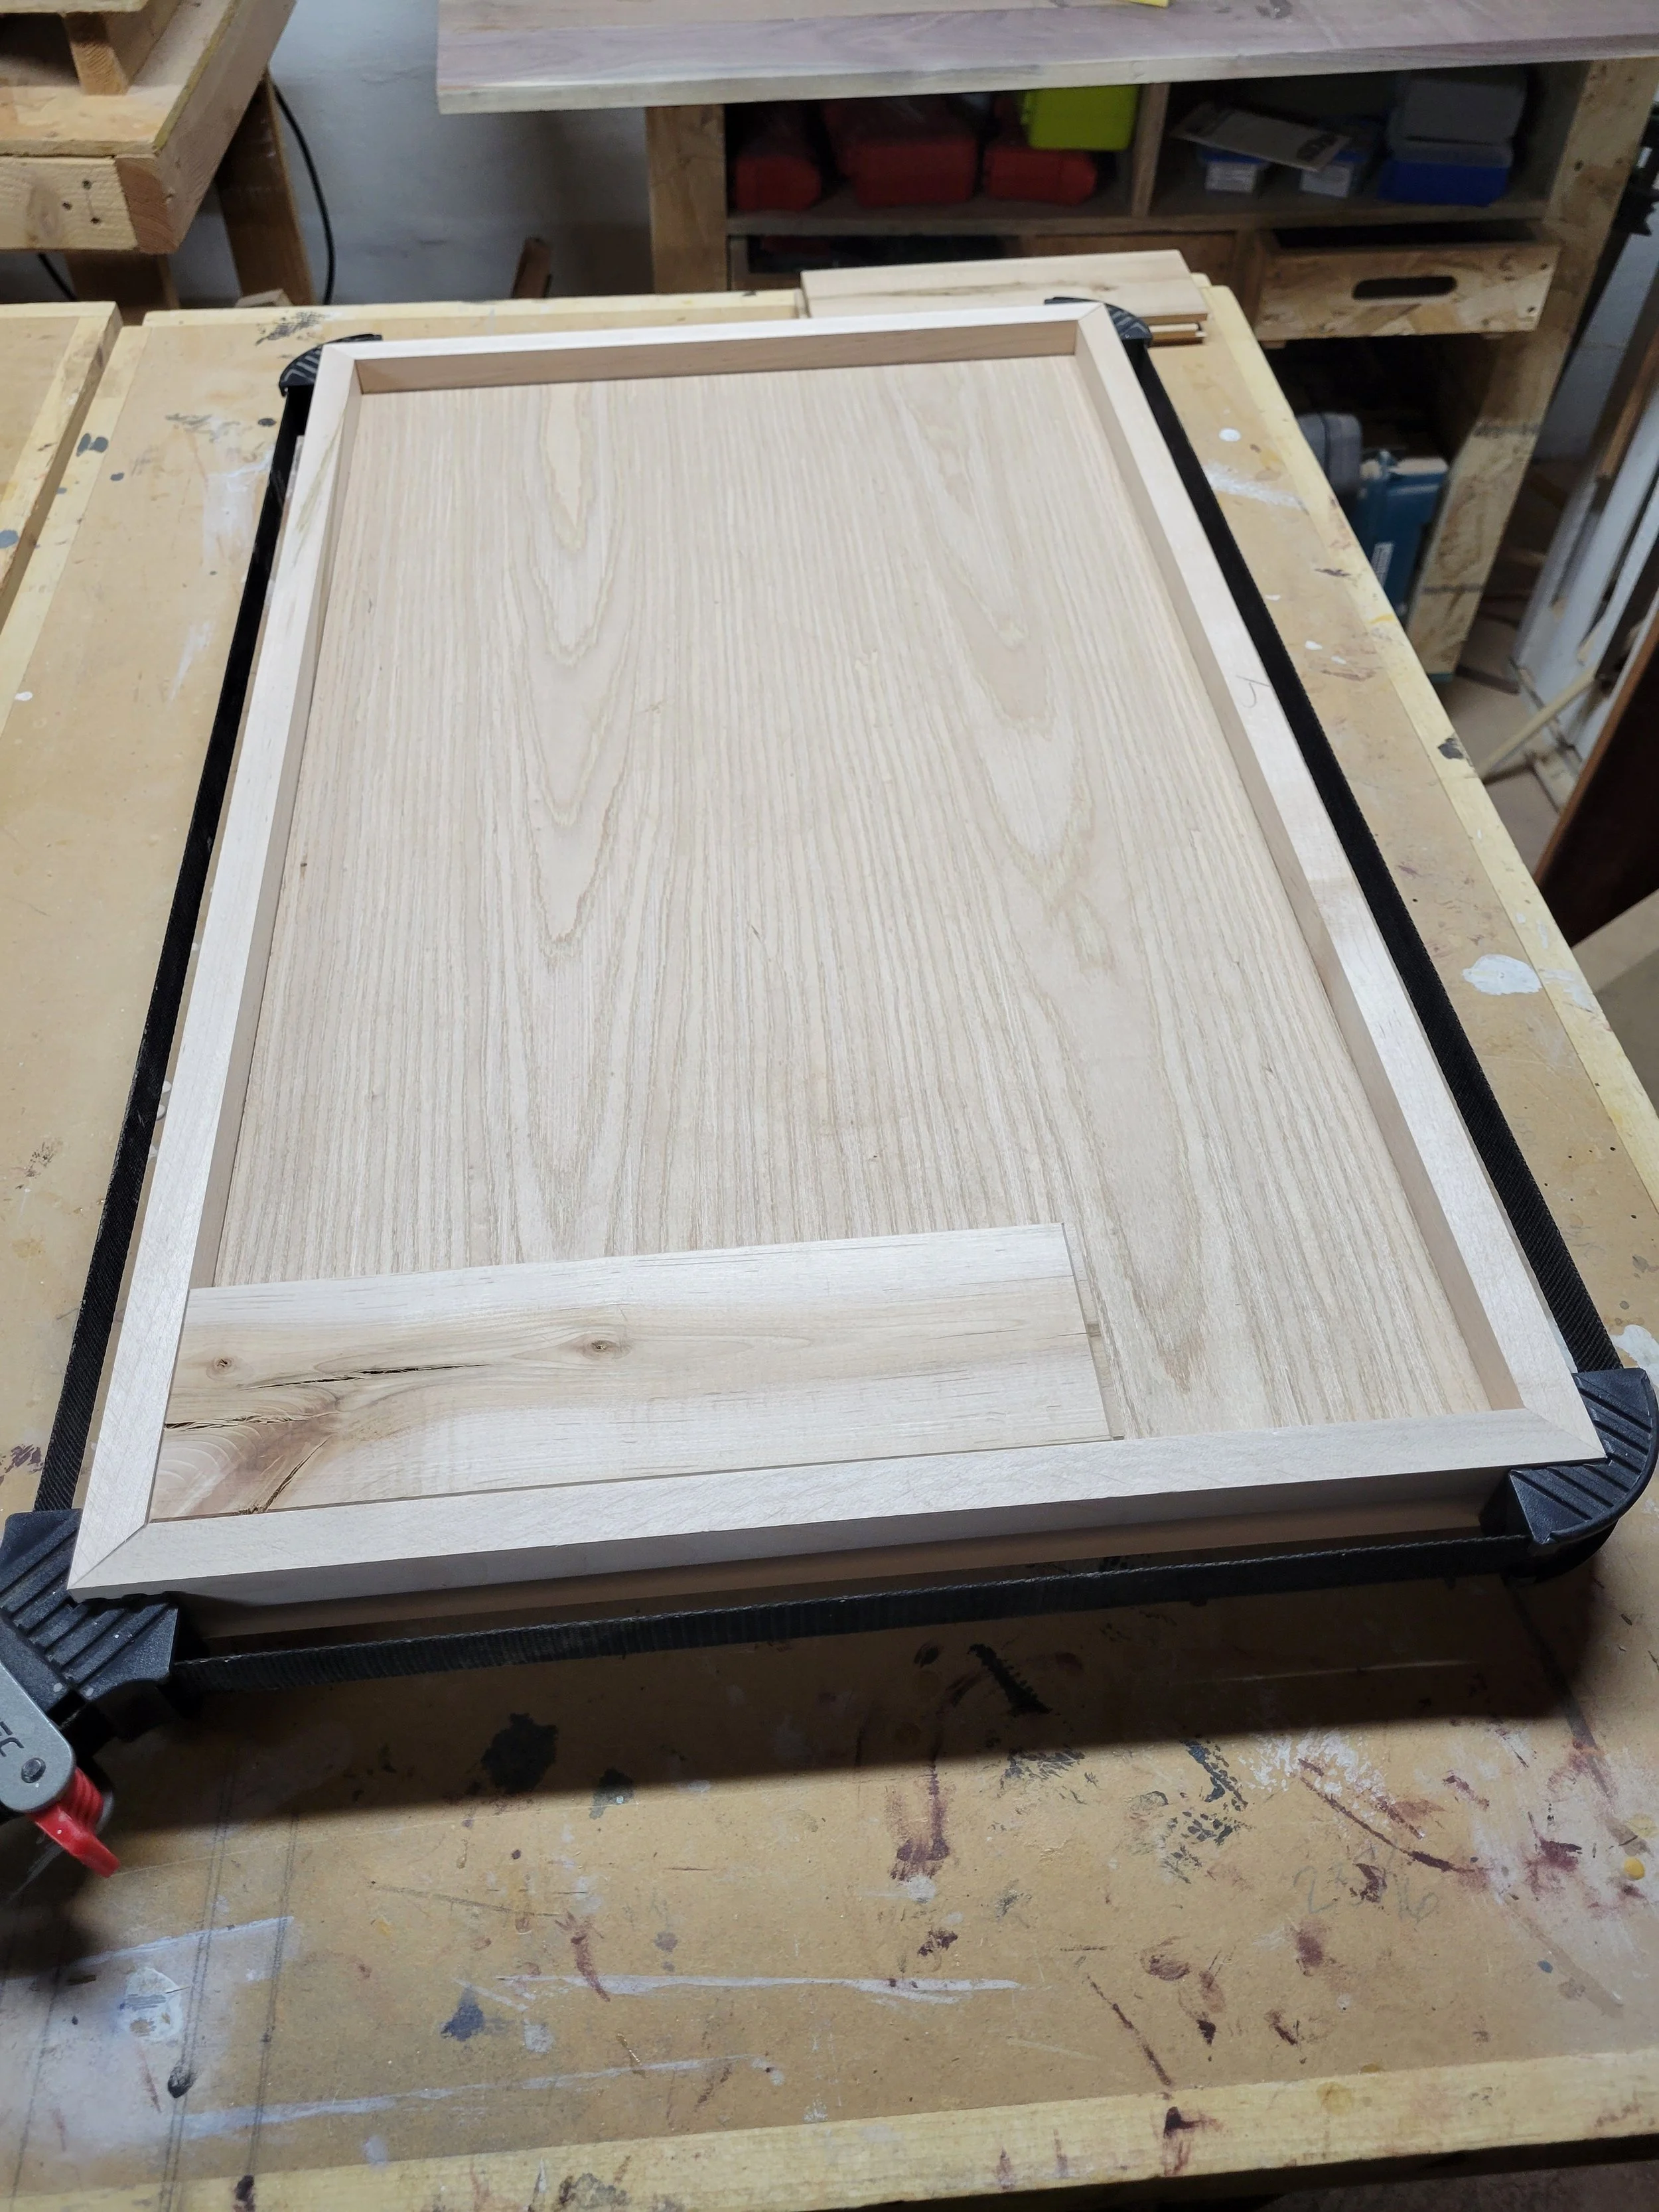
I then ripped the 3/4 thick Maple strips I had to equal the the thickness of the base plus flooring, which came out to 1.5”. I cut miters on each end to get nice tight joints. I then glued and clamped the strips around the plywood base. I also used some finish nails to help secure the frame to the base, which I would then cover with putty before painting.
When it was all done I immediately punished myself because I forgot that I was going to need to remove the frame. I forgot that I was planning on painting the frame and finishing the flooring with a clear coat, and so I wanted them to be separated for this task. But when half your life is fixing your own fuck ups, you get pretty good at it and I found a way to solve this dilemma.
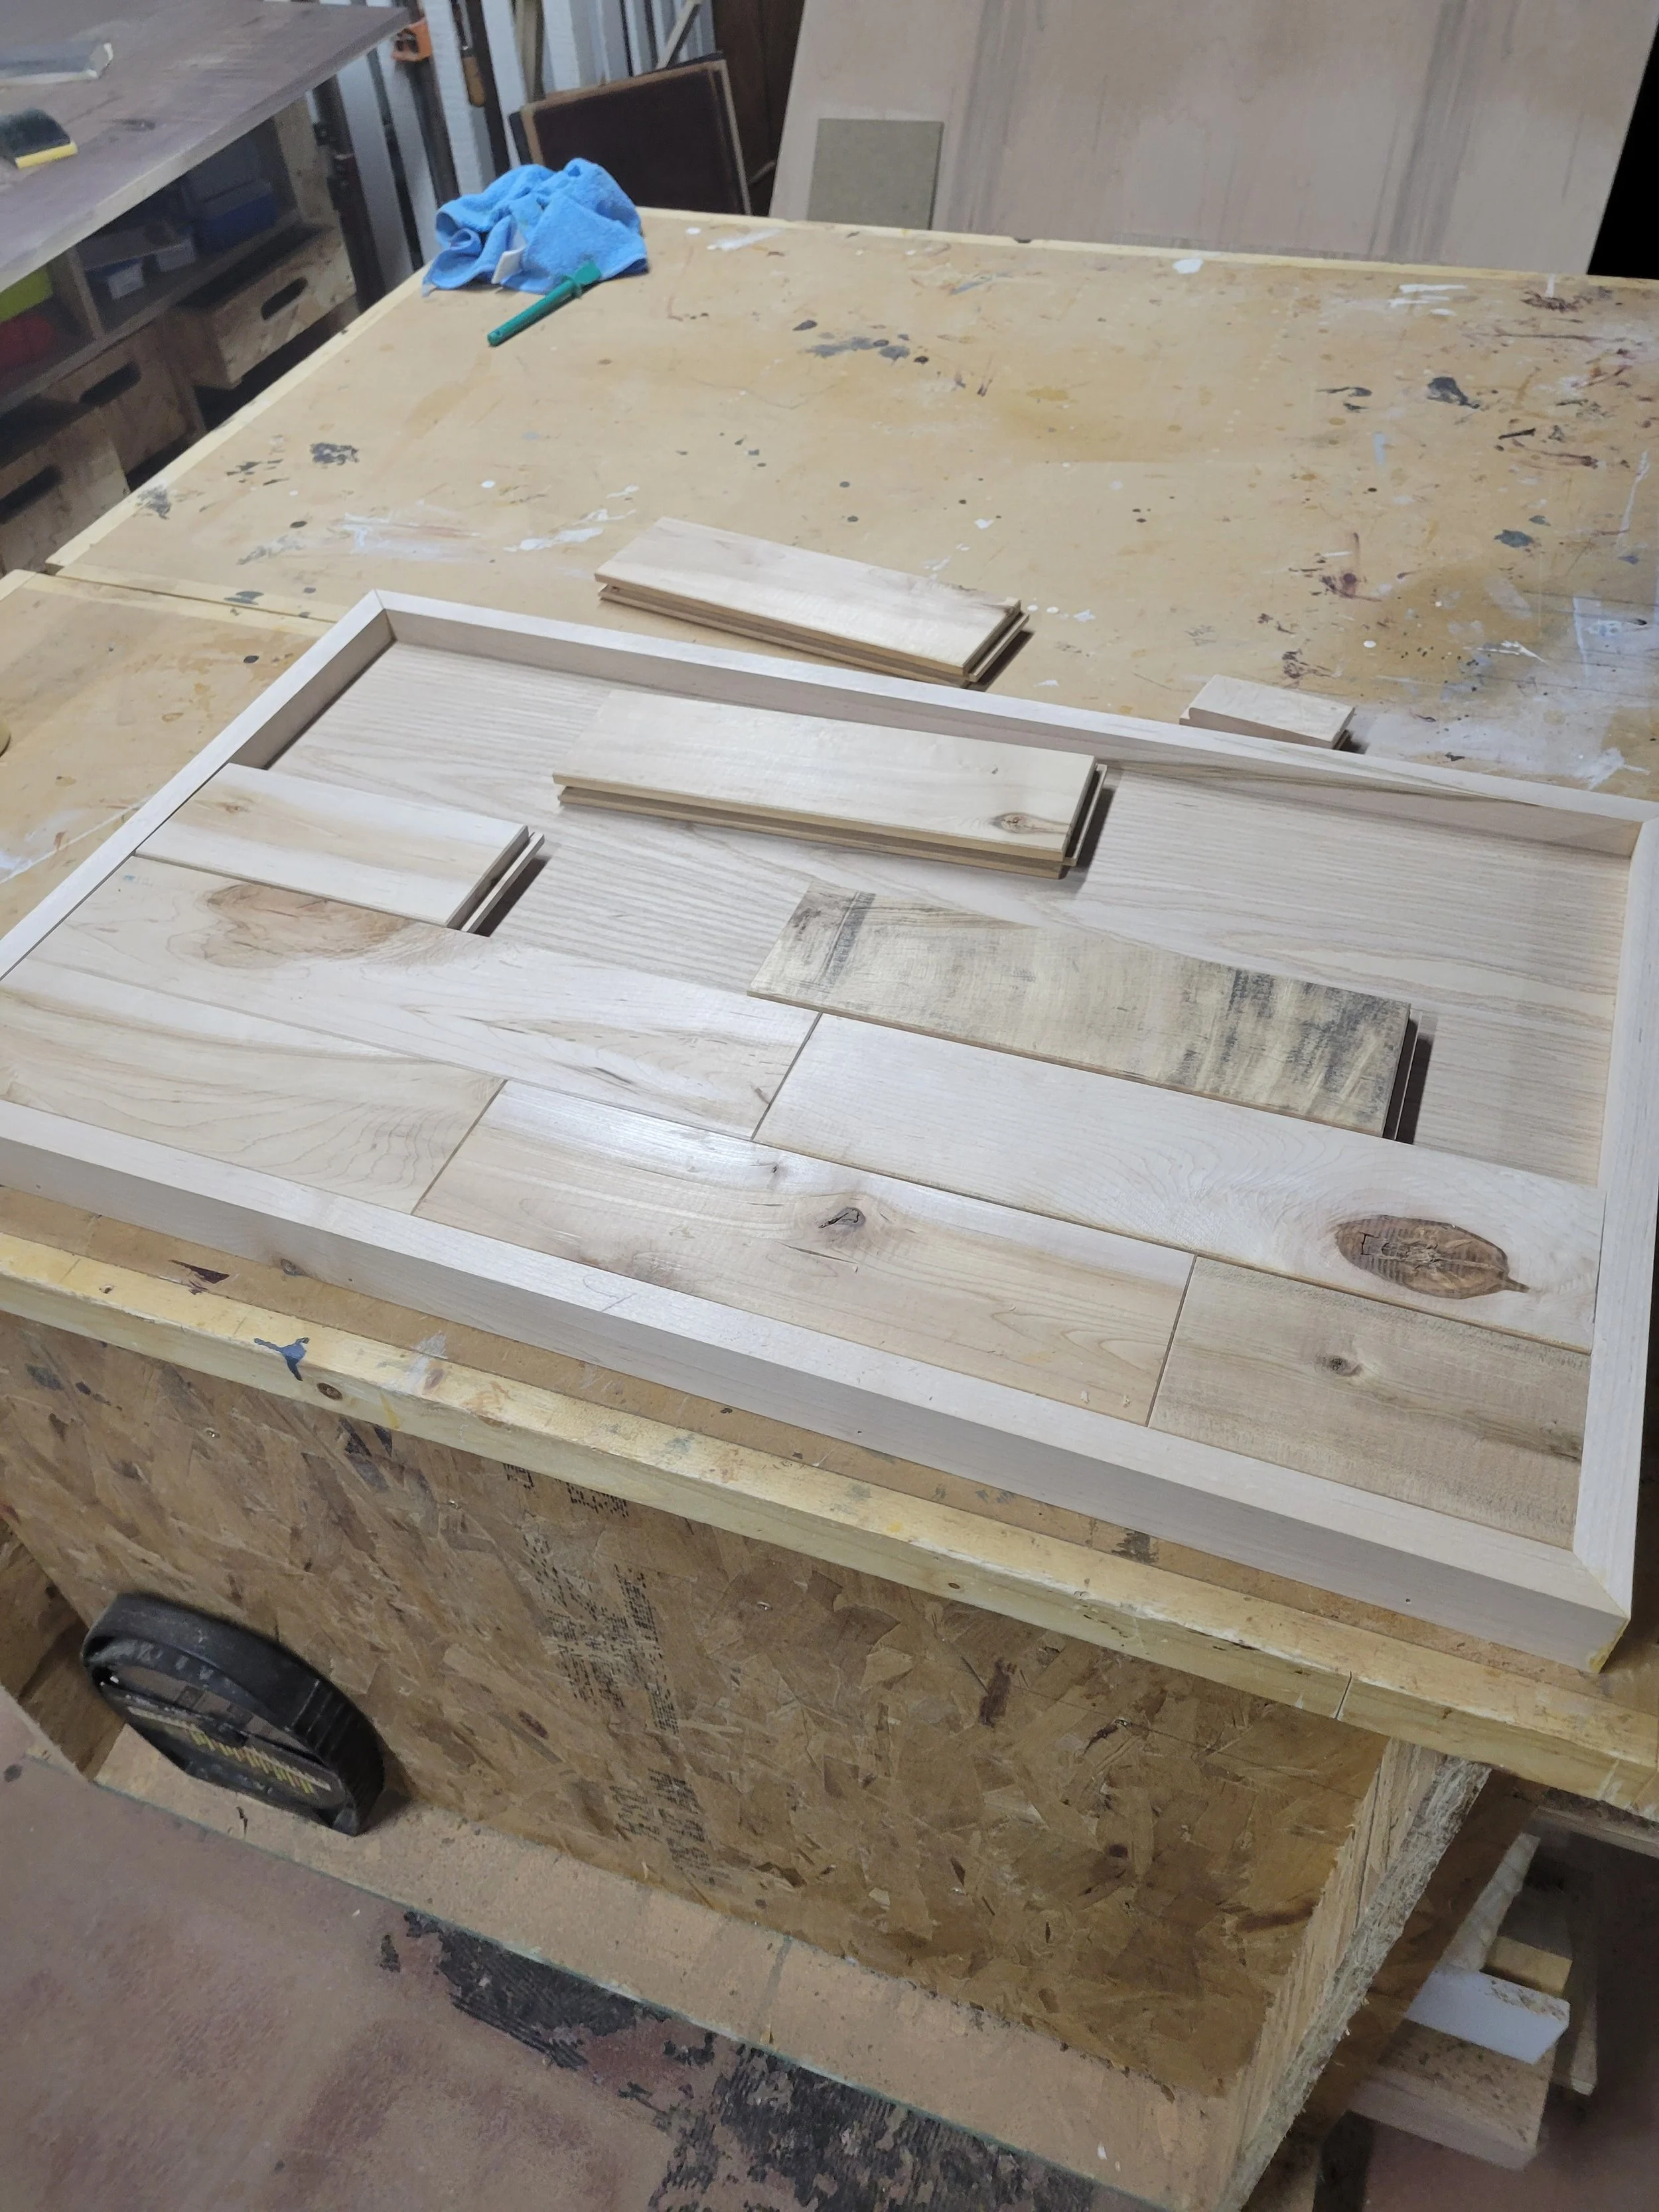
I laid the flooring down like it was a very small floor. The flooring was tongue and groove so everything fit snugly together. I did not attach it to anything yet because I was planning on removing it.
After this was done, I then sanded the top starting at 80 grit and working my way up to 220 grit. Once this was done I removed the flooring from the top. The tongue and groove fits so tightly that it acts as one piece. In order to remove the top I had to drill two holes in the bottom and push the top out of the bottom. This wouldn’t have been an issue if I wouldn’t have attached the frame. But with a couple of holes and a couple of fingers, most problems can be solved.
Spray and pray
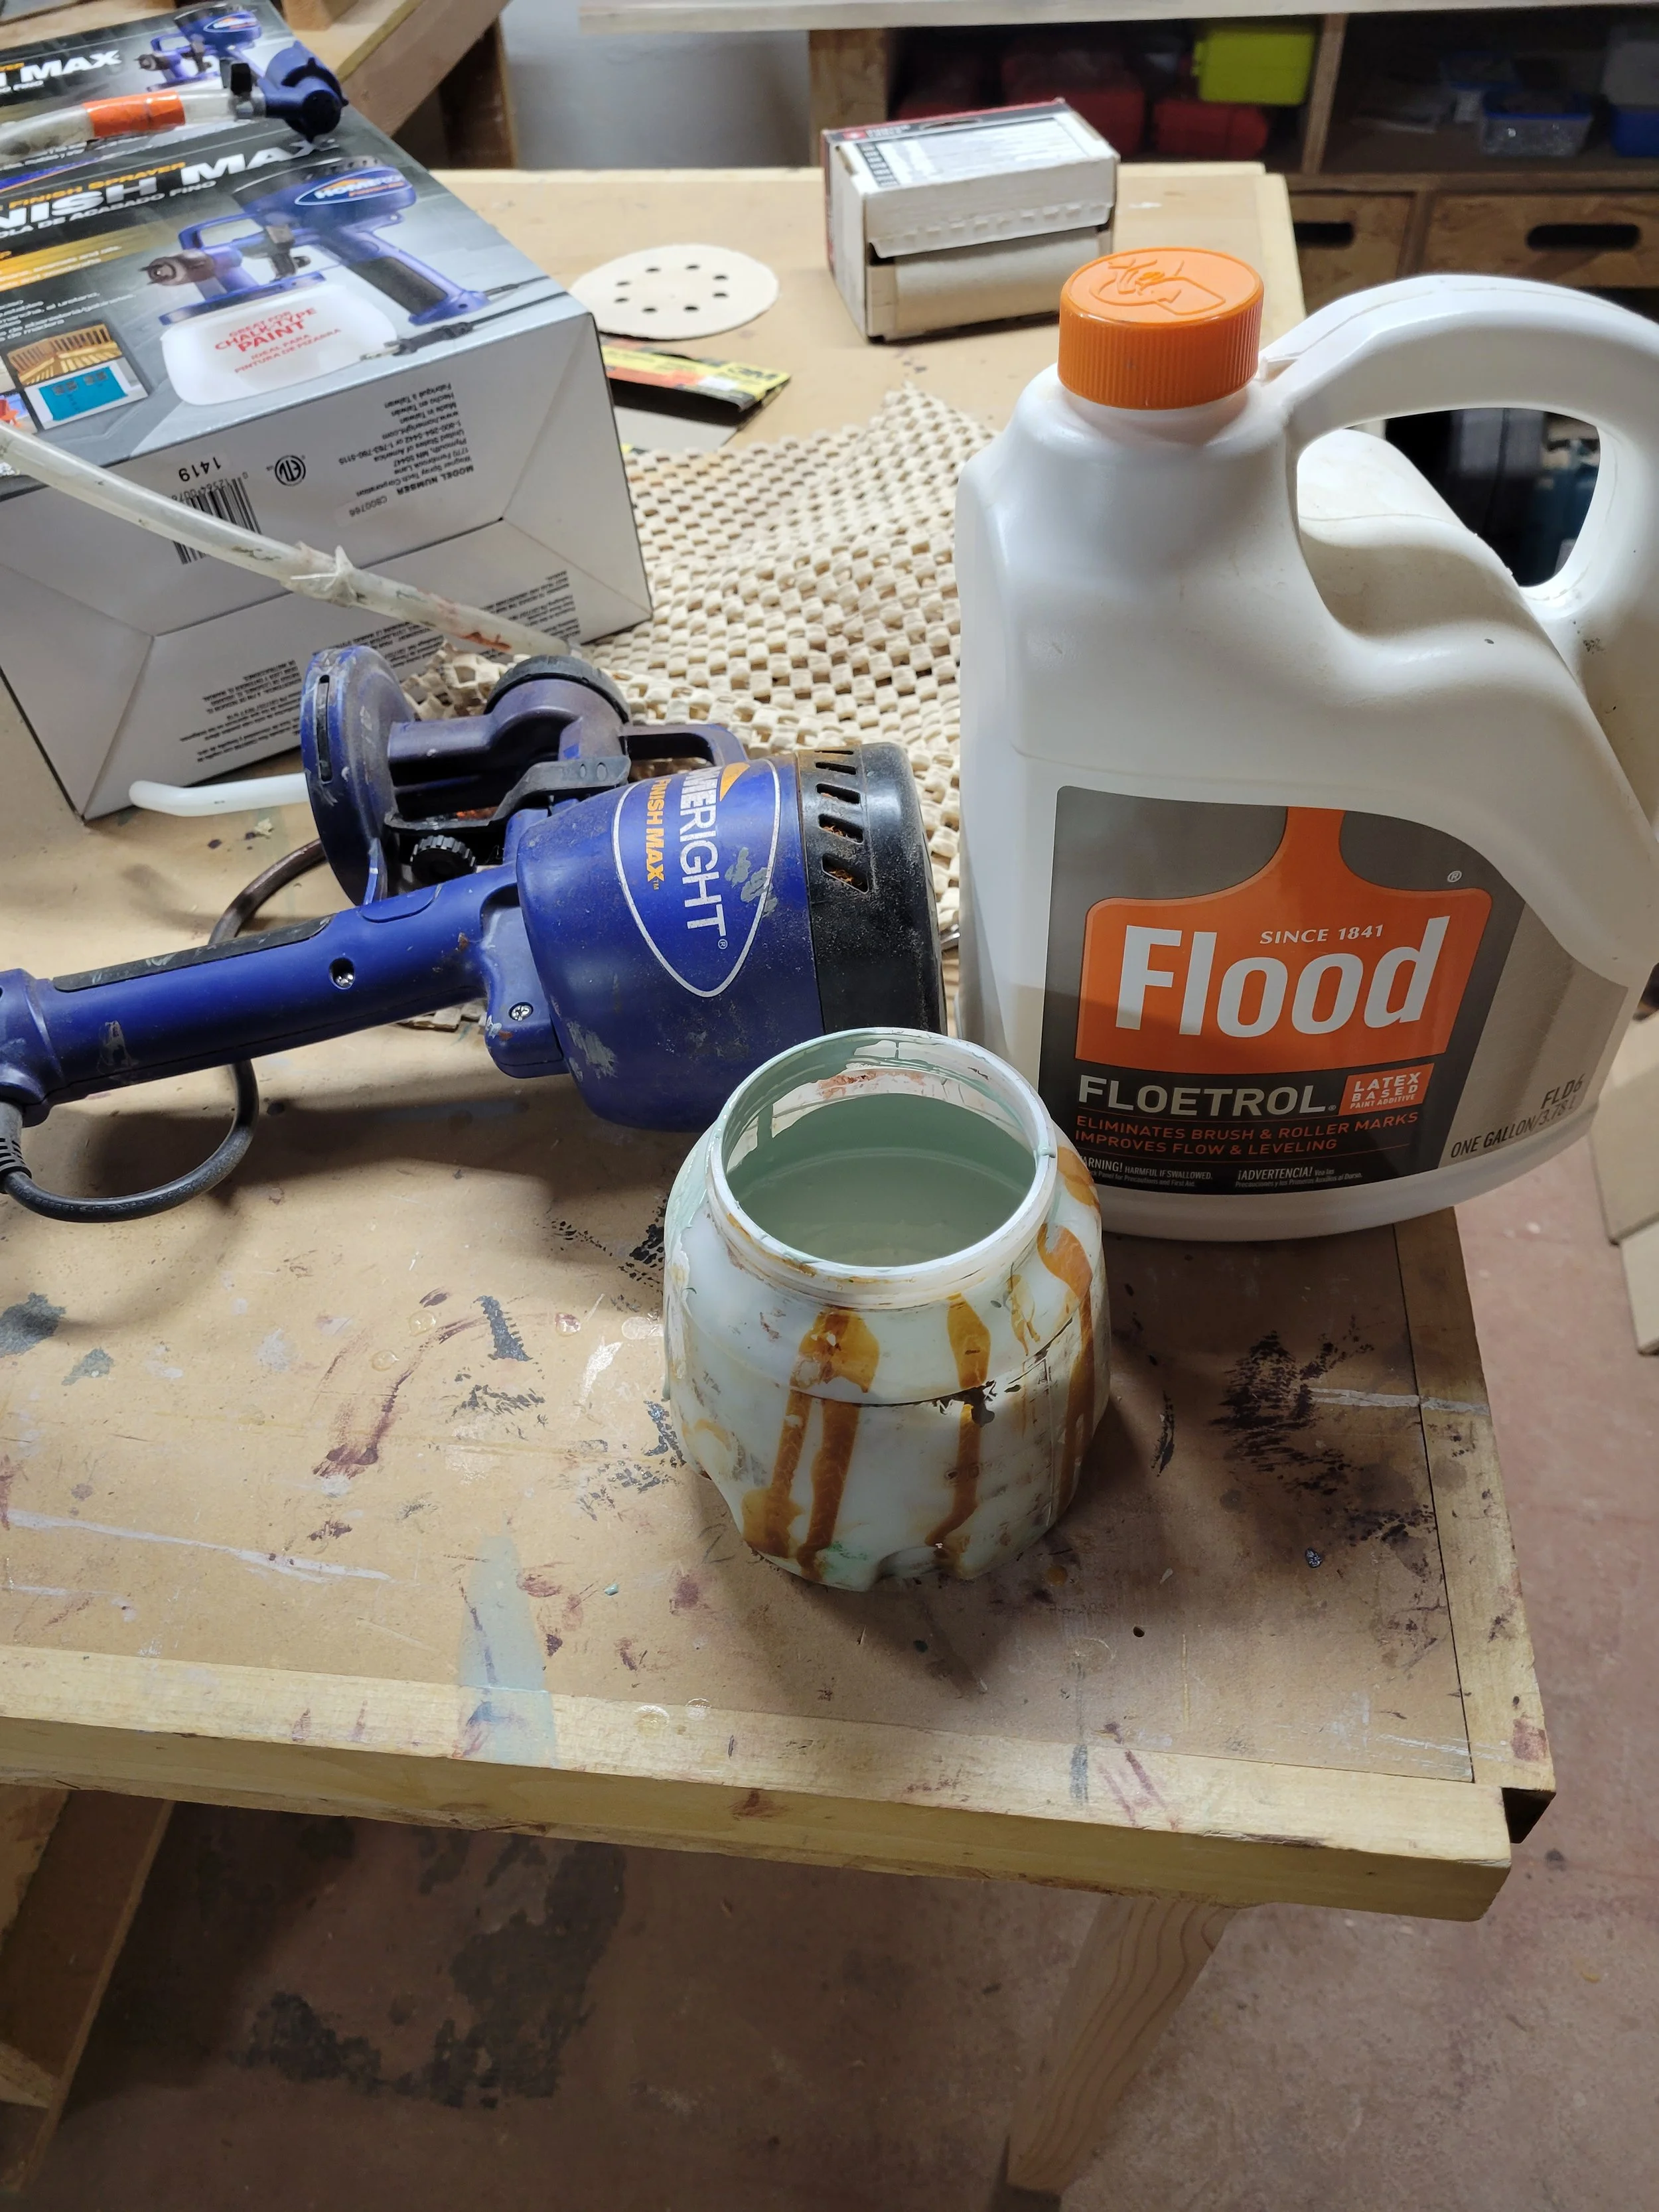
I have around 20 sample sizes of paint from various home remodeling projects. So I decided to use one of these for this project. I also decided that I was going to spray the paint on with a sprayer. The table had pretty narrow rounded legs and I know from previous experience that trying to brush paint on rounded surfaces is a headache. And spraying goes a lot quicker and provides a smoother finish than brushing. However, this may not be true if you don’t suck at painting like I do.
Paint by itself is often too thick for my sprayer so I used Floetrol to thin it out a little bit. On a side note I add Floetrol to all my paint, even if I’m brushing it because it helps smooth out brush strokes too. It really is one of my favorite chemicals.

I also set up spray tent in my garage to handle the overspray. I could have just sprayed outside but about a year ago I made an impulsive decision to buy the equivalent to a 2 person tent and now I have to get my money’s worth.
I sprayed 2 coats of paint on the base and the frame of the top. I very lightly sanded between the coats to make sure everything was completely smooth.
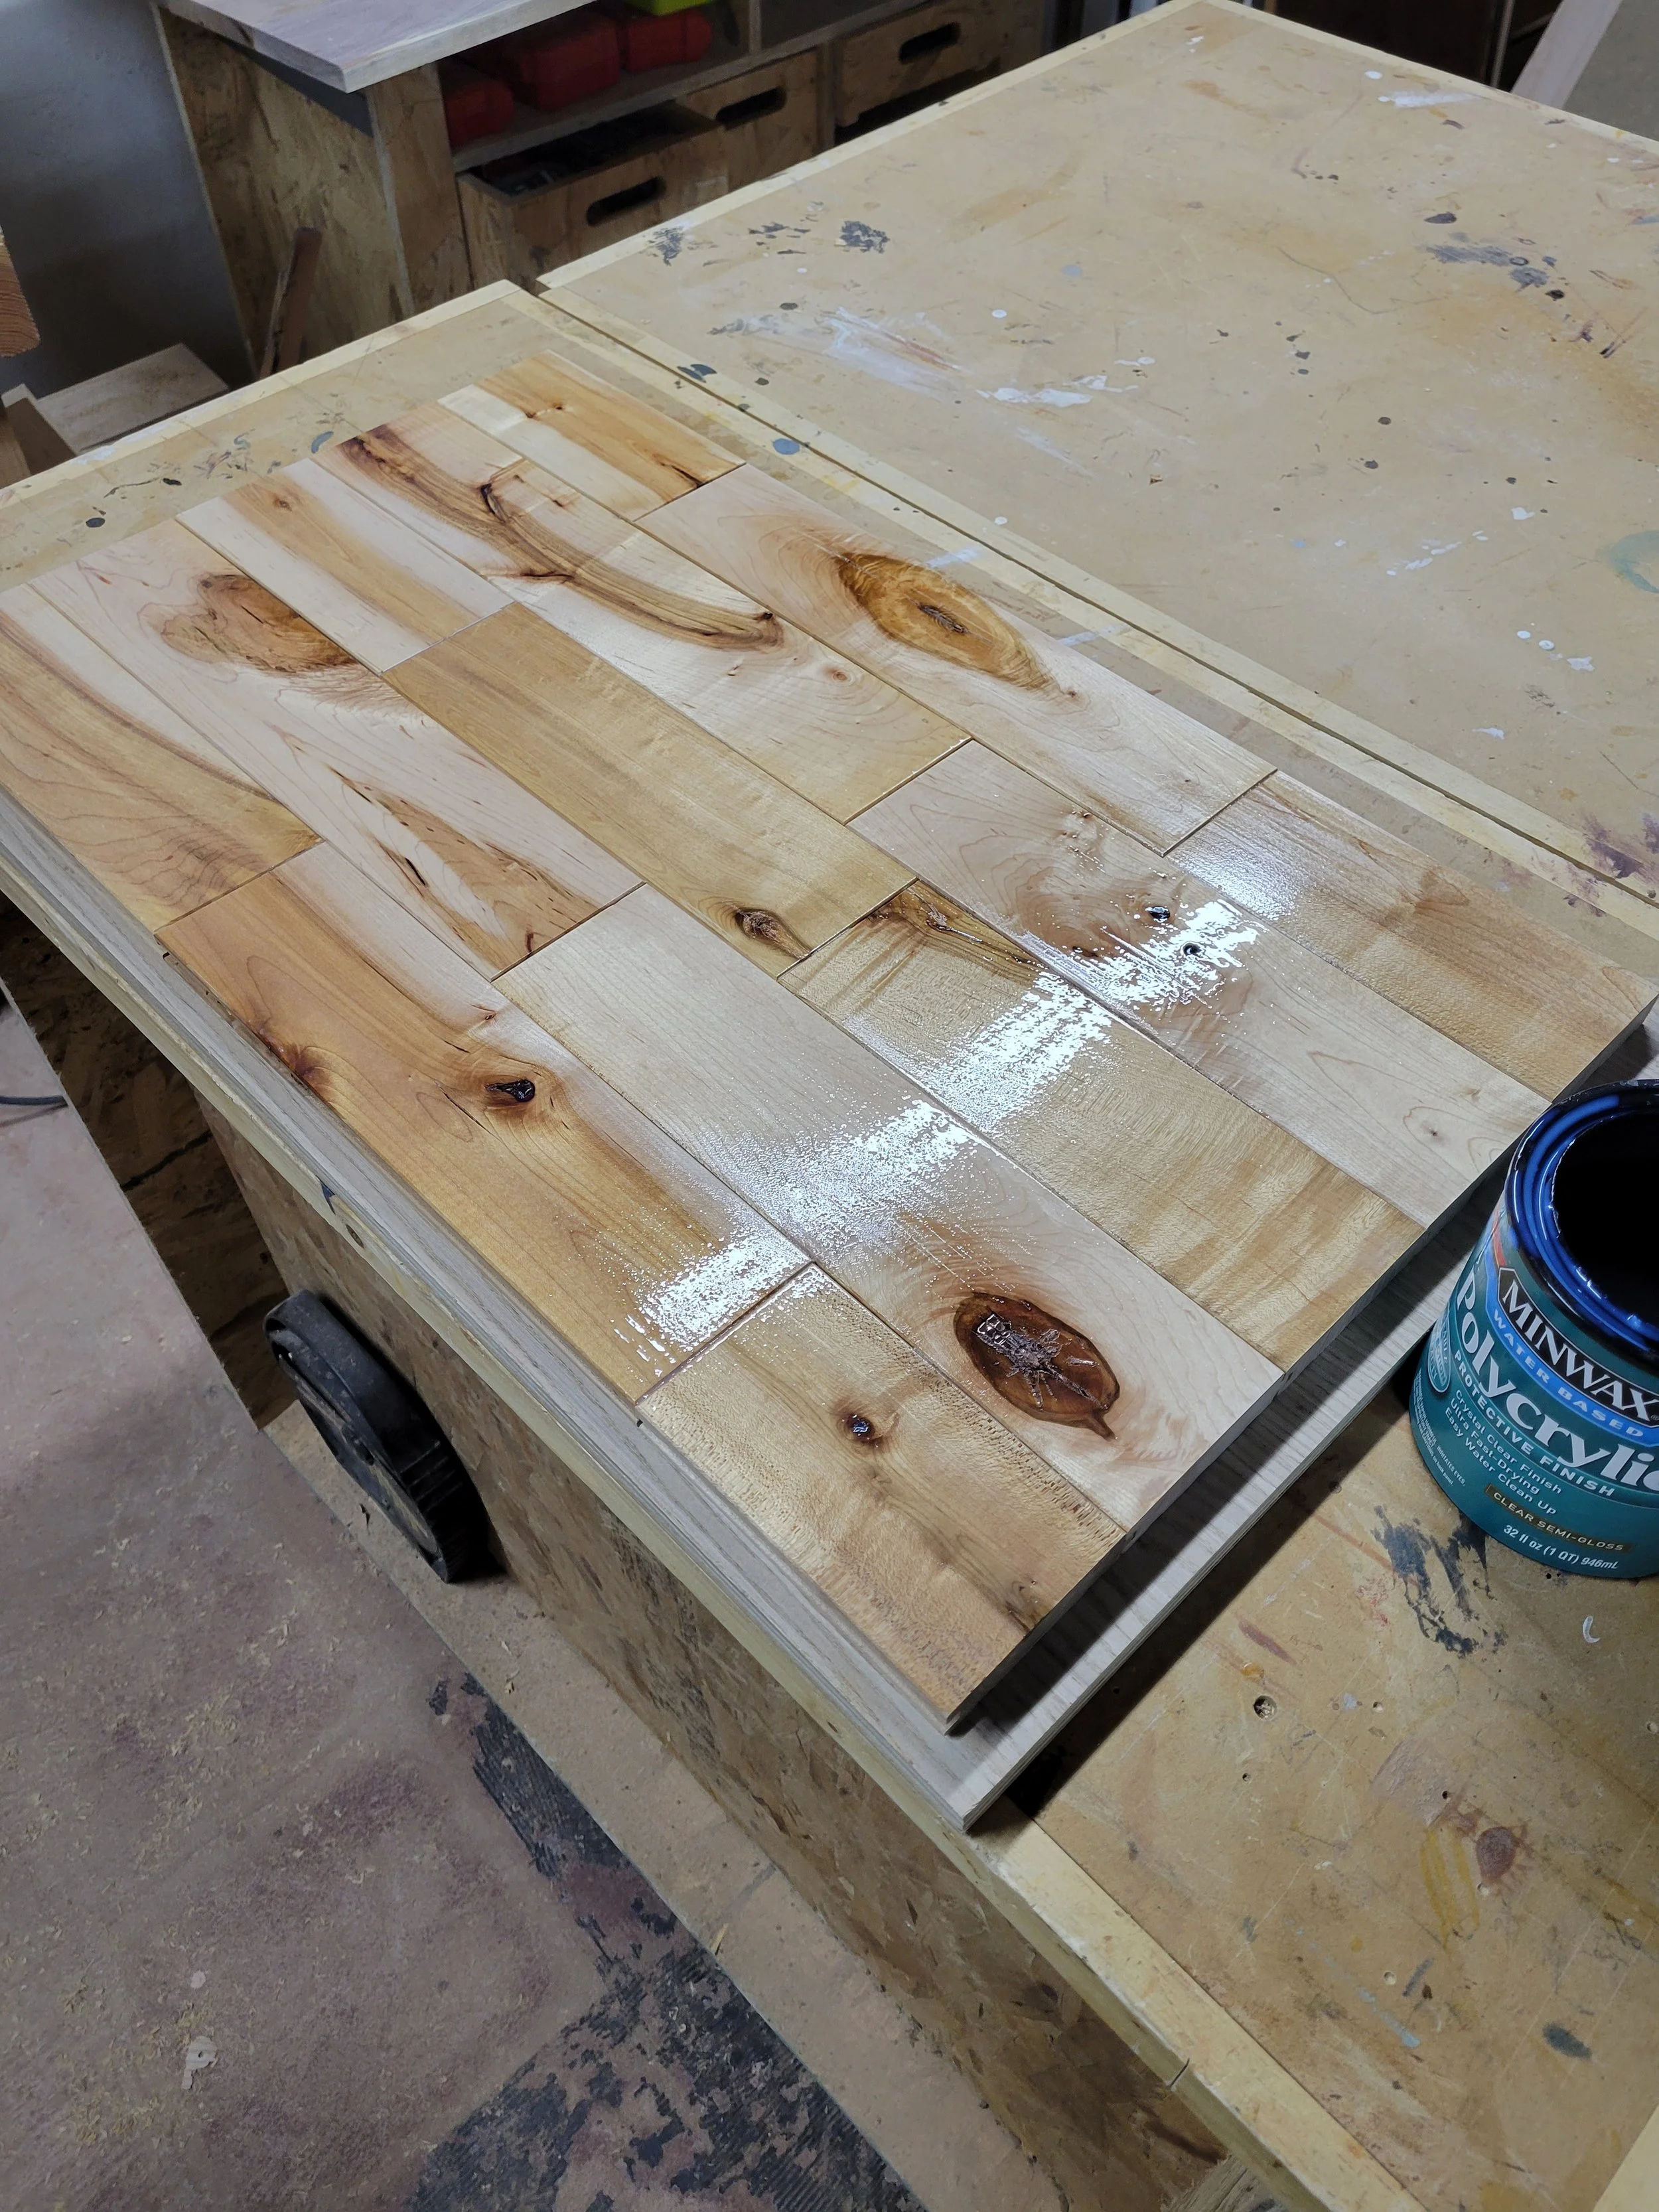
While painting I also finished the top with 2 coats of Polycrylic, which I brushed on. As always, I sanded between coats.
Together Again
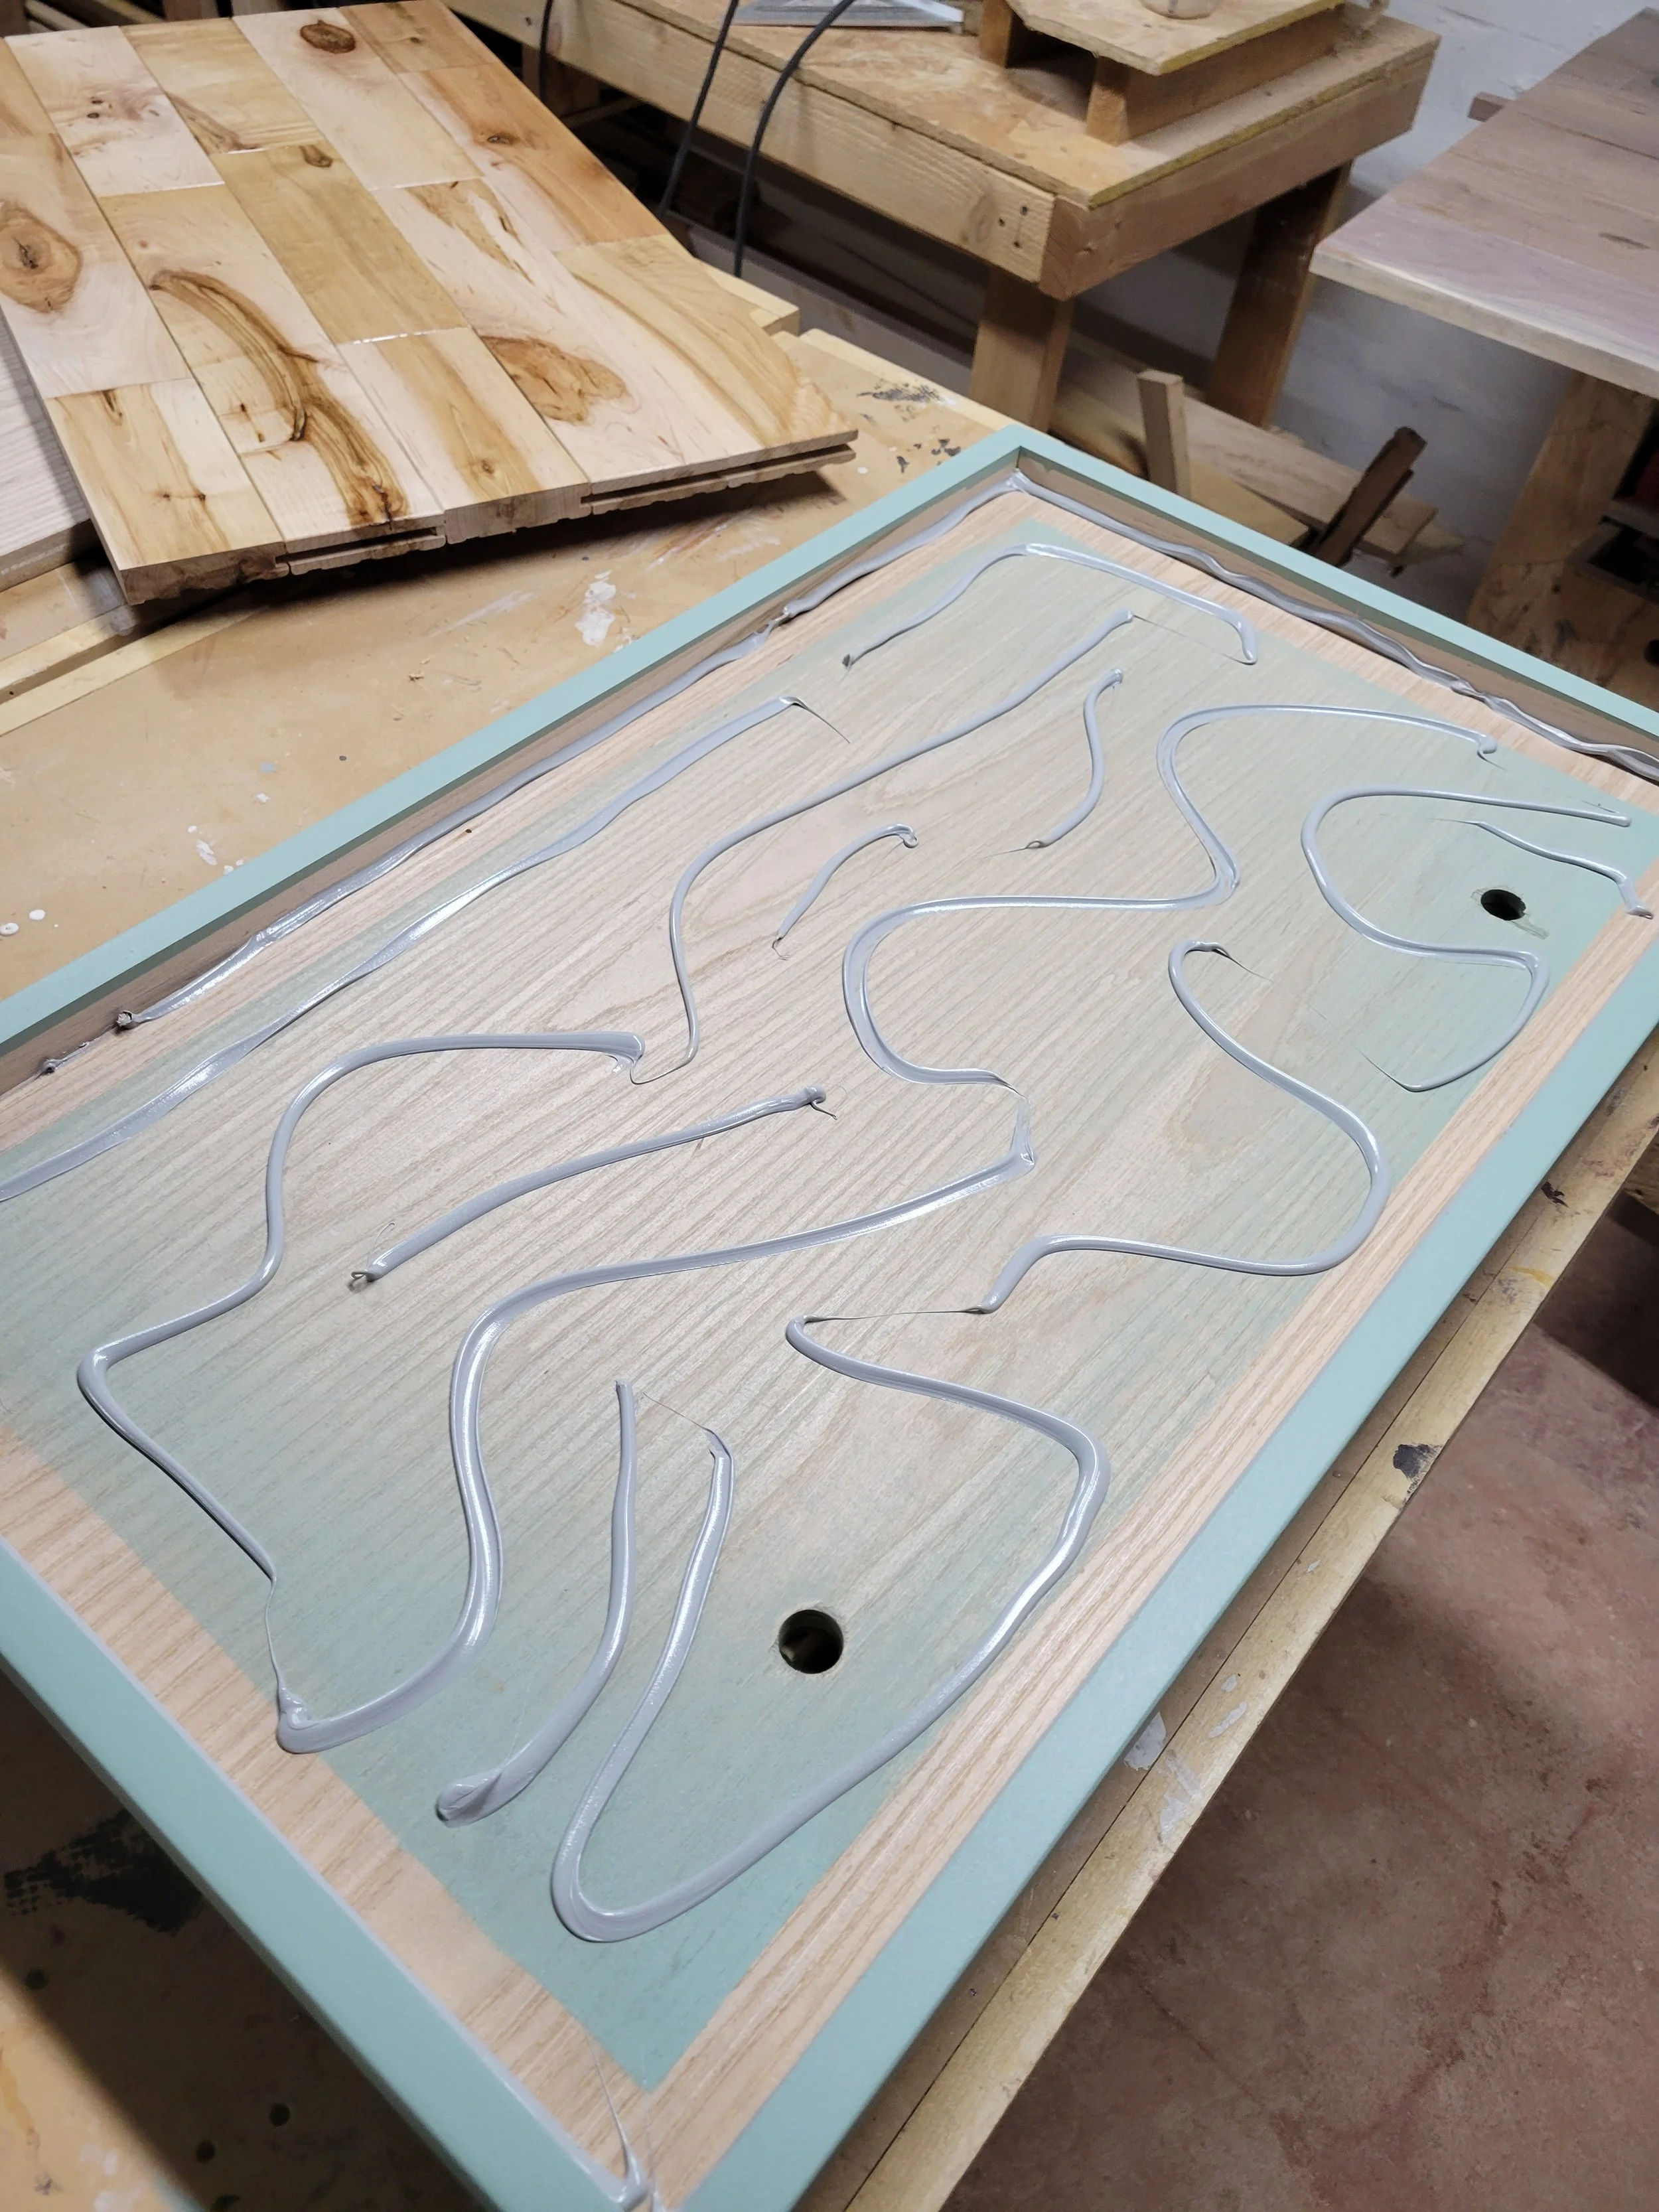
When everything had dried, I then put some adhesive on the plywood base and dropped in the top. I screwed the top onto the base and called it a day.
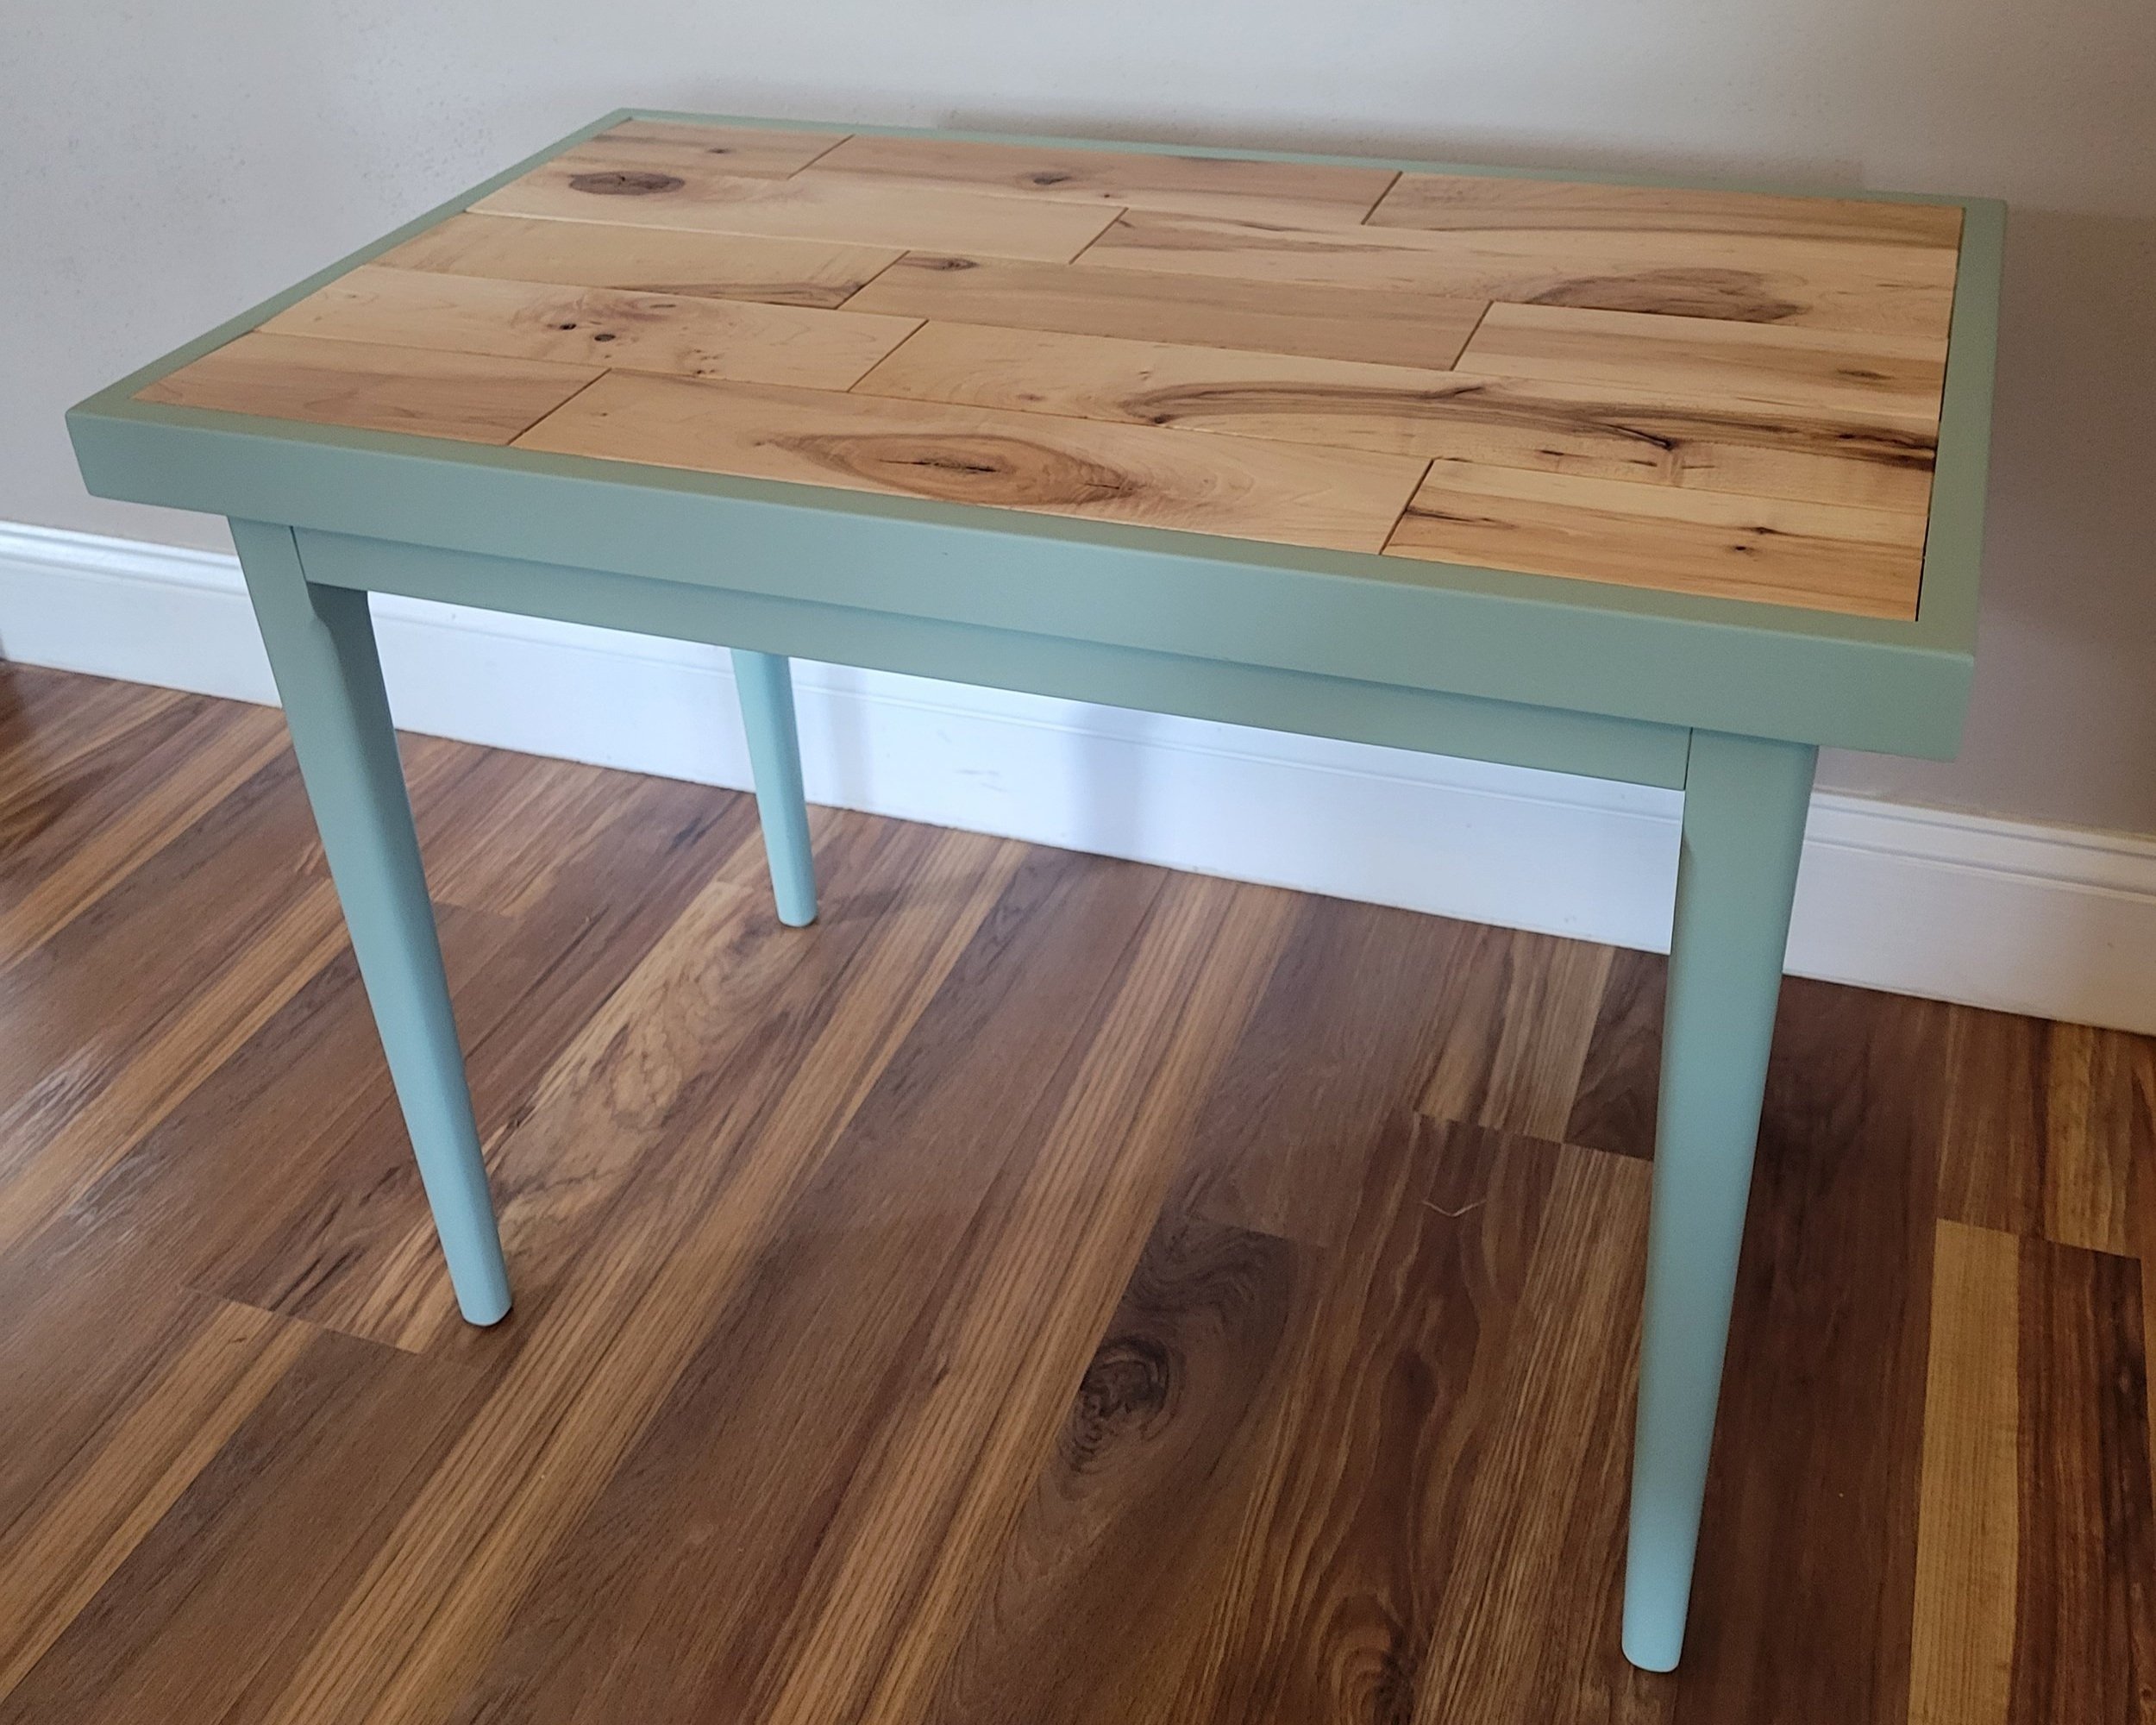
And that is now a sexy new end table. I’m sure it would look even better in a home that doesn’t consist of just one socially awkward guy and his gender fluid dog. If you think if would look better in your home, I’ll trade you for $50, but only if you’ve read this blog. You don’t have to like it, just read it.