
Poppin’ Tops

Top it Off
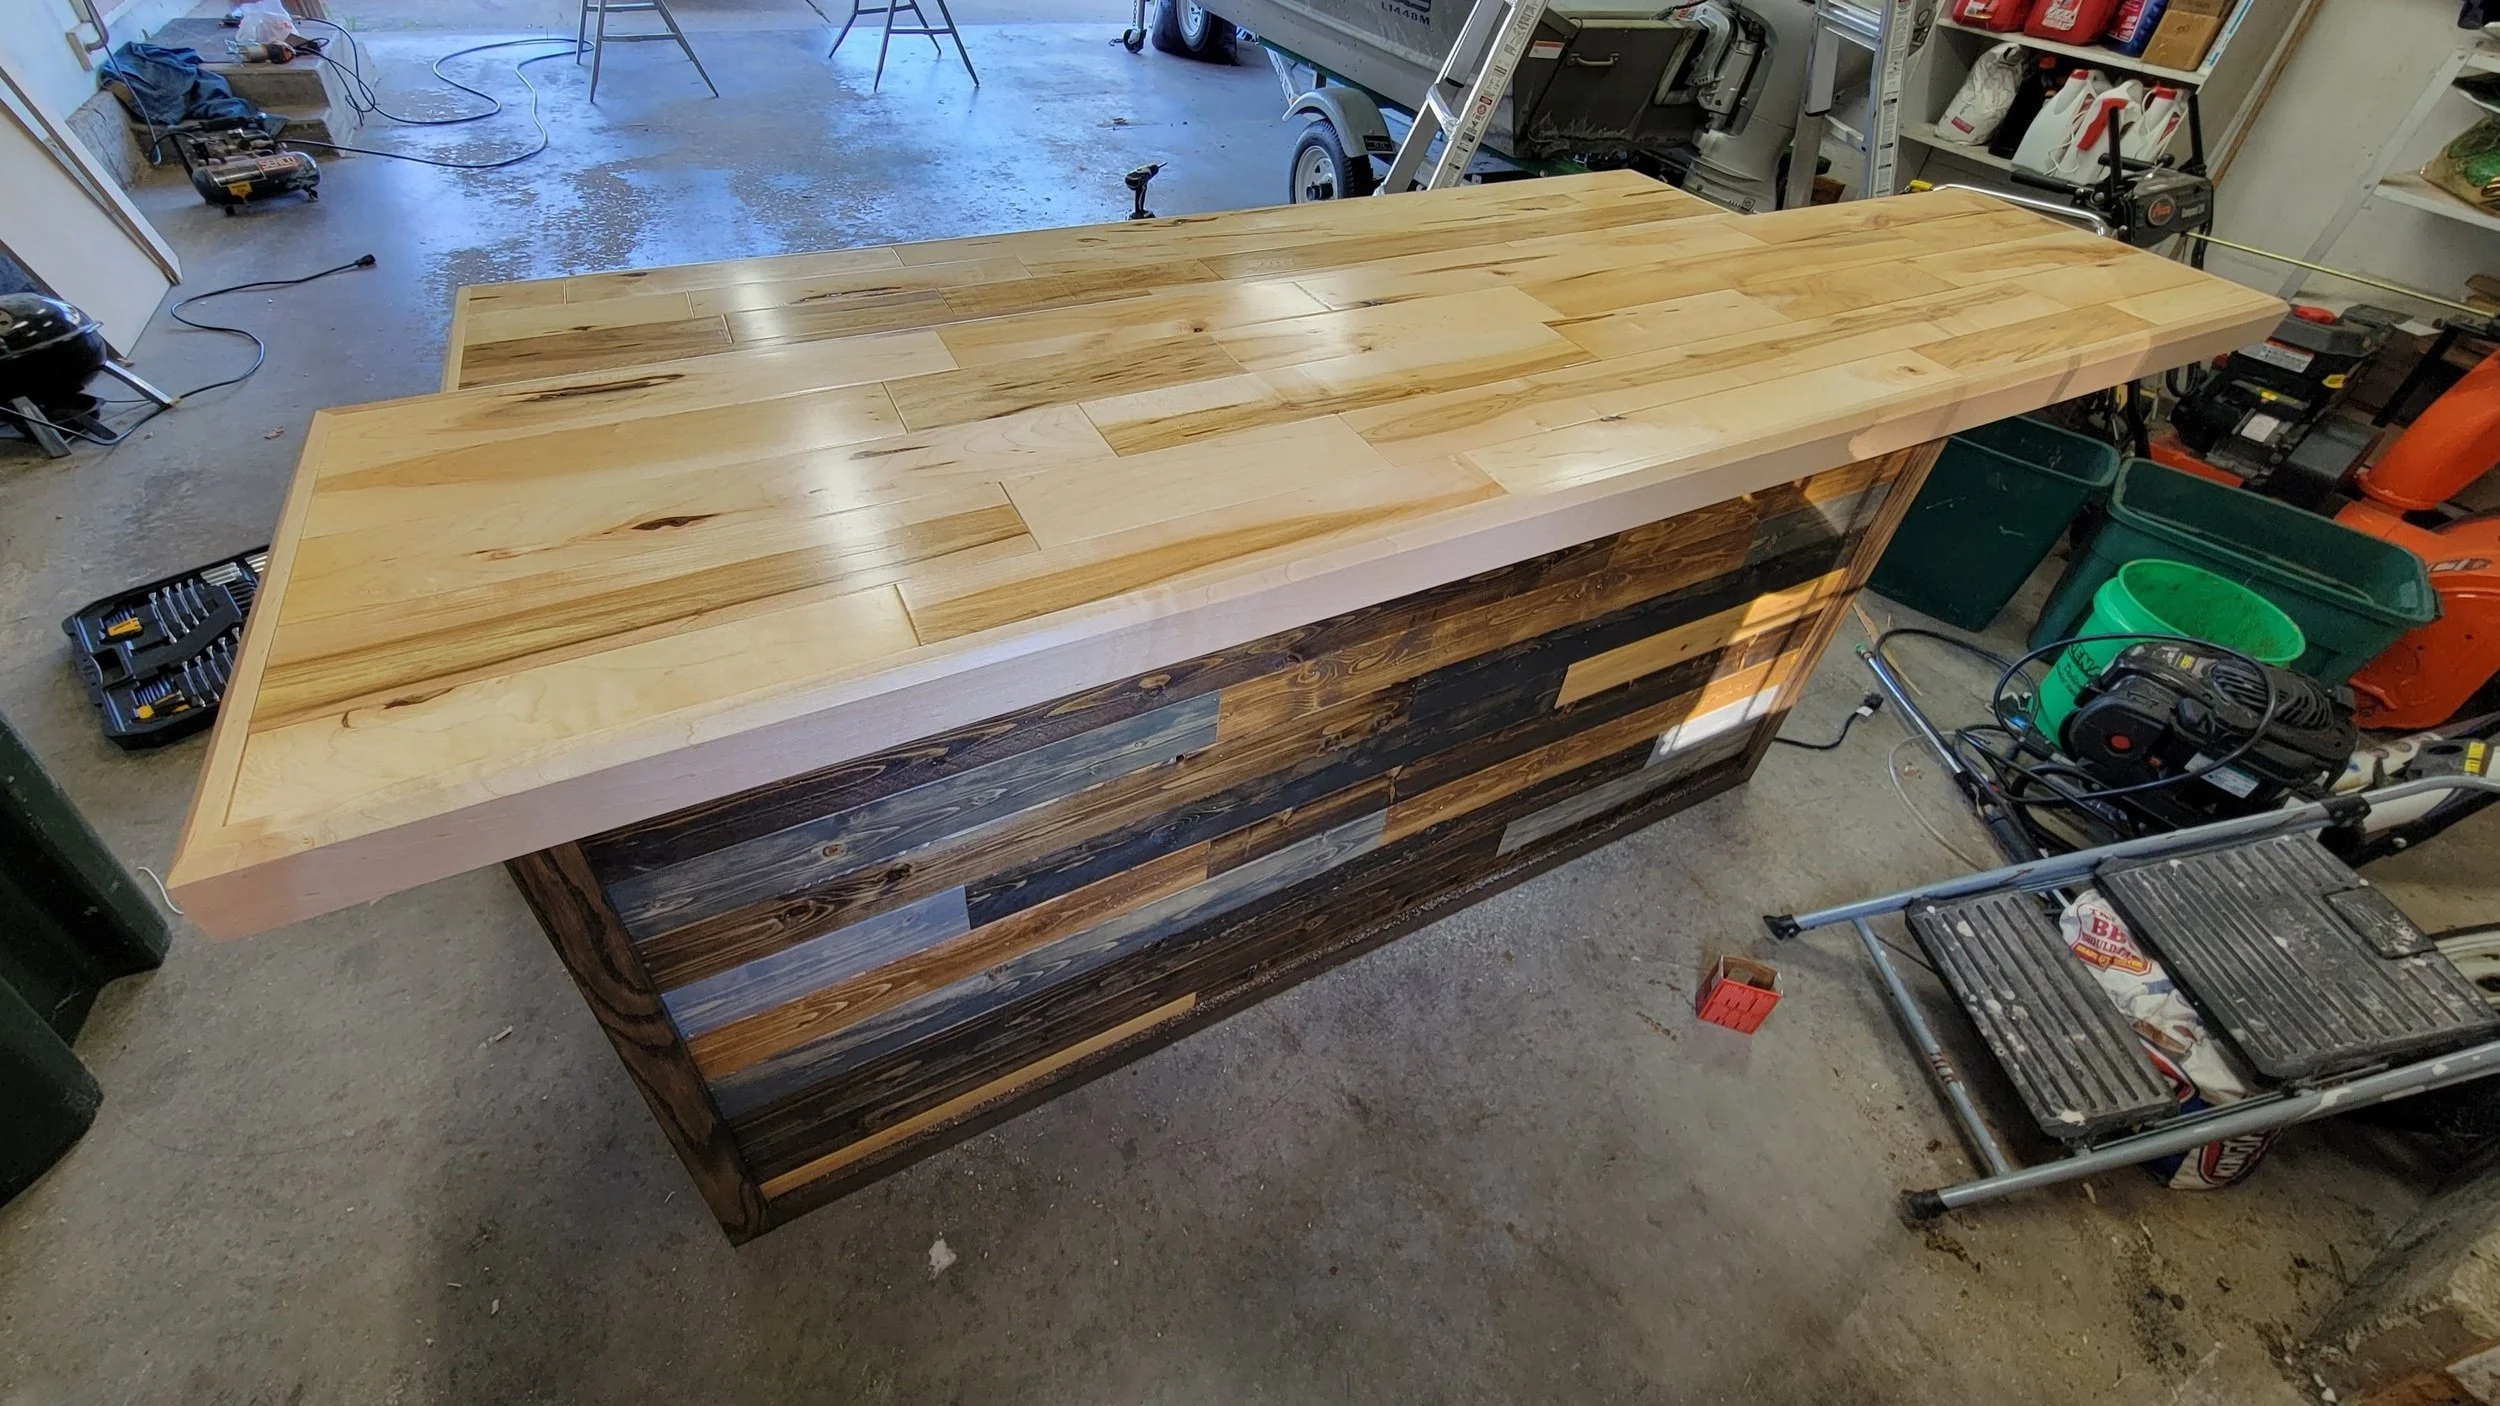
The last part of my series on a basement bar is focusing on the construction of the bar and counter tops. When planning this project I was initially going to use 2” thick slabs. That all changed when I priced them out. If you happen to be a successful cryptocurrency investor then maybe you’d be able to afford a nice thick slab, but for all of us jabronies who didn’t listen to Elon Musk, well we may have to find alternatives. So I did some perusing at the local lumber liquidators and found some nice Hickory tongue and groove hardwood flooring that was unfinished.
I thought this flooring would look great as my bar tops, but it was only 3/4” thick. And I’ve spent enough lonely hours at bars to know that bar tops are at least twice that thickness. To achieve a thicker bar top I used 3/4” thick MDF to put under the flooring to double the thickness. I then used 2 1/4” wide maple strips to run around the edges to hide the ugly MDF and make the bar appear even thicker.
Lay Some Plank

My first step was to cut the MDF board to the size that I wanted minus 1.5” on the length and width. This was to accommodate for the perimeter boards I would be installing which were 3/4” thick.
In order to make sure my edges were straight when I laid the flooring pieces on top of the MDF, I used a nailer to tack some scrap wood pieces to the sides of the MDF. As I laid my planks down they would just butt up to these pieces.

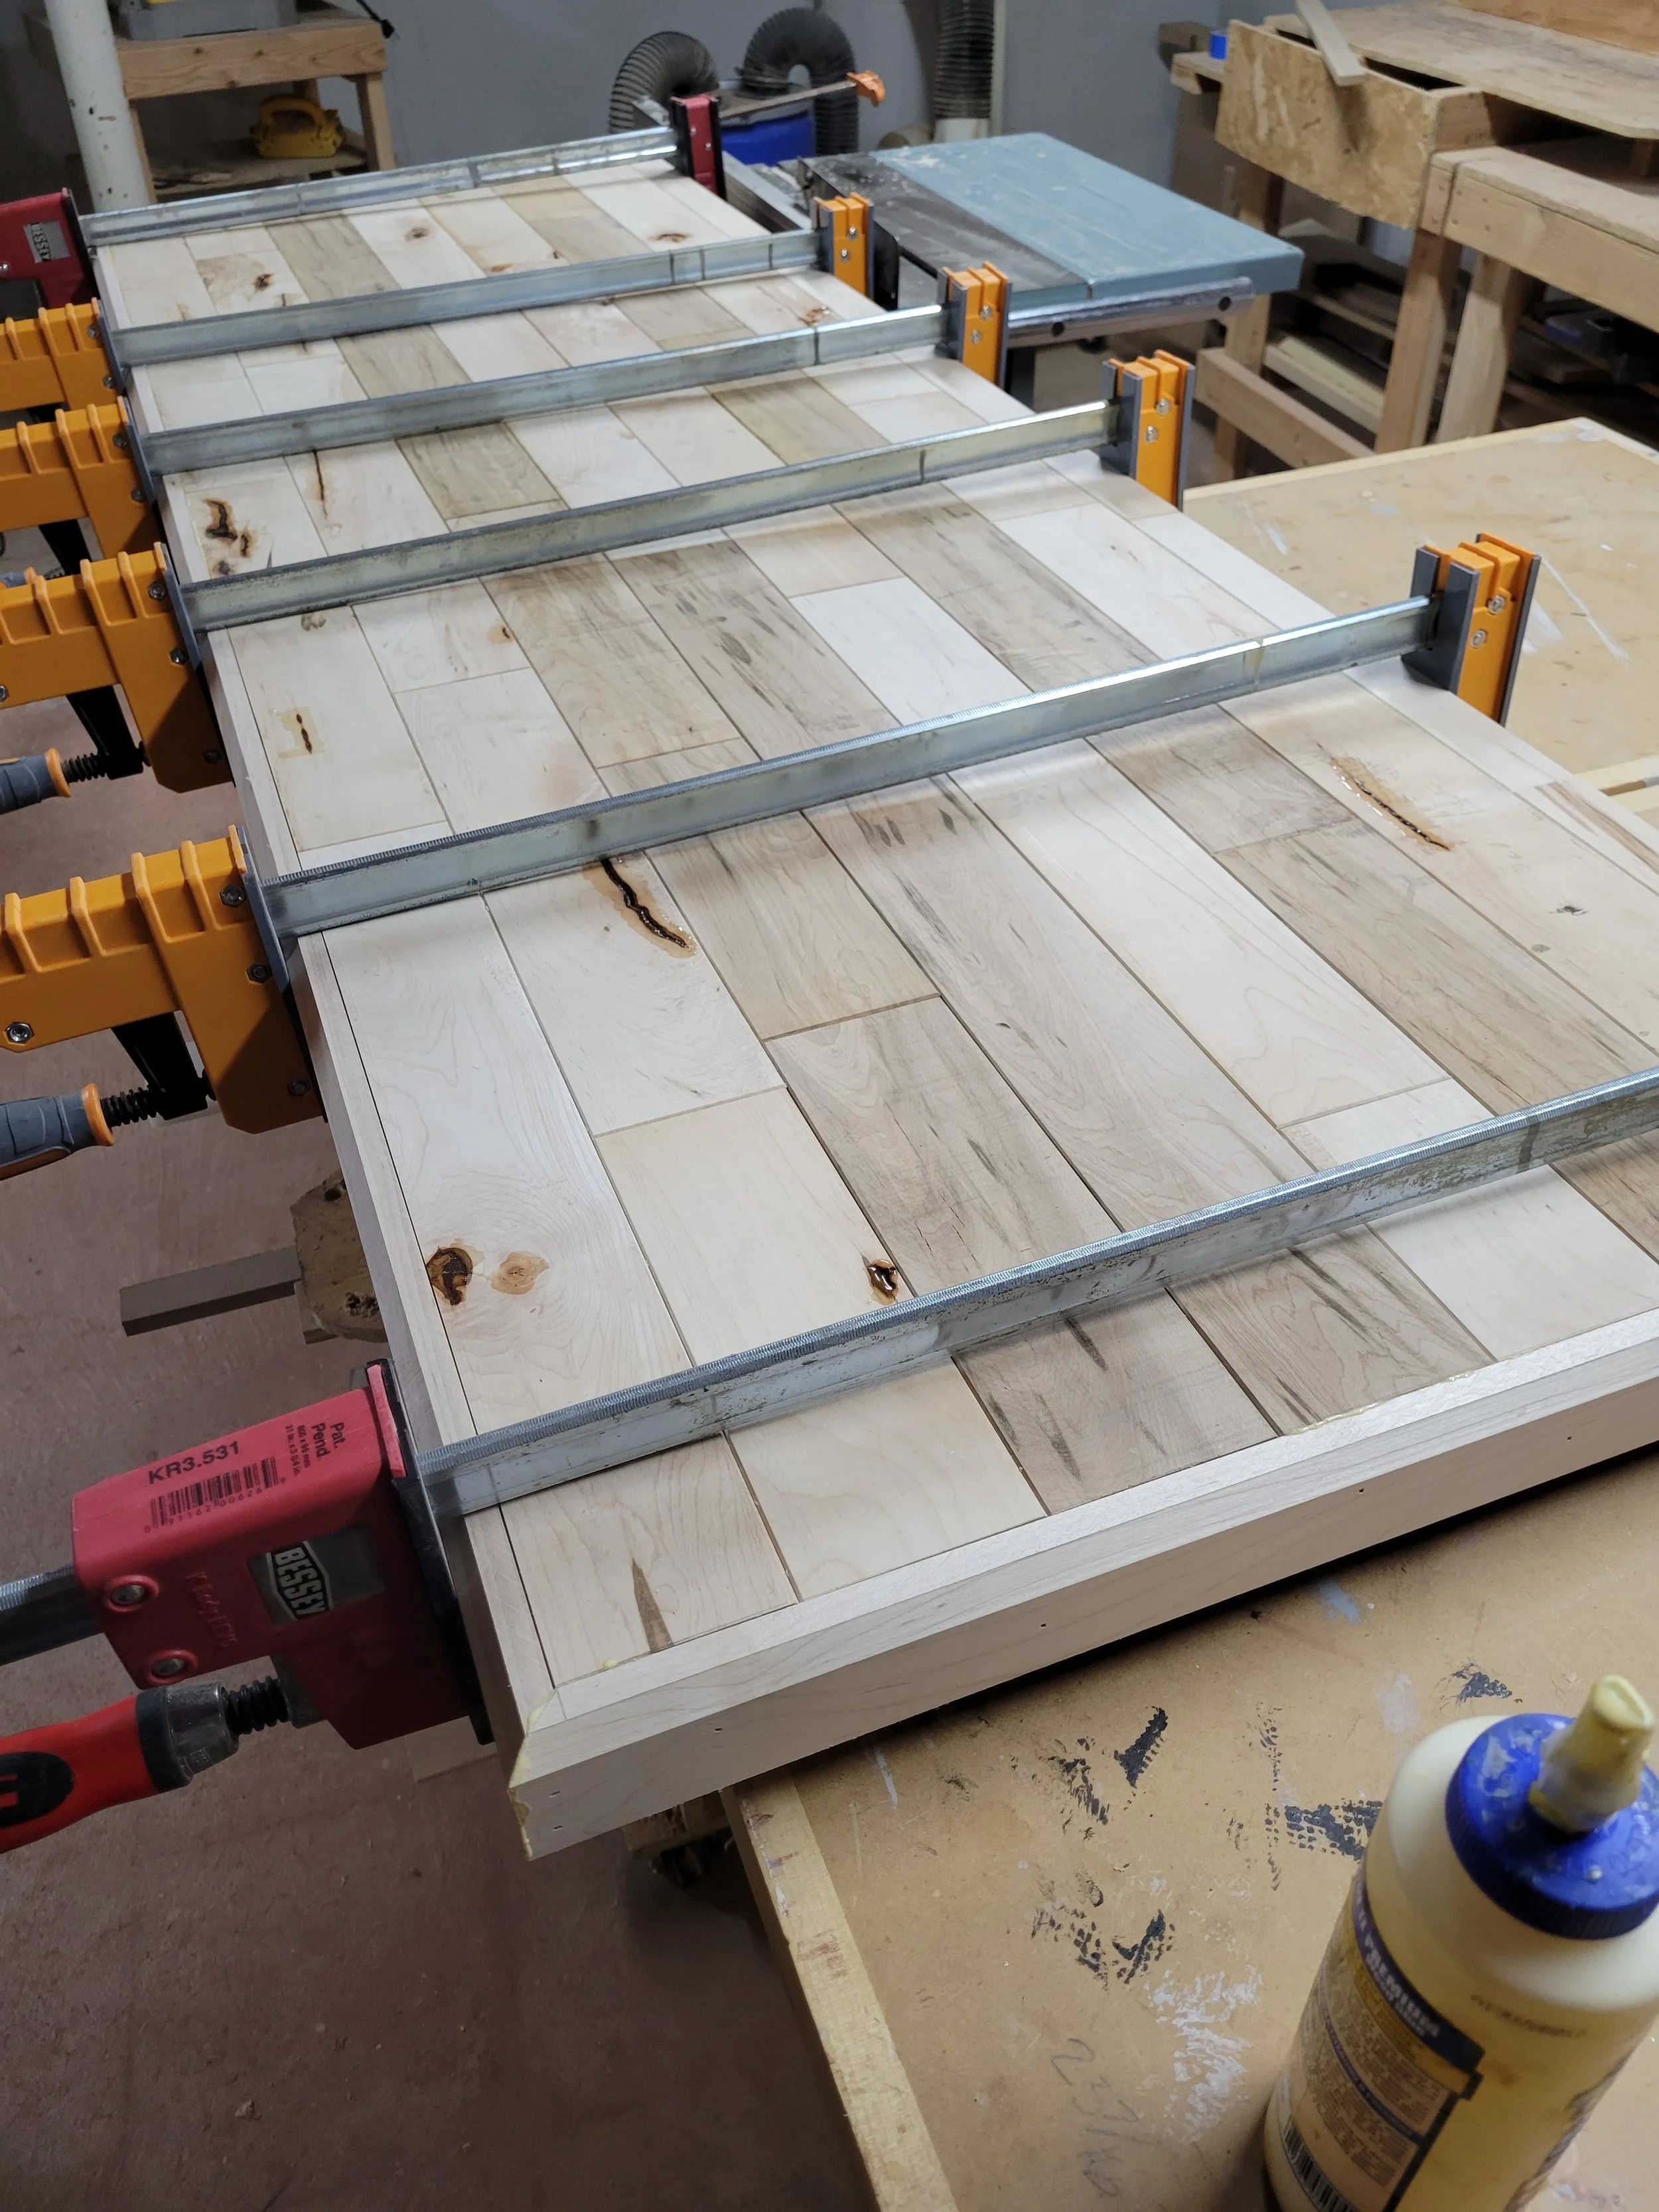
Then came time to install the flooring. I used wood glue on the bottom of each piece to secure it to the MDF. Then it’s as easy as putting some tongues in some grooves and tapping away.
I laid my first row and then would complete one row at a time working left to right. I slid each piece into place and used a hammer and rubber block made for flooring to tap each piece until it was fully seated. This ensured that each row is perfectly aligned.
On every piece of my first row and my first piece of each new row I shot a couple of nails from the bottom to hold everything in place while I was whacking around with my hammer.
Why We Don’t Do Butts

A downside of wood is that it expands and contracts with moisture and humidity. When you cover a large surface such as a floor or table top, you have to account for this. If you laid the planks butted up against each other they would pull apart in the winter causing gaps, and they would push against each other in the summer causing buckling. Tongue and groove joints instead of butts allow for a tight joint at the surface while providing some gaps in the grooves for the wood to expand into. This logic really applies to any situation involving wood, and is why doing butts is generally frowned upon in woodworking.
One Step Closer to the Edge
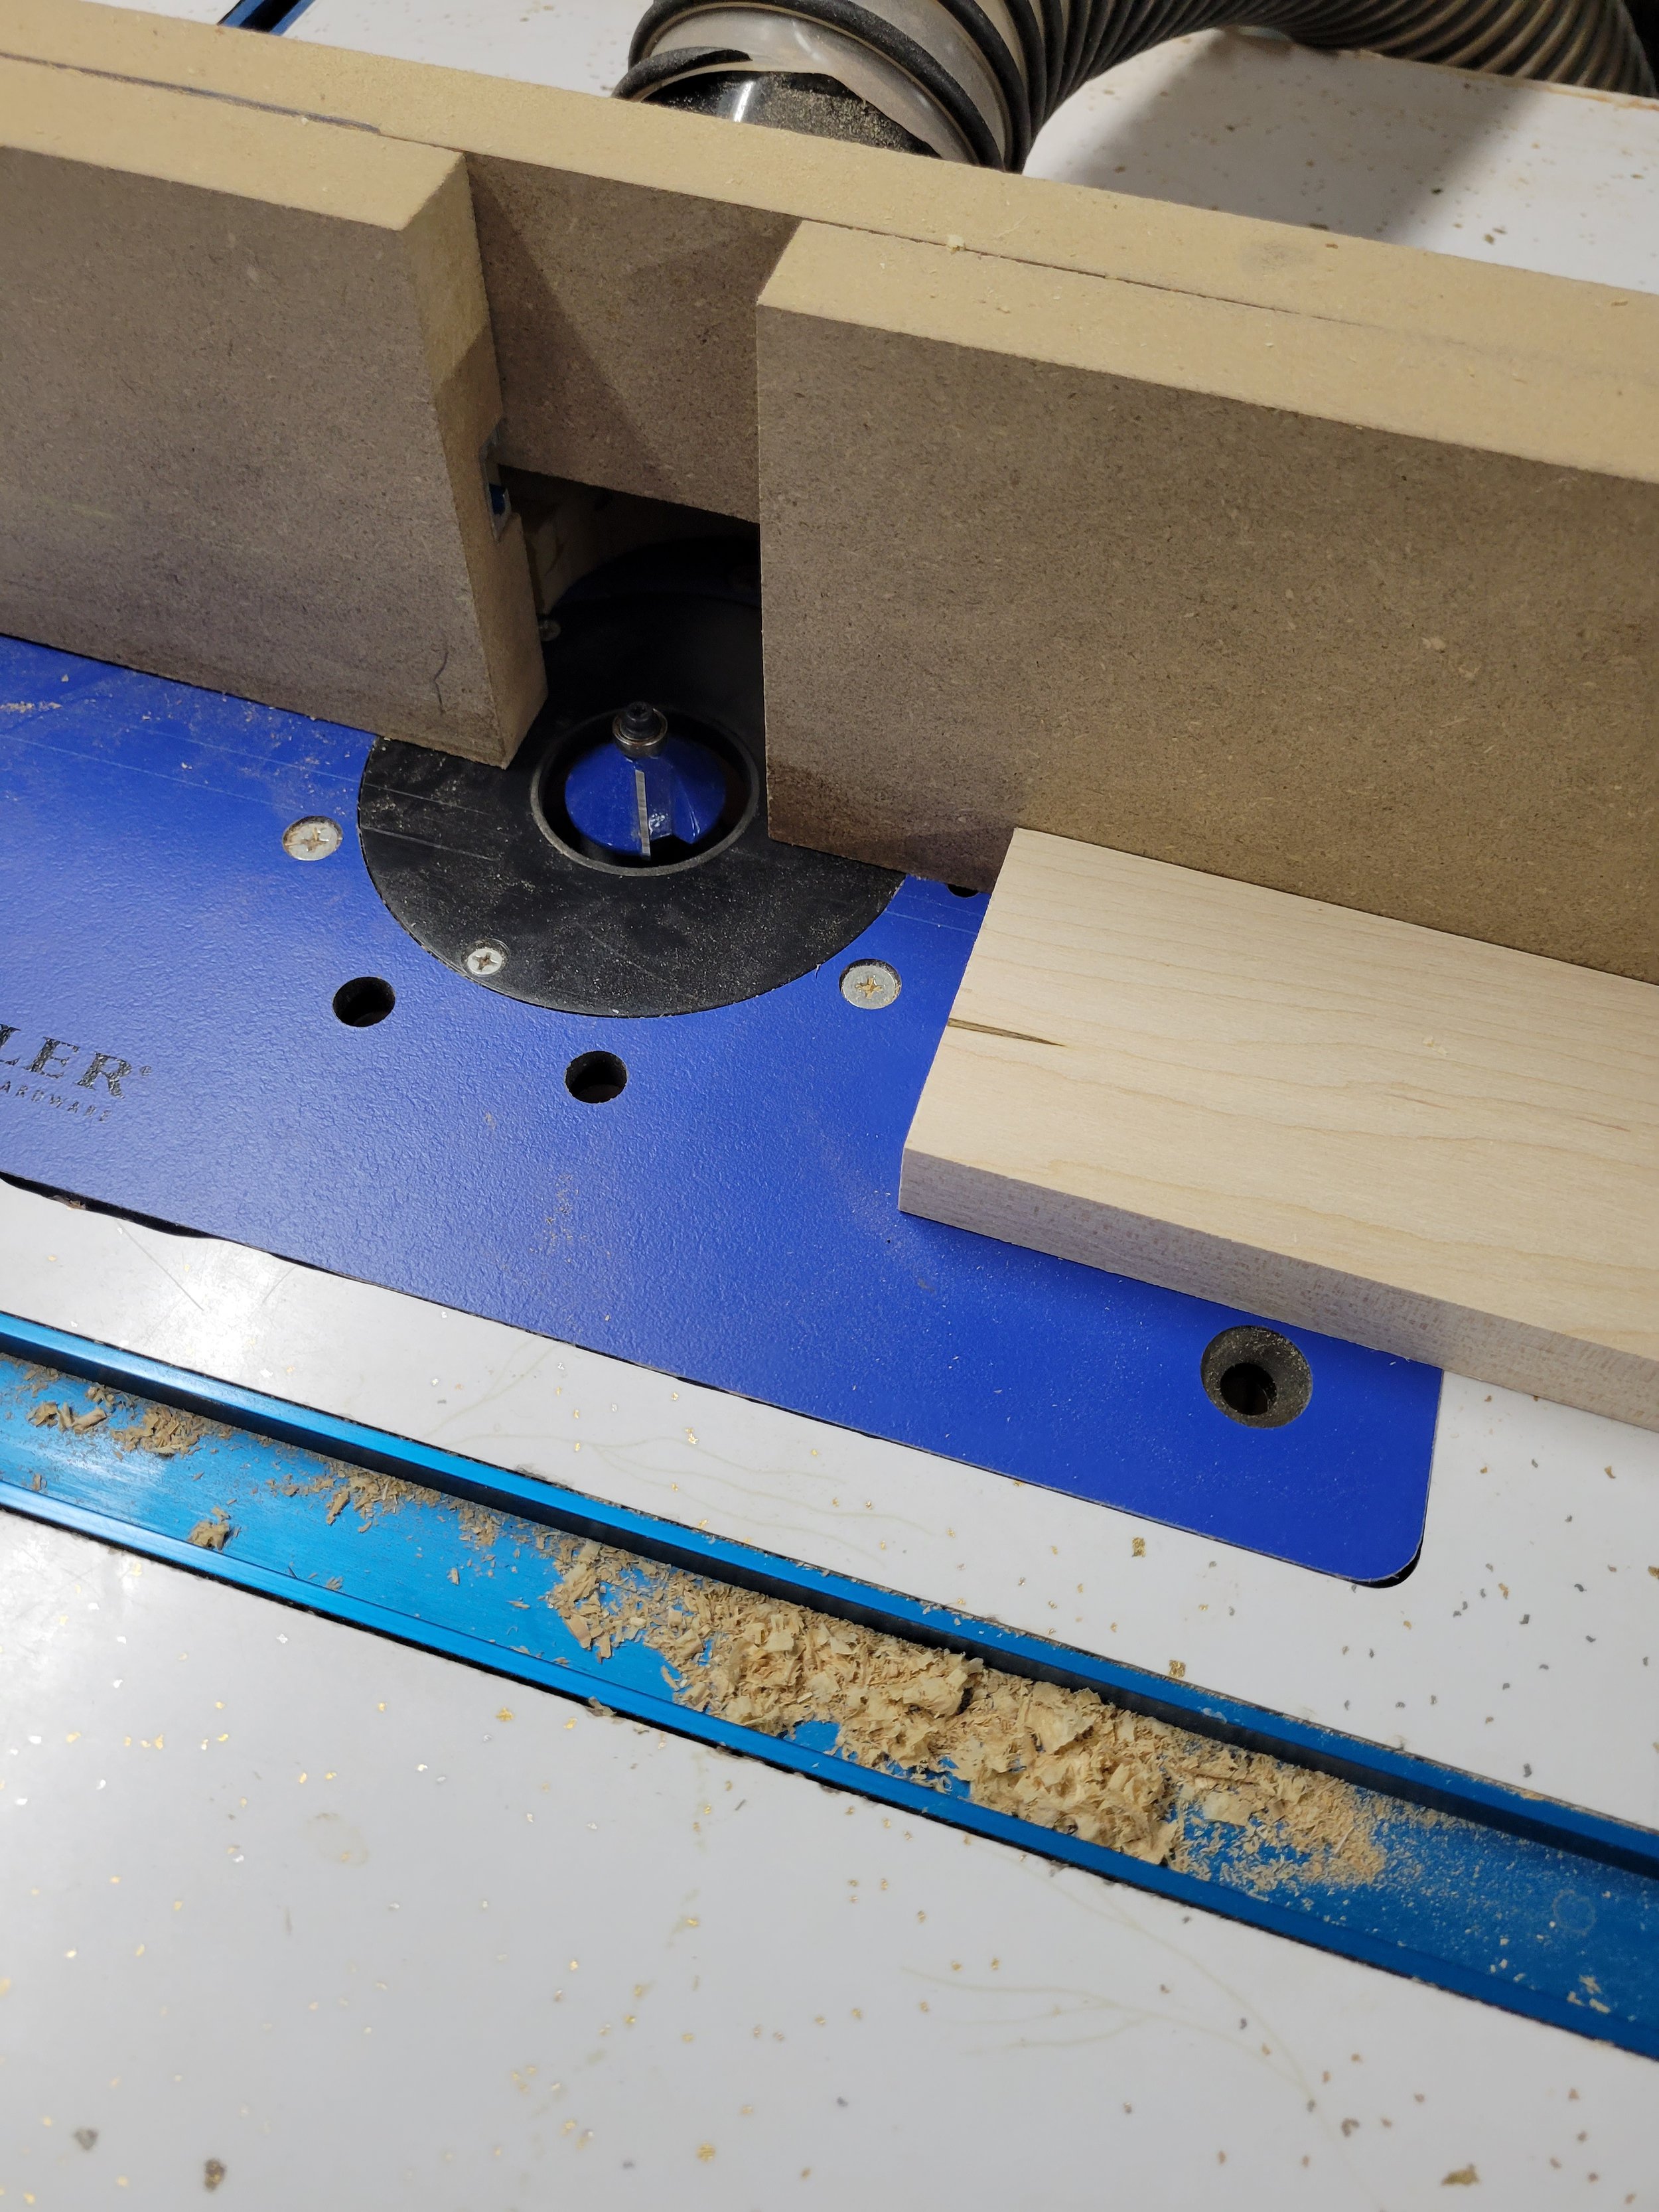
Obviously the edges are ugly and I don’t like ugly things, which is why I removed all the mirrors in my house. To conceal theses edges I cut maple strips that were 2 1/4” wide to run the perimeter of the top. People often lean on bar tops because they’re lazy, so I wanted to put a chamfer on the edge rather than a sharp 90 degree corner. I ran one corner of each piece on my router table with a chamfer bit.
I then glued each piece to the side of the table top. I used a finish nailer to secure them while the glue dried. I would go on to fill the holes with wood putty that matched the wood color before I put finish on.
I used miter joints for the edge piece corners because they’re classy and butt joints are low-value.
Filling Holes
The Hickory had a number of defects such as natural cracks and knot holes. I didn’t want liquids or food to get trapped in these defects so I filled each hole with a clear epoxy. I usually keep a cheap 2 part clear epoxy on hand just for this purpose. You can get this at any hardware store.
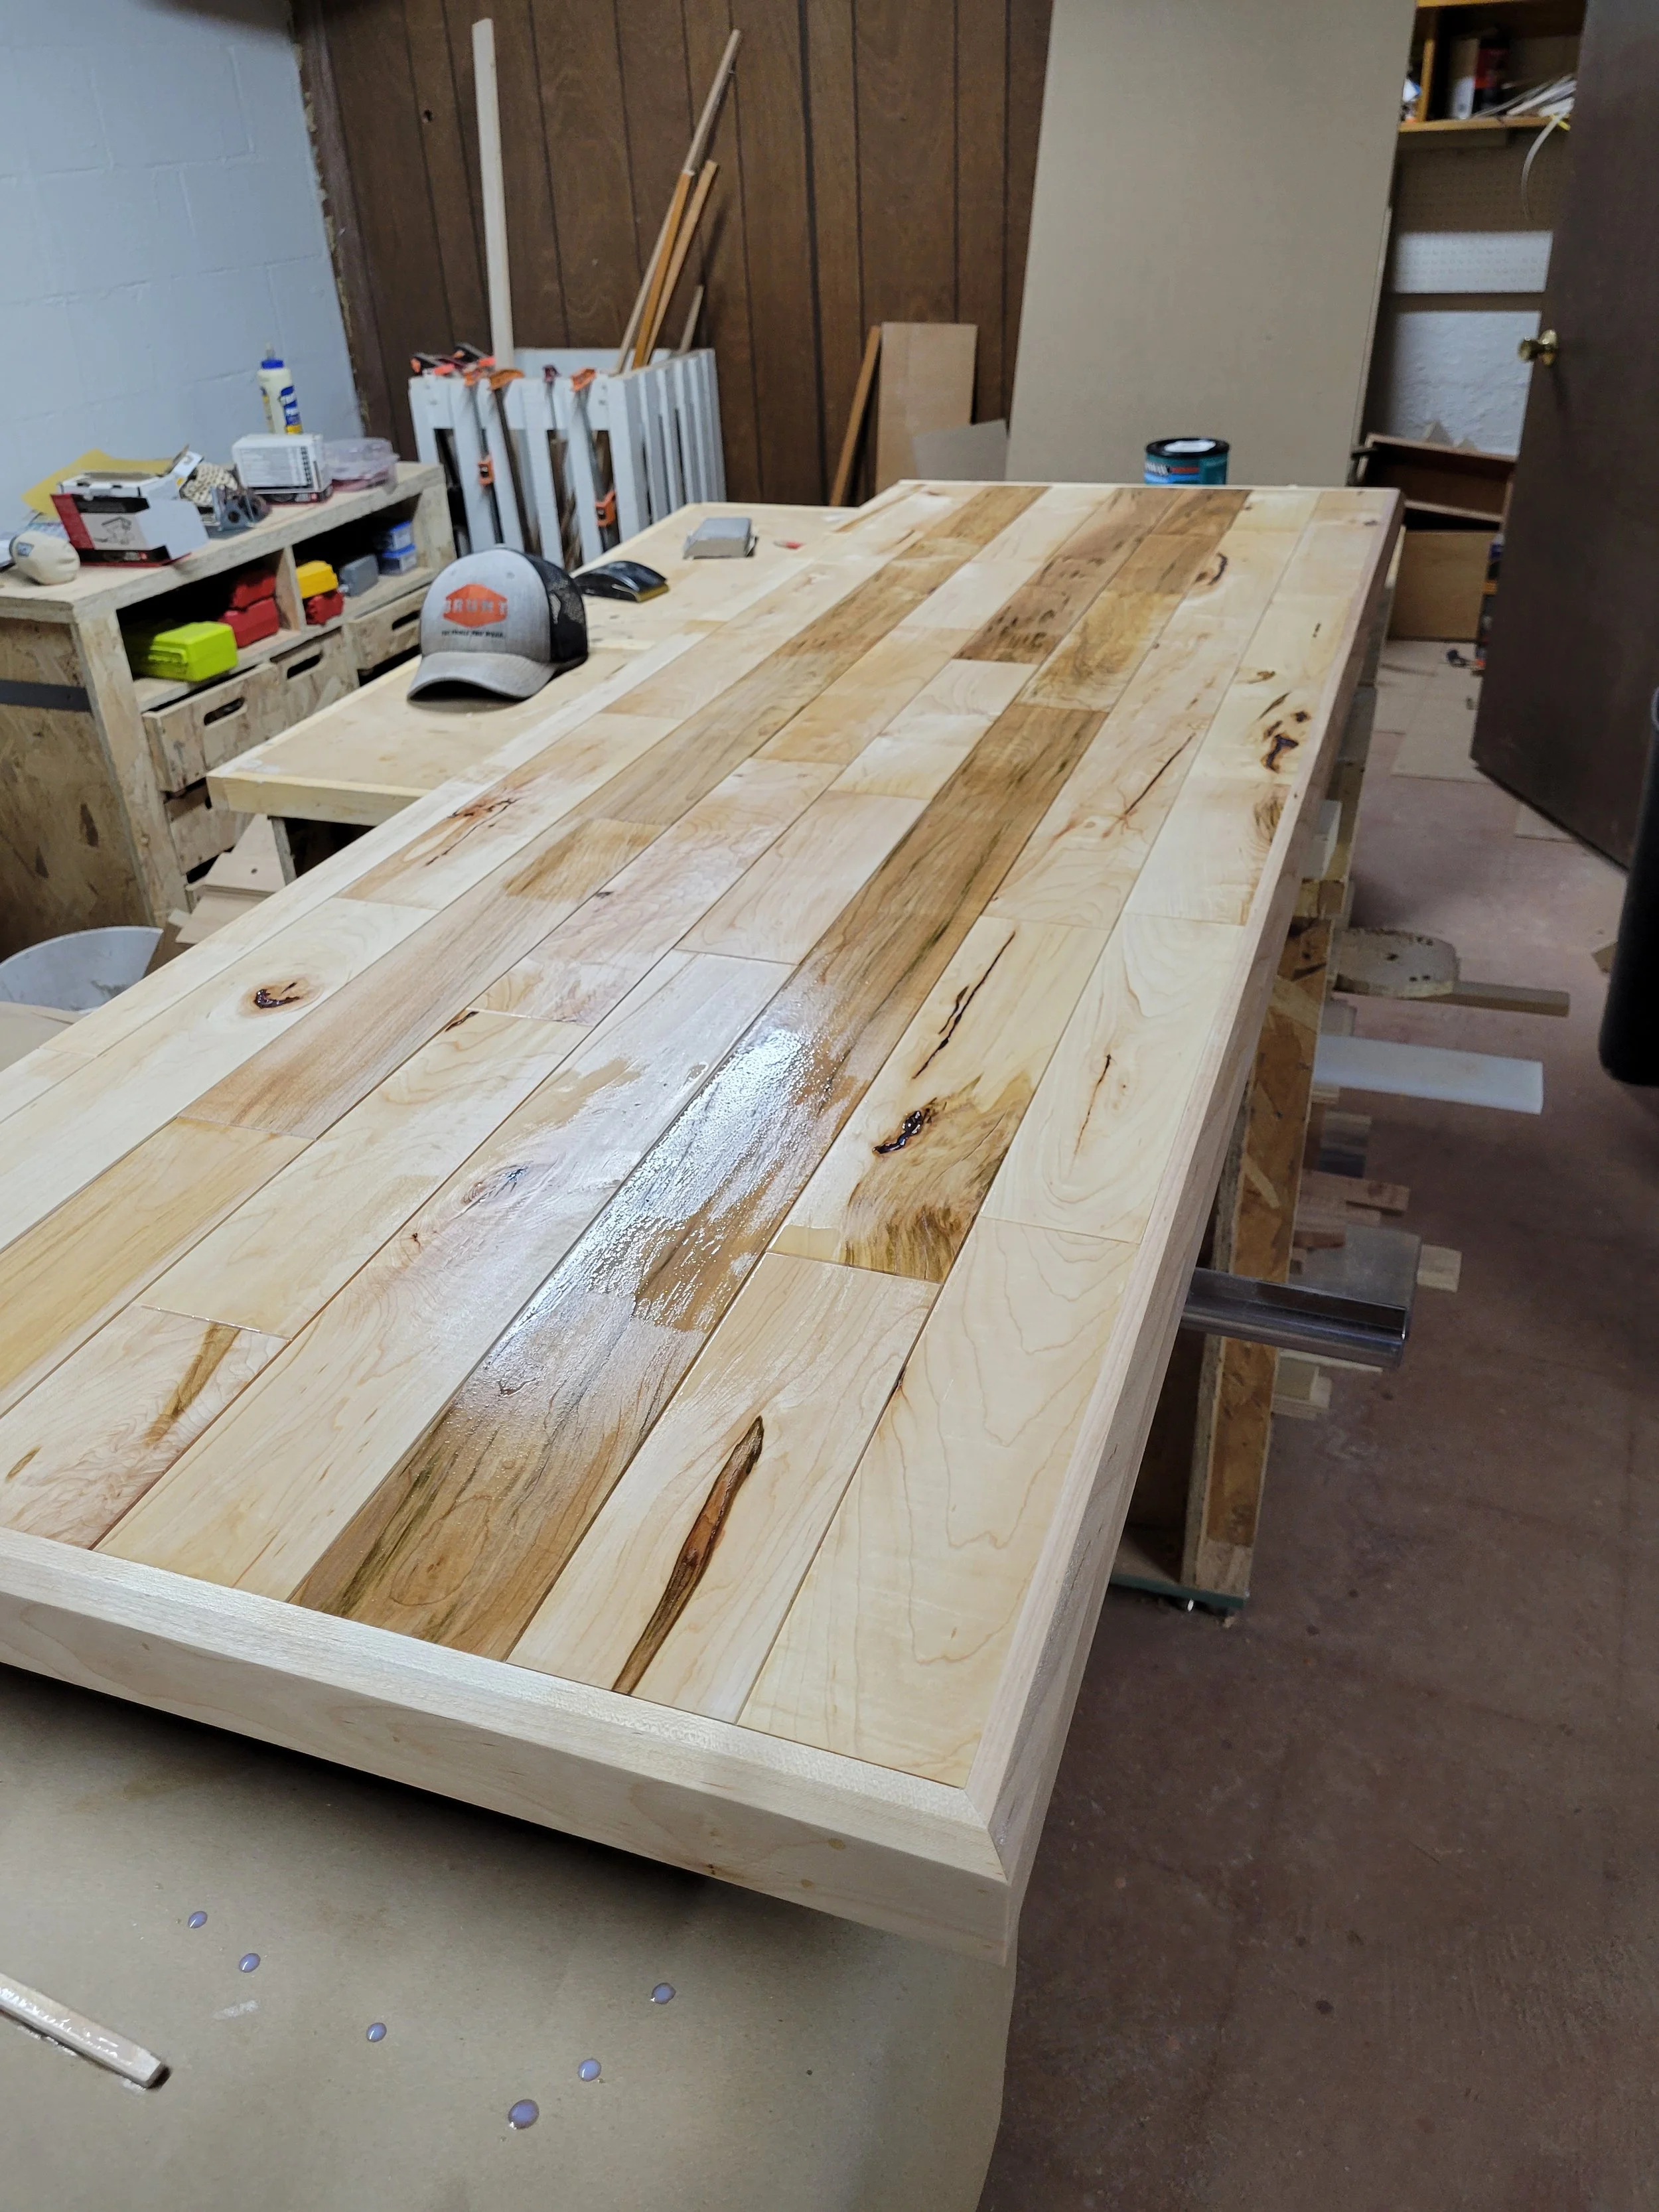
Once the epoxy was fully dry I then sanded the table top to 220 grit. Once this was done I used a matte water based Polycrylic finish to protect the wood from the copious amount of beverages that will undoubtedly spill all over this top. I used 3 coats and brushed each coat on, sanding with 220 grit in between coats.
For something that sees a lot of abuse, such as a commercial bar, I would recommend an epoxy finish. And counseling.
I made two separate tops using this exact same process. Just thought this needed to be said in case it wasn’t obvious.
Put Your top on
It took a little bit of planning to attach the tops. I knew that they had to be removable for when it came time to move the bar. In order to attach the counter top , I had built my cabinets so that were places to screw the top of the cabinets to the bottom of the counter top.
As for the bar top, it was only resting on one 2x4 while 12” hung off the back. It took some amateur problem solving to avoid the top detaching if someone was to put their bodyweight on it. I was able to run 1/4” lag bolts from the 2x4 on the base of the bar into the bottom of the top, which would help but wouldn’t be enough. To provide extra support I purchased 4 metal brackets that would attach to the bar back and to the top. These brackets were rated at 180lbs for one pair so I figured 4 should hold up along with the lag screws.
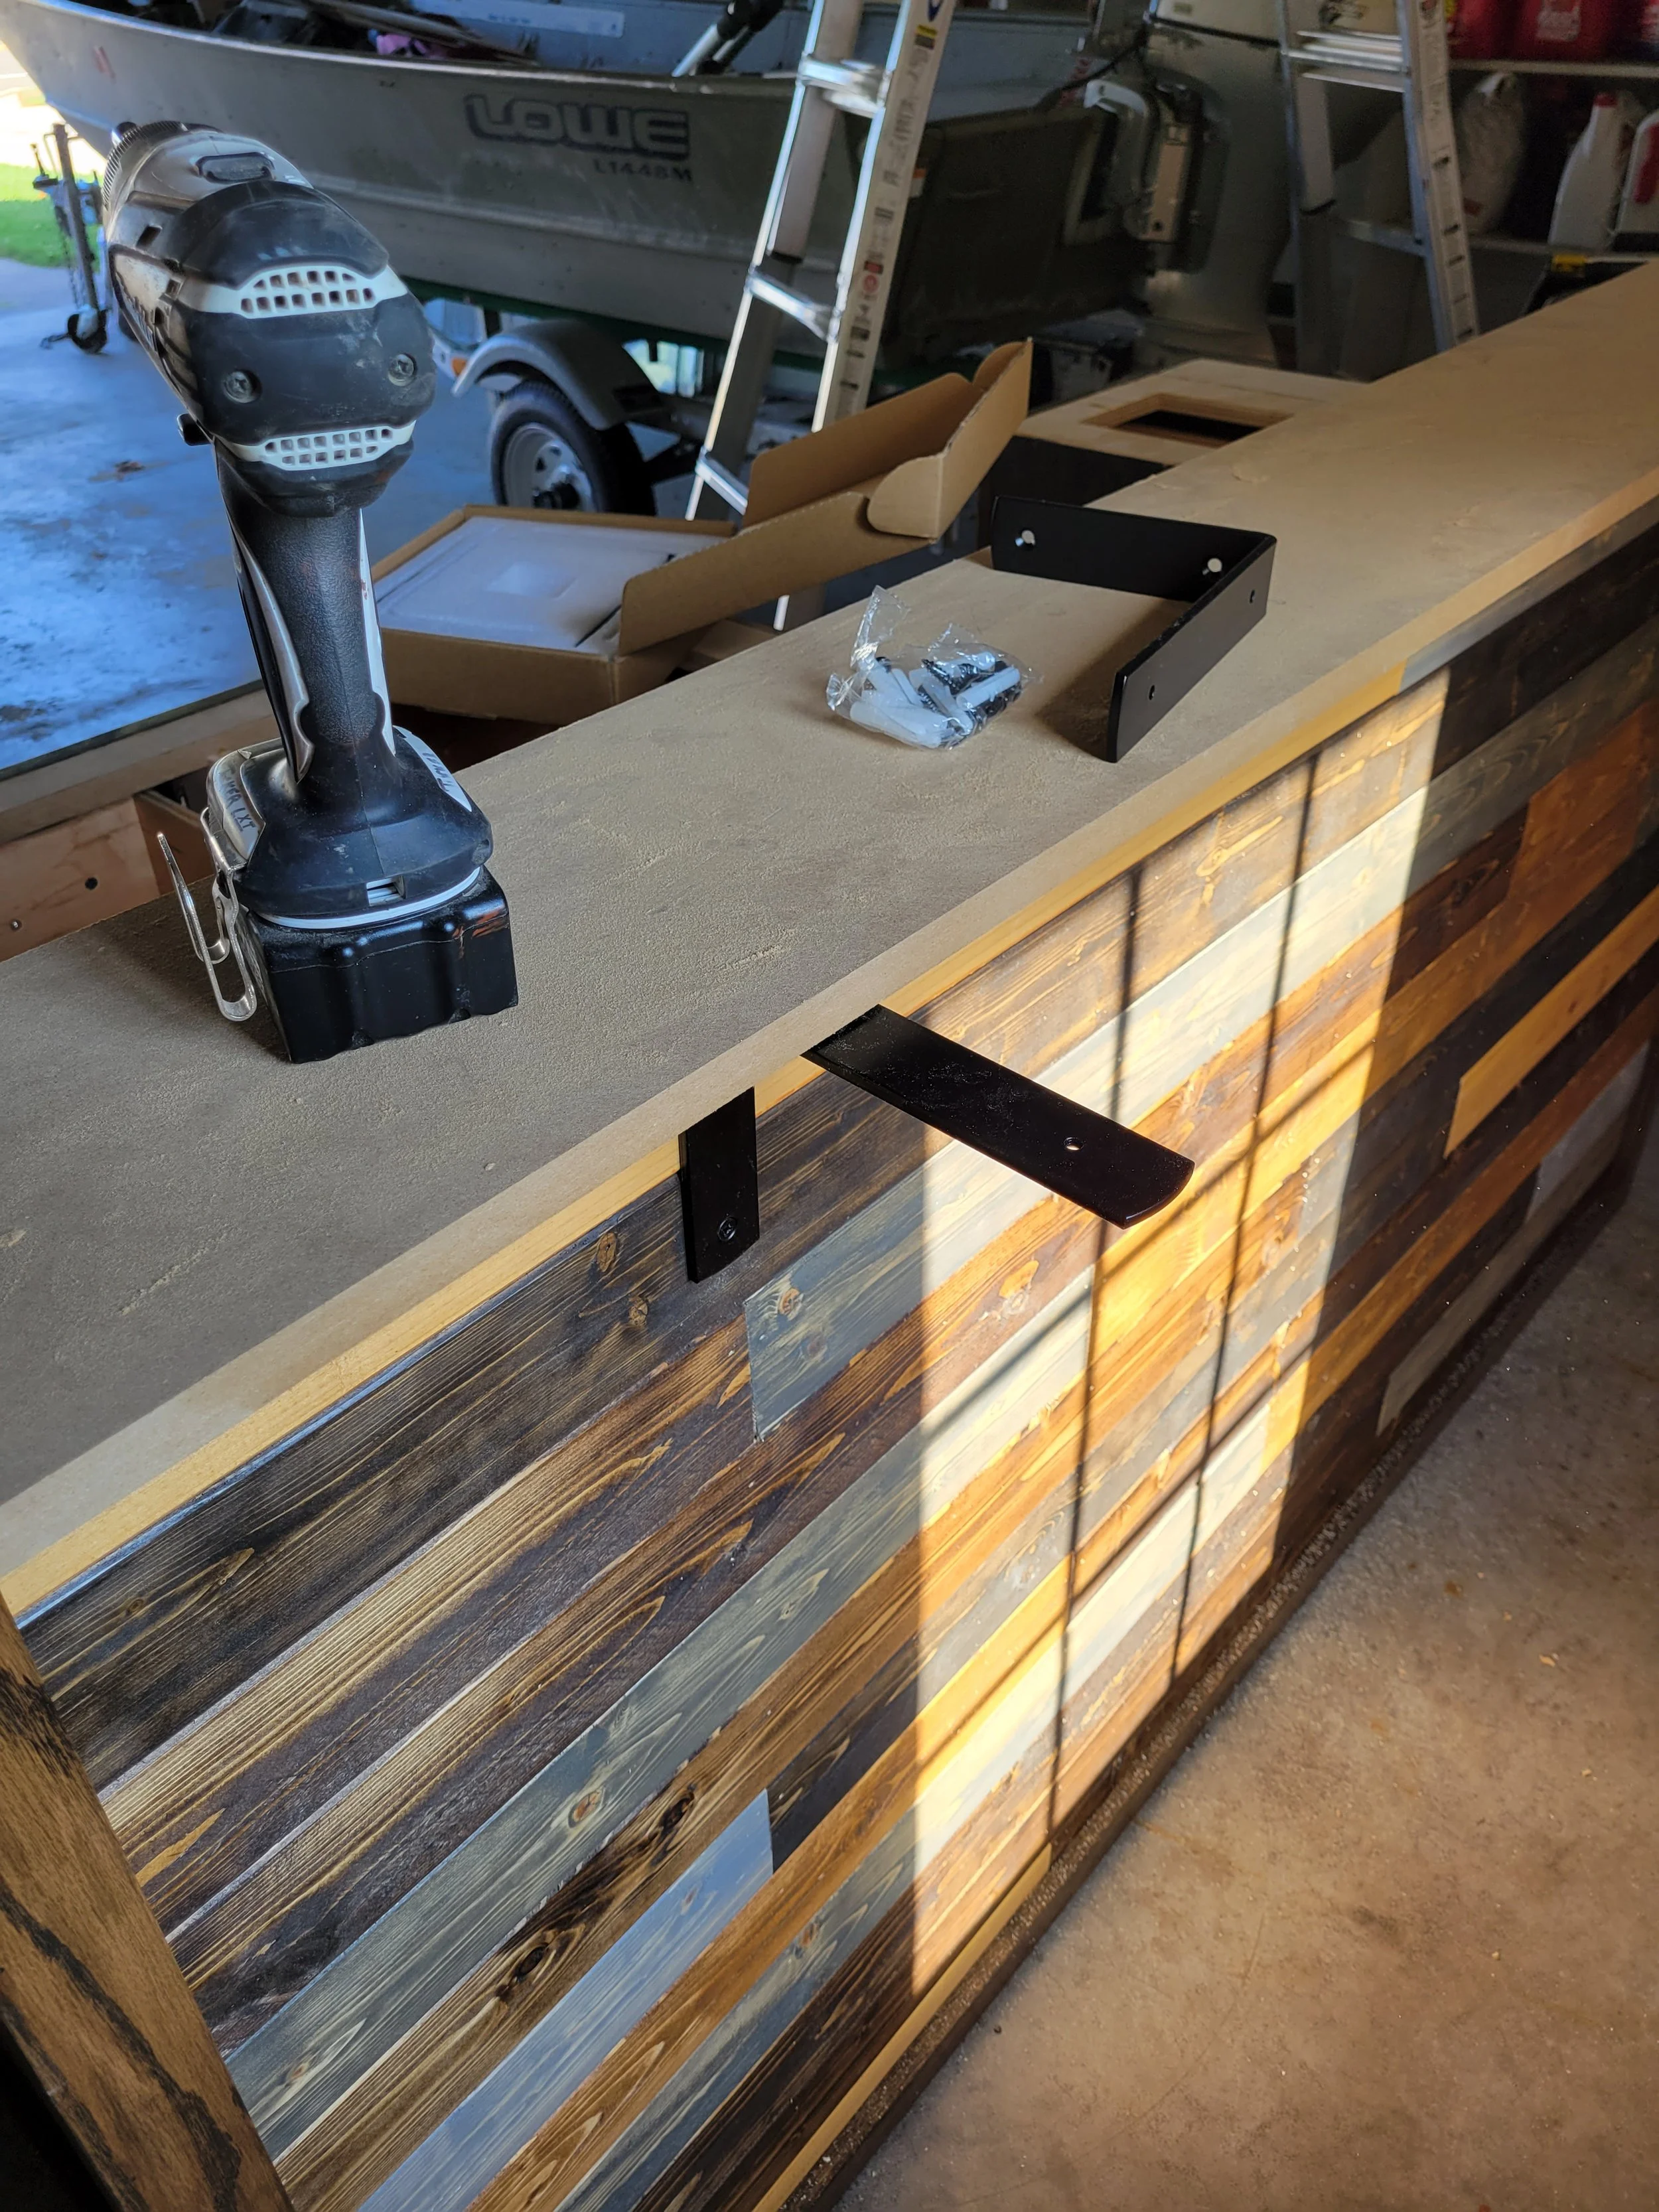
To install the brackets I laid a board on top of the bar back to imitate the bar top. This would give me the height at which to place the brackets. I was able to see where the studs were to attach the brackets by looking at where the nails were that attached the planking into the studs. So I then attached each bracket into a stud using the hardware they came with.
Well that’s not ideal

When I attached the top I saw that the weight of it had flexed the brackets a little bit so that the top was not level. This could have been avoided if I was smart and bought brackets with a support in it that would form a triangle. But I didn’t and I’m not a quitter. So I used shims to place in between the brackets and the top to keep the top level. If you’re having doubts about the stability, that’s alright because I was too. But I tested it by hanging from the top with my bodyweight and there was no movement, so I deemed it safe. In summary, don’t be like me. Buy the appropriate hardware.
And that is how I made some attractive bar tops. And with the serious cash I saved I could invest in Bitcoin. So actually these bar tops are gonna make me a millionaire. A lonely millionaire that spends Christmas day writing a blog about wood flooring and making butt jokes.