
Scrolling For Likes
Spend your time scrolling on a scroll saw. the only person cyberbullying you will be yourself.
Want to make art but you have problems expressing yourself? Are you a fan of misinformation? This blog post is perfect for you. I’ll show you to use a scroll saw to make art that pretends it is better than it really is.
but first…
experimenting is not just for college
Anyone who knows me knows that I am a firm believer in not ending experimentation when your college days over. That is why I decided to try my hand at becoming a filmmaker. If you don’t like reading my garbage writing then you’re probably not going to like hearing me speak it to you, but you should still give it a shot and check out the video I made for this project below.
Let the Internet think for you
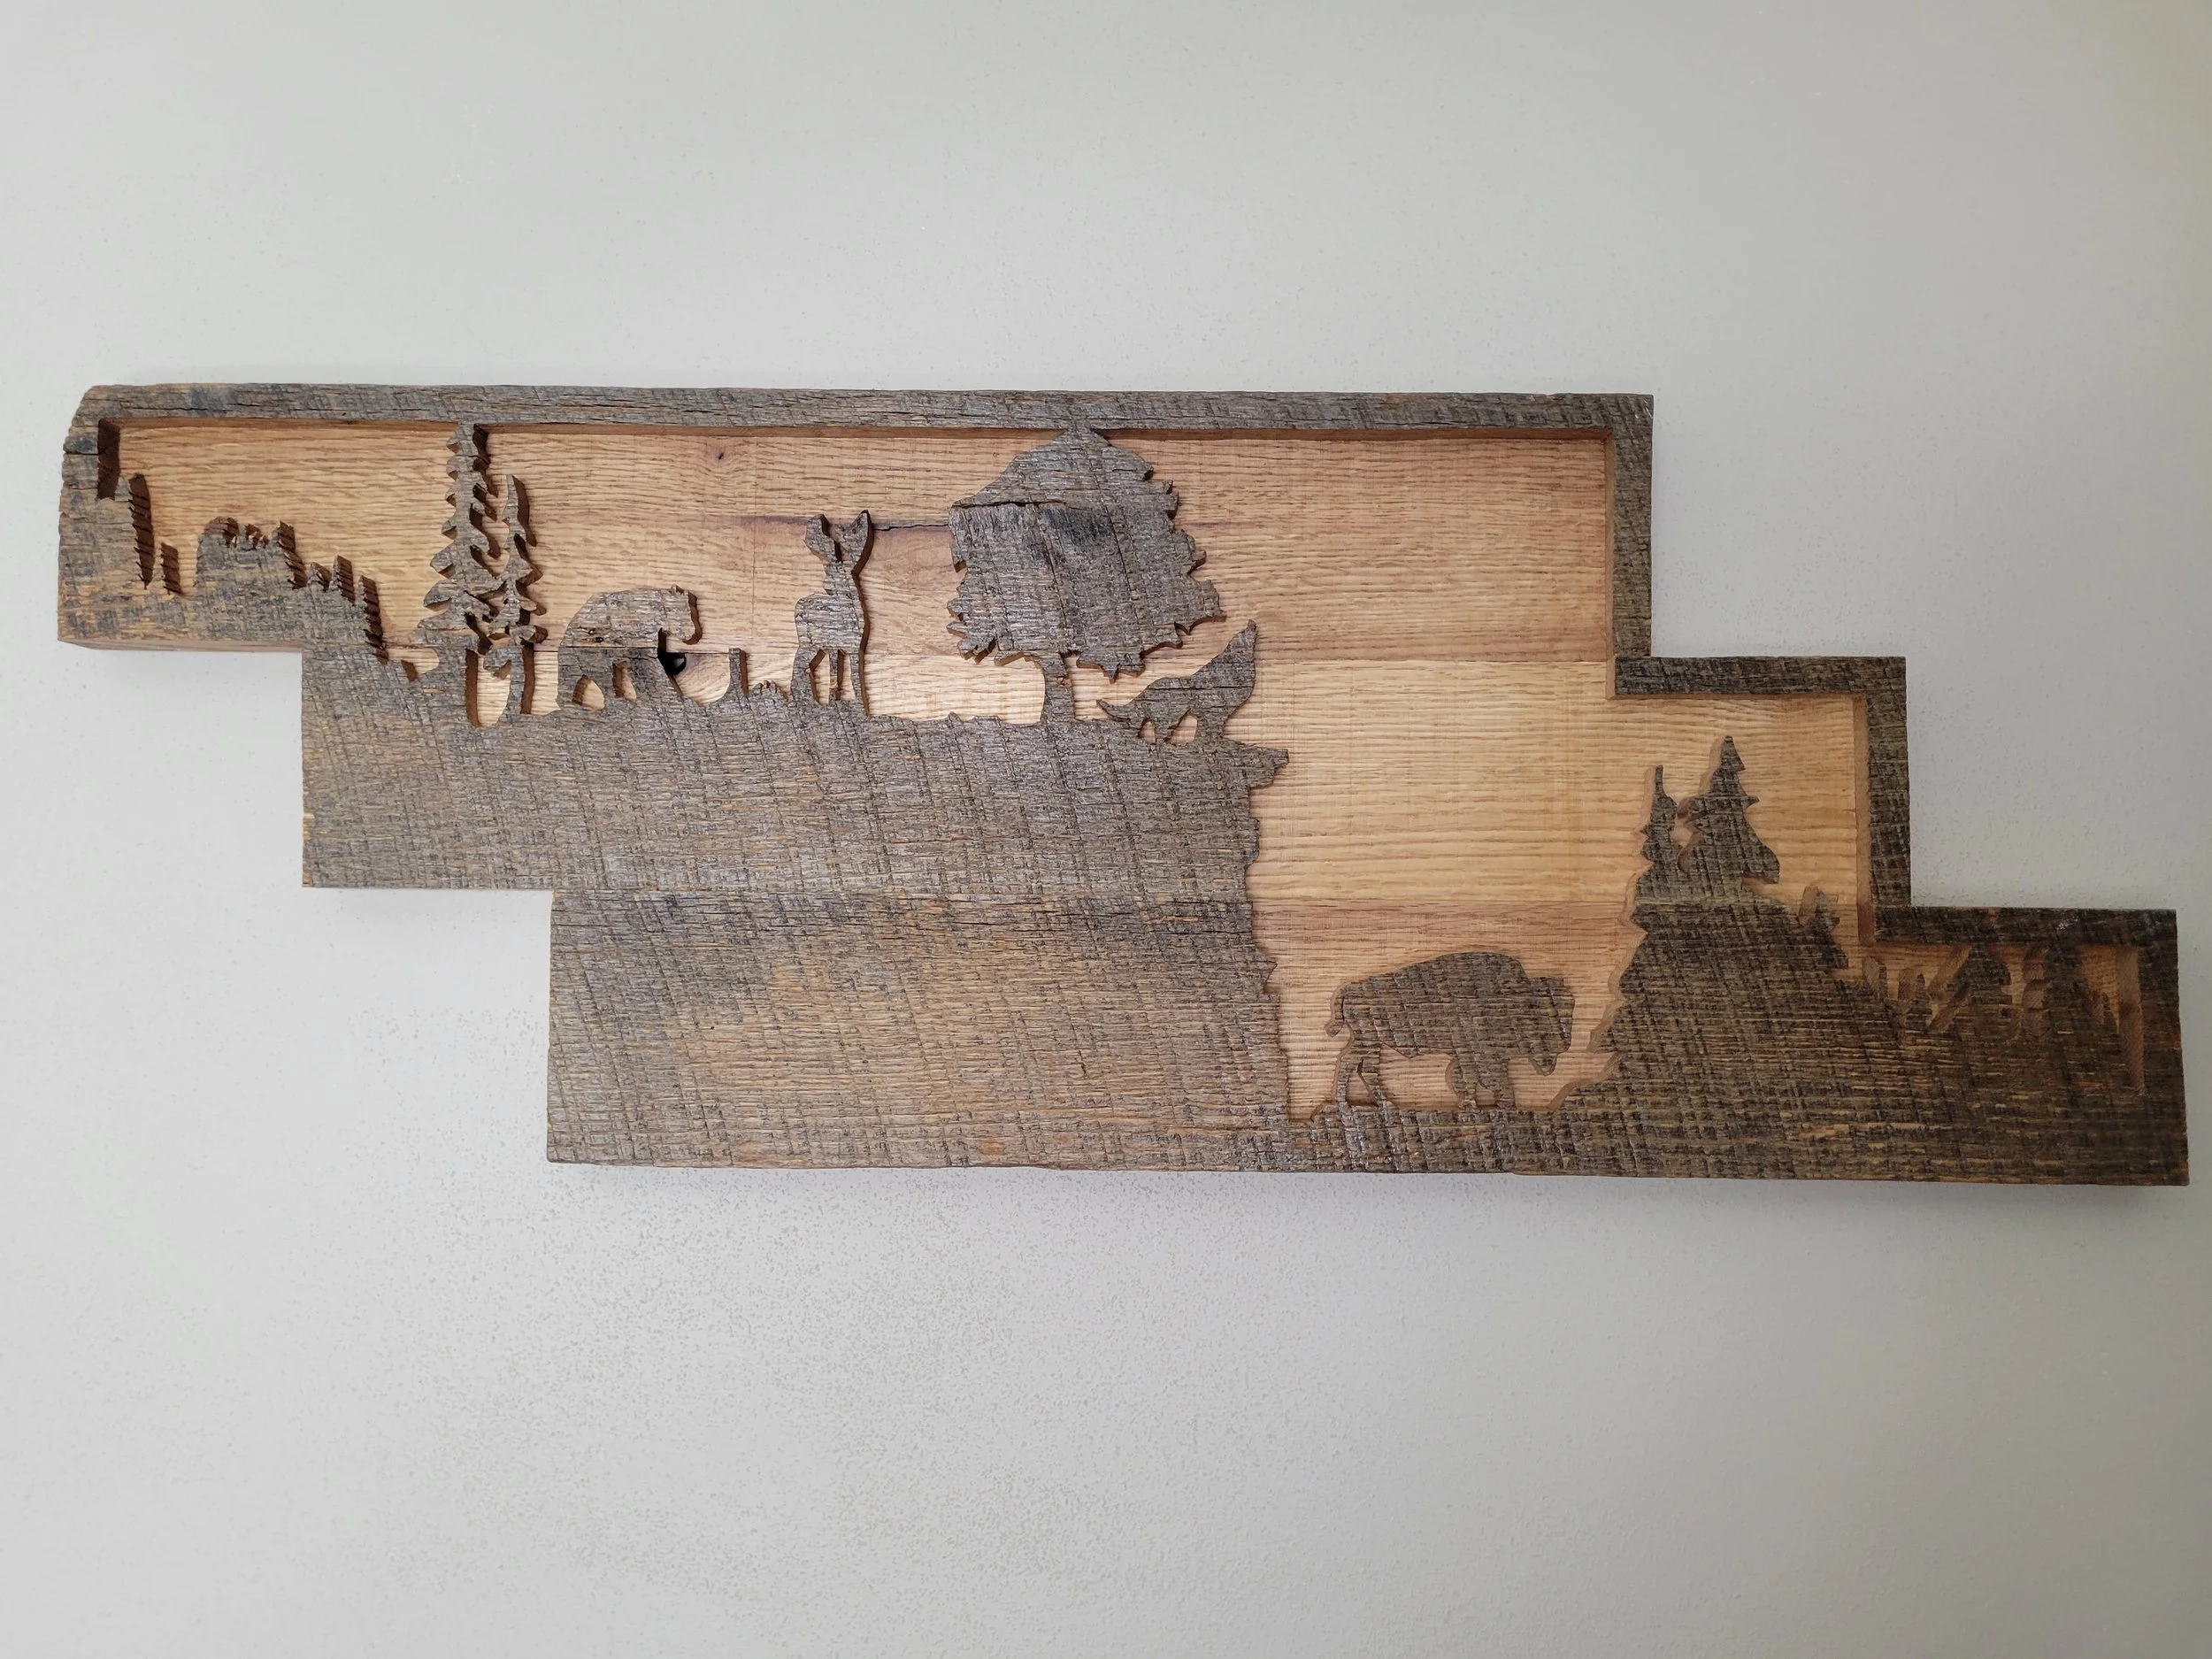
Contrary to popular belief, I am actually rather artistically challenged. I cannot draw to save my life. I cannot even sketch out a working life plan. Luckily I learned at a young age that when you cannot do something you can probably steal it from others. So for all of my scroll saw designs I actually use clip art to make my sketches. I find the clipart that I want and I put it into a Google Drawings sketch. The reason I use Google Drawings is because it is free and you can resize the canvas in inches to match the size of the piece that you’re working on. That way you know exactly how everything is going to look once it is laid out on the workpiece. In this case I used a number of clip art images of trees, buffalo, wolf, etc and made a big collage of pirated clip art. It may be copyright infringement but at the same time it may not be. Ignorance is bliss.

Once I have everything the way I want it I then save my image as a PDF. Then I open it in Adobe Reader which is also free. Adobe has a real cool print function called poster. This function prints your image to the size you chose (for mine it was 24” x 9”) and then prints it in however many pages it takes.
Lying Never Hurts if you have a bandsaw

In order to make my piece look like it was made out of one piece of wood I used a process called resawing. This is when you cut a board down it’s thickness to make two thinner pieces. The intention here is to cut my design out of one of the boards and then glue it back onto the other one. Done right, it looks like the board was never cut at all and people will think you actually carved the piece. On one project a guy asked me if I used an automated laser like he thought I could afford one of those. Joke’s on both of us, I can’t.
I have a bandsaw that I use to do this. You can technically use a table saw but you won’t get as clean of a cut and it is a dangerous setup if you have a wide board that is not very thick, especially if isn’t perfectly straight. But if you think you could go without a finger and want to live a little I won’t stop you.

My actual piece consisted of 3 boards, all of which I cut into half for 6 boards total. This meant I had 3 front boards that I would cut my design into and 3 boards that would serve as the back. I like to make everything more of a problem than it needs to be so I also decided to offset the boards as well. This created an issue for when I needed to glue my boards up. I wanted to glue my front boards together and my bottom boards together but if I did that separately it would be very hard to make sure they all lined up when it came to the final glue up. I solved this by using plastic wrap to separate the front and back boards. That way I could glue the front and back at the same time, ensuring that everything stayed aligned. If you’re confused don’t worry, it took me a hot minute to think of this idea.
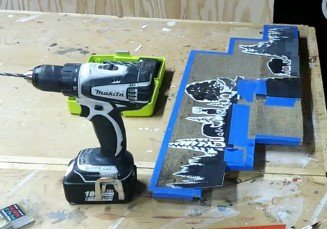
Then I taped my design onto the front boards and covered everything with clear packing tape so that I could see where I needed to cut. Notice that I had cut away most of the waste paper to give the tape more surface area to stick to. I also drilled a number of holes into the waste wood areas so that I could insert the scroll saw blade to start my cuts.
Cut out the bad

It was finally time to do what I do best: cutting things out of my life. I just cut along the lines like I was a 4 year old with a pair of safety scissors, except I had a machine pushing a tiny saw blade up and down at a rapid rate. The whole cutting process took me about 5 hours, but that’s 5 hours that I didn’t have to spend out in the world socializing with people.
If you’ve ever used a scroll saw, you know that they’re pretty easy and safe to use. I recommend these types of projects for beginners because scroll saws are relatively cheap and there isn’t much you can do to hurt yourself. The key is to let the blade do the cutting. There’s no need to be aggressive, but you can yell at the machine if it makes you feel better. It’s best to have a few extra blades to change out when they get dull or break, which they will. Just like people who write lame DIY blogs, scroll saw blades also have a breaking point and do so from time to time.
Coming Together
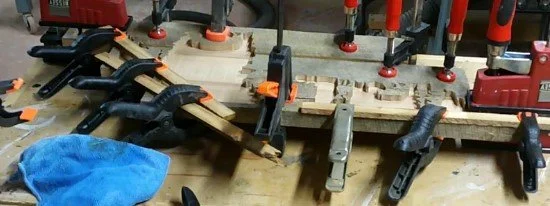
Once my cutting was finished, I cleaned up with some light sandpaper along the edges. I then clamped the front piece to the back piece to make everything whole again. With a proper glue up and alignment it is very difficult to tell that everything was split apart to begin with.
I then used a spray on Polycrylic finish that dries completely clear. I used a spray because if I used a small enough paintbrush to get into all of the nooks that I had cut out I’d still be finishing. I like to finish as quick as I can and just get the whole thing over with. I did 2 coats. A lot of finishes recommend 3 but for pieces like this that are just going to be hanging on a wall inside and aren’t going to be manhandled I think 2 coats work just fine.
After a day I then hammered in some hangers on the back and the piece was done.

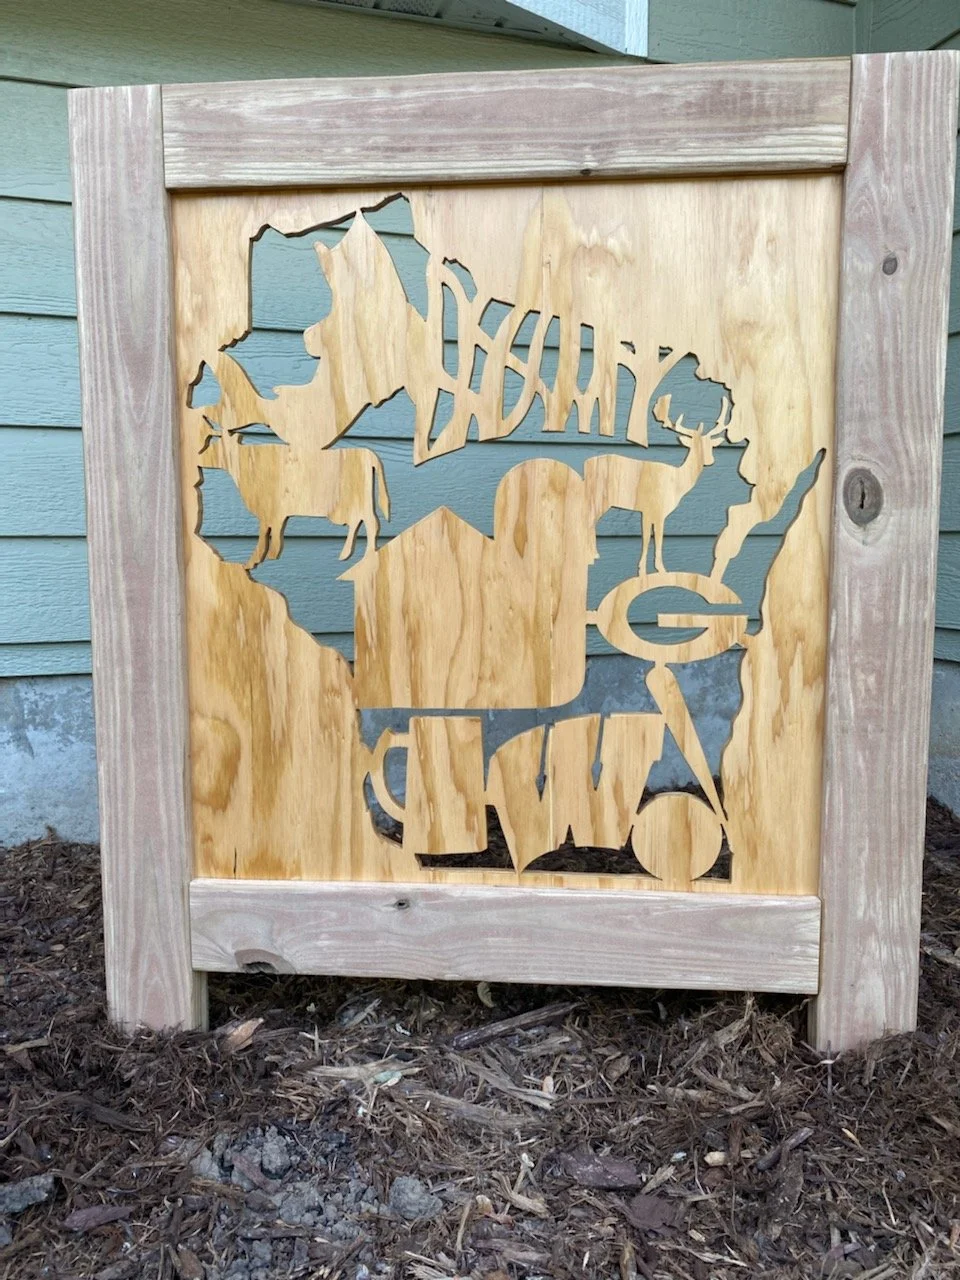
The piece I did was more complicated than it has to be. If you’re going to give scroll sawing a try I wouldn’t start with using multiple pieces or a weird shape. This process works great for simpler projects. I also use the exact same layout procedure for doing larger works using a jigsaw like this one that I completely recented.
Hopefully you found this useful. If you didn’t then I’m not sure what you hoped to expect. In case you are wondering, which I’m sure you’re not, the wood I used was reclaimed oak from a local barn teardown. And that is all I have to say about that. Happy scrolling.