
Impress The Mailman

Make the Mailman want to be your friend with a new dIY mailbox
Having trouble finding friends? There is one person that visits your house every day that you most likely have overlooked… the mailman. Demonstrate your value to this future friend by creating a sturdy and appealing DIY mailbox.
First Impressions are Everything
The mailman, or mailwoman, or malewoman, visits your house six days out of the week. Instead of going out to find friends, just take advantage of your public servants and make them your friends. But in order to do so you have to ensure that they want to be your friend, which can be very difficult if you’re anything like me. But what better way to start than by showing how handy and knowledgeable you are of mail collection than by creating a your own mailbox.
I recently built two identical mailboxes for a newly built duplex. I personally have a wall mounted mailbox near my front door, requiring the mailman to come visit me on foot daily. The only reason we aren’t friends is that I also have a dog that verbally assaults the mailman whenever he visits. Unfortunate, but it does highlight one perk of dog ownership… you can always blame your social shortcomings on your dog.
The Materials

I built these mailbox posts using only 4x4 cedartone treated lumber and some lag screws. You can build your own box too, but the people I was hired by didn’t want to get too weird with it. Seeing as the posts will be set into the ground, you’re going to want to use treated lumber. I chose cedartone because I hate the green look of green-treated lumber and with cedartone I don’t have to come back and stain them.
Just a side note… I was making two mailboxes for a duplex so the pictures may show double of everything. And in case you’re wondering… no, double the mailboxes does not mean double the friends.
The Boring Part
Since your soon-to-be-friend works for a government agency, there are going to be some rules that come with the relationship. The USPS lists some guidelines for your new mailbox such as:
The mailbox opening has to sit 41-45” above the road surface
The mailbox opening has to be 6-8” behind the curb
The post should be set at a maximum 24” below the ground surface
The mailbox should not be so stable that it doesn’t give way if a car was to hit. (I actually appreciate the USPS’ preference for instability and shallowness).
It sounds like a drag, but there are a lot less rules than what comes with getting a girlfriend so I’m OK with it. Besides these rules also help plan out the dimensions of your support structure. For example, with my post sitting 24” under the ground surface and having to hold the mailbox at a height of 42” I made my post 80” long which allows it rise above the mailbox a couple of inches. My crosspiece was the length of the actual box minus 3” for a setback from the front, plus 7” to account for the joinery and a little overhang in the rear.
Knowing these lengths, I cut my pieces on a miter saw. I cut 45 degree angles on one end of each piece for decoration and to also help water run off from rain.
The Lap Dance

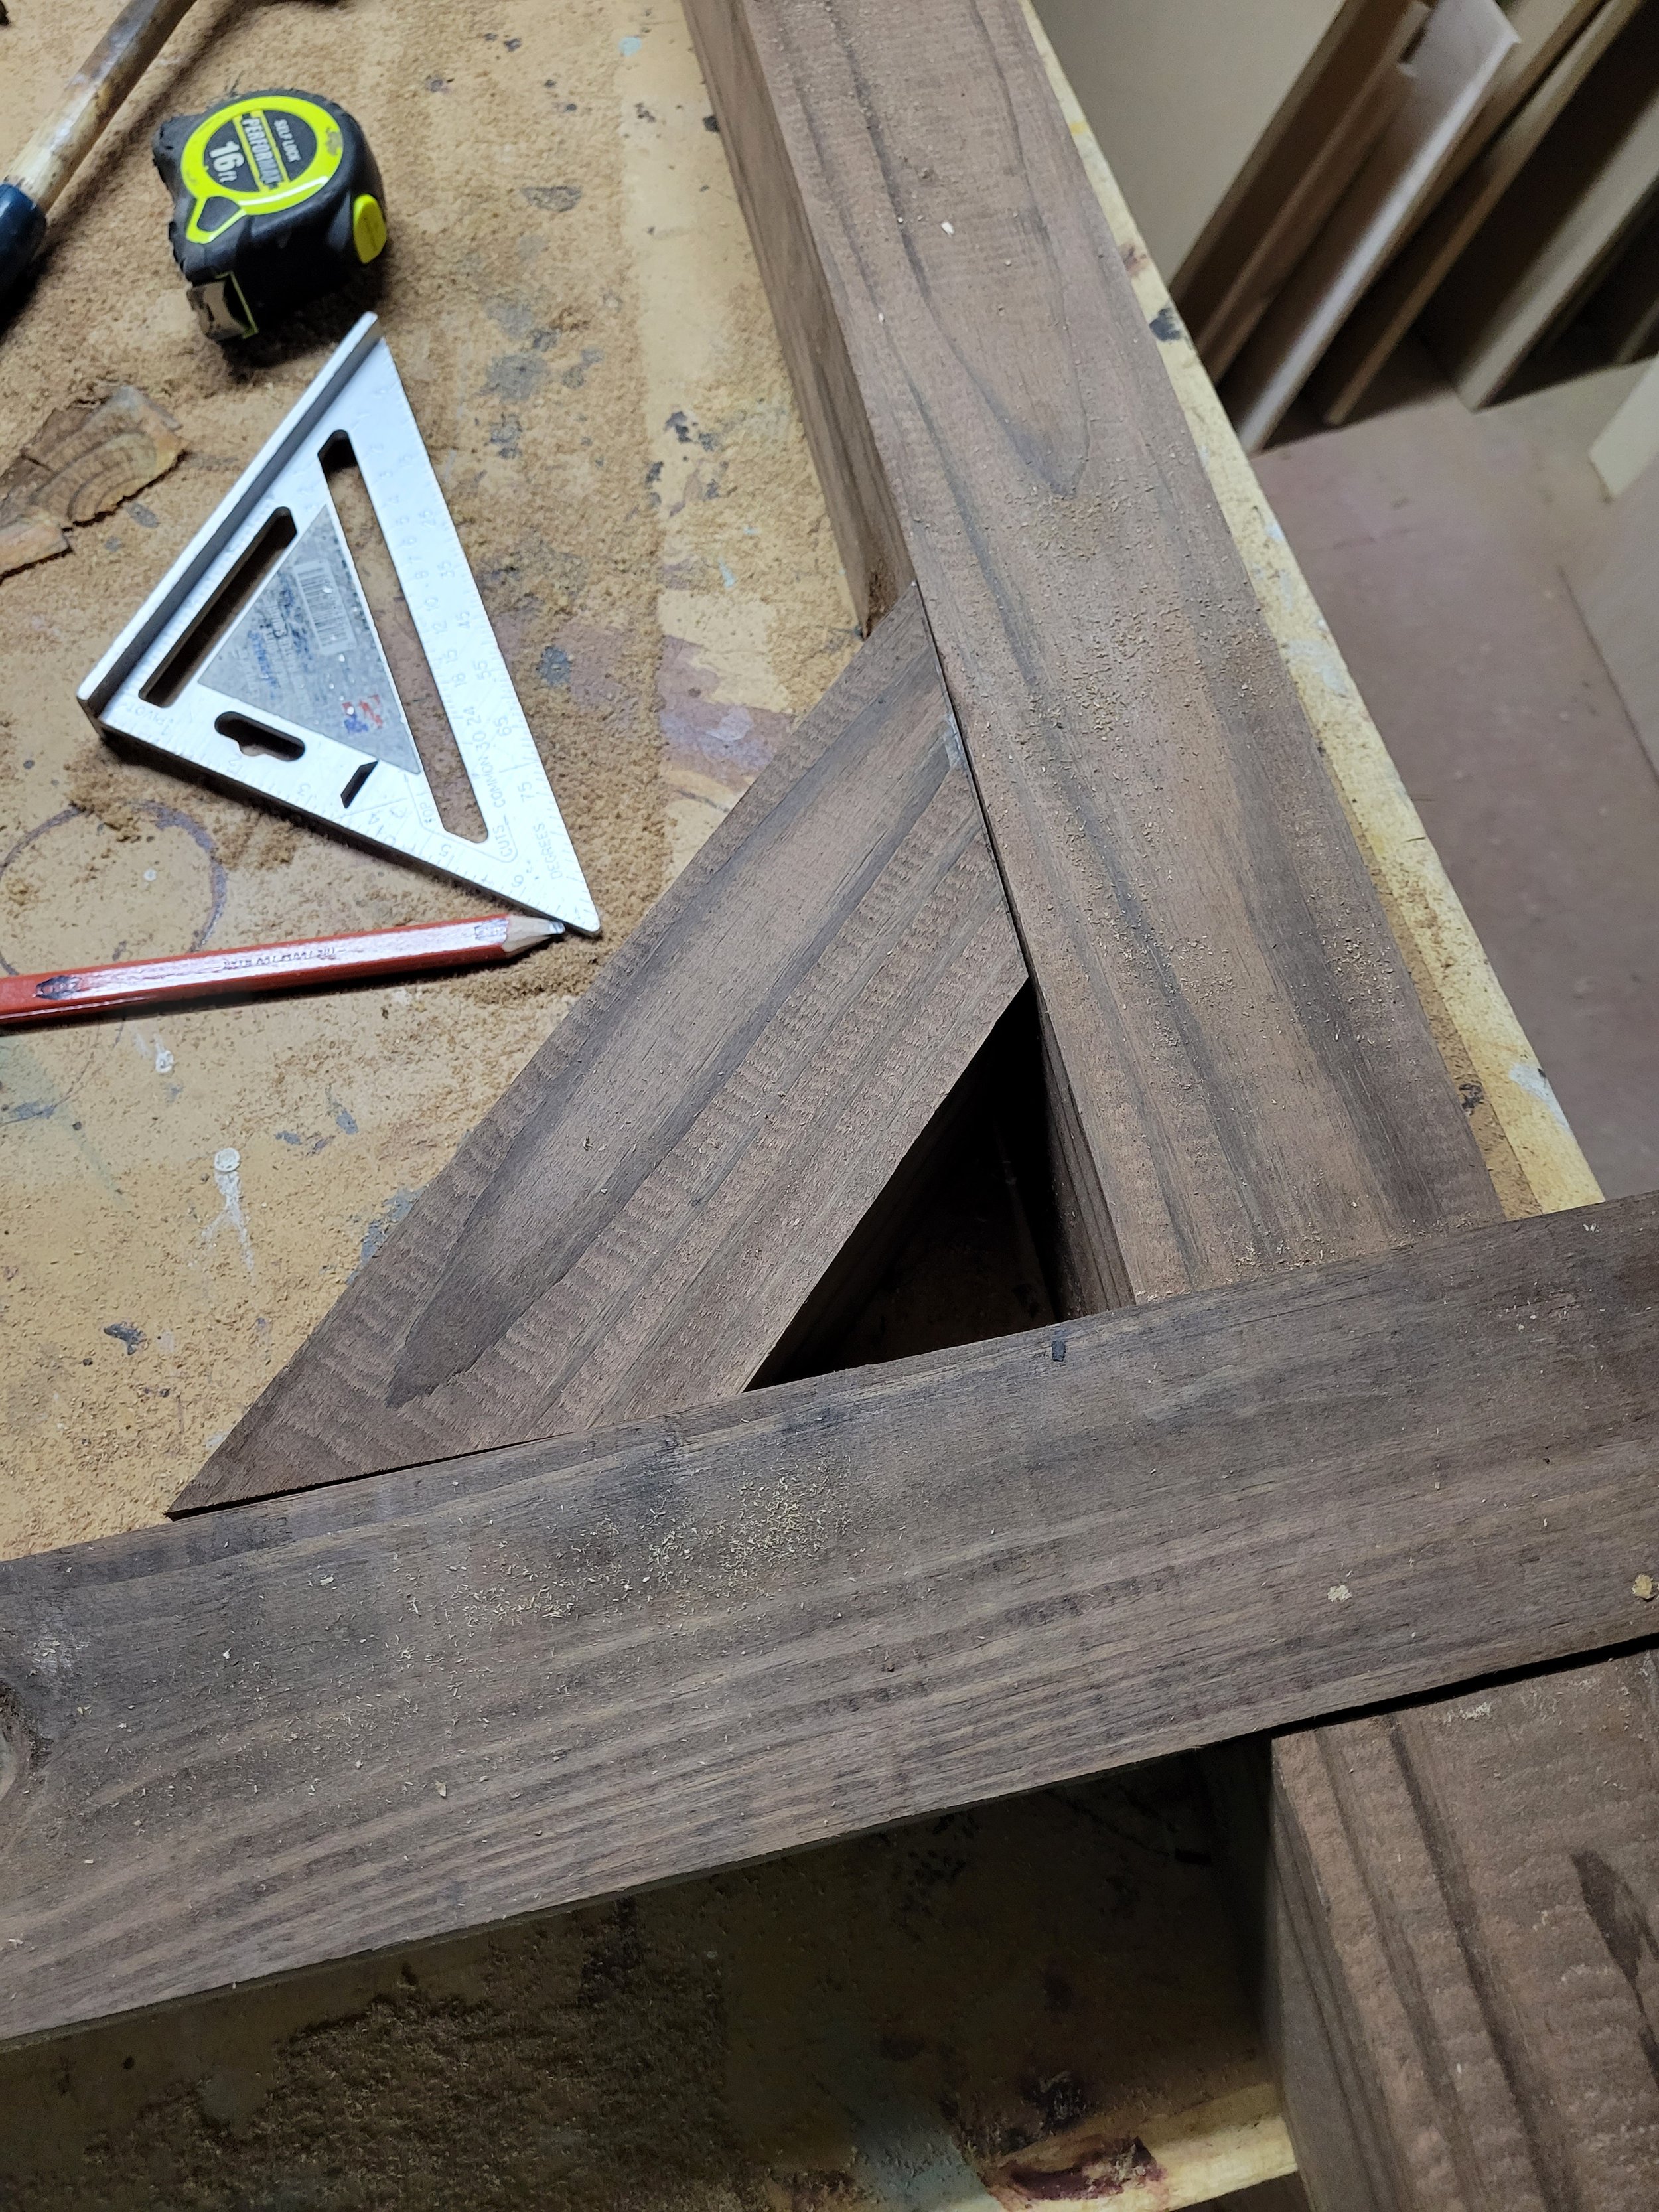
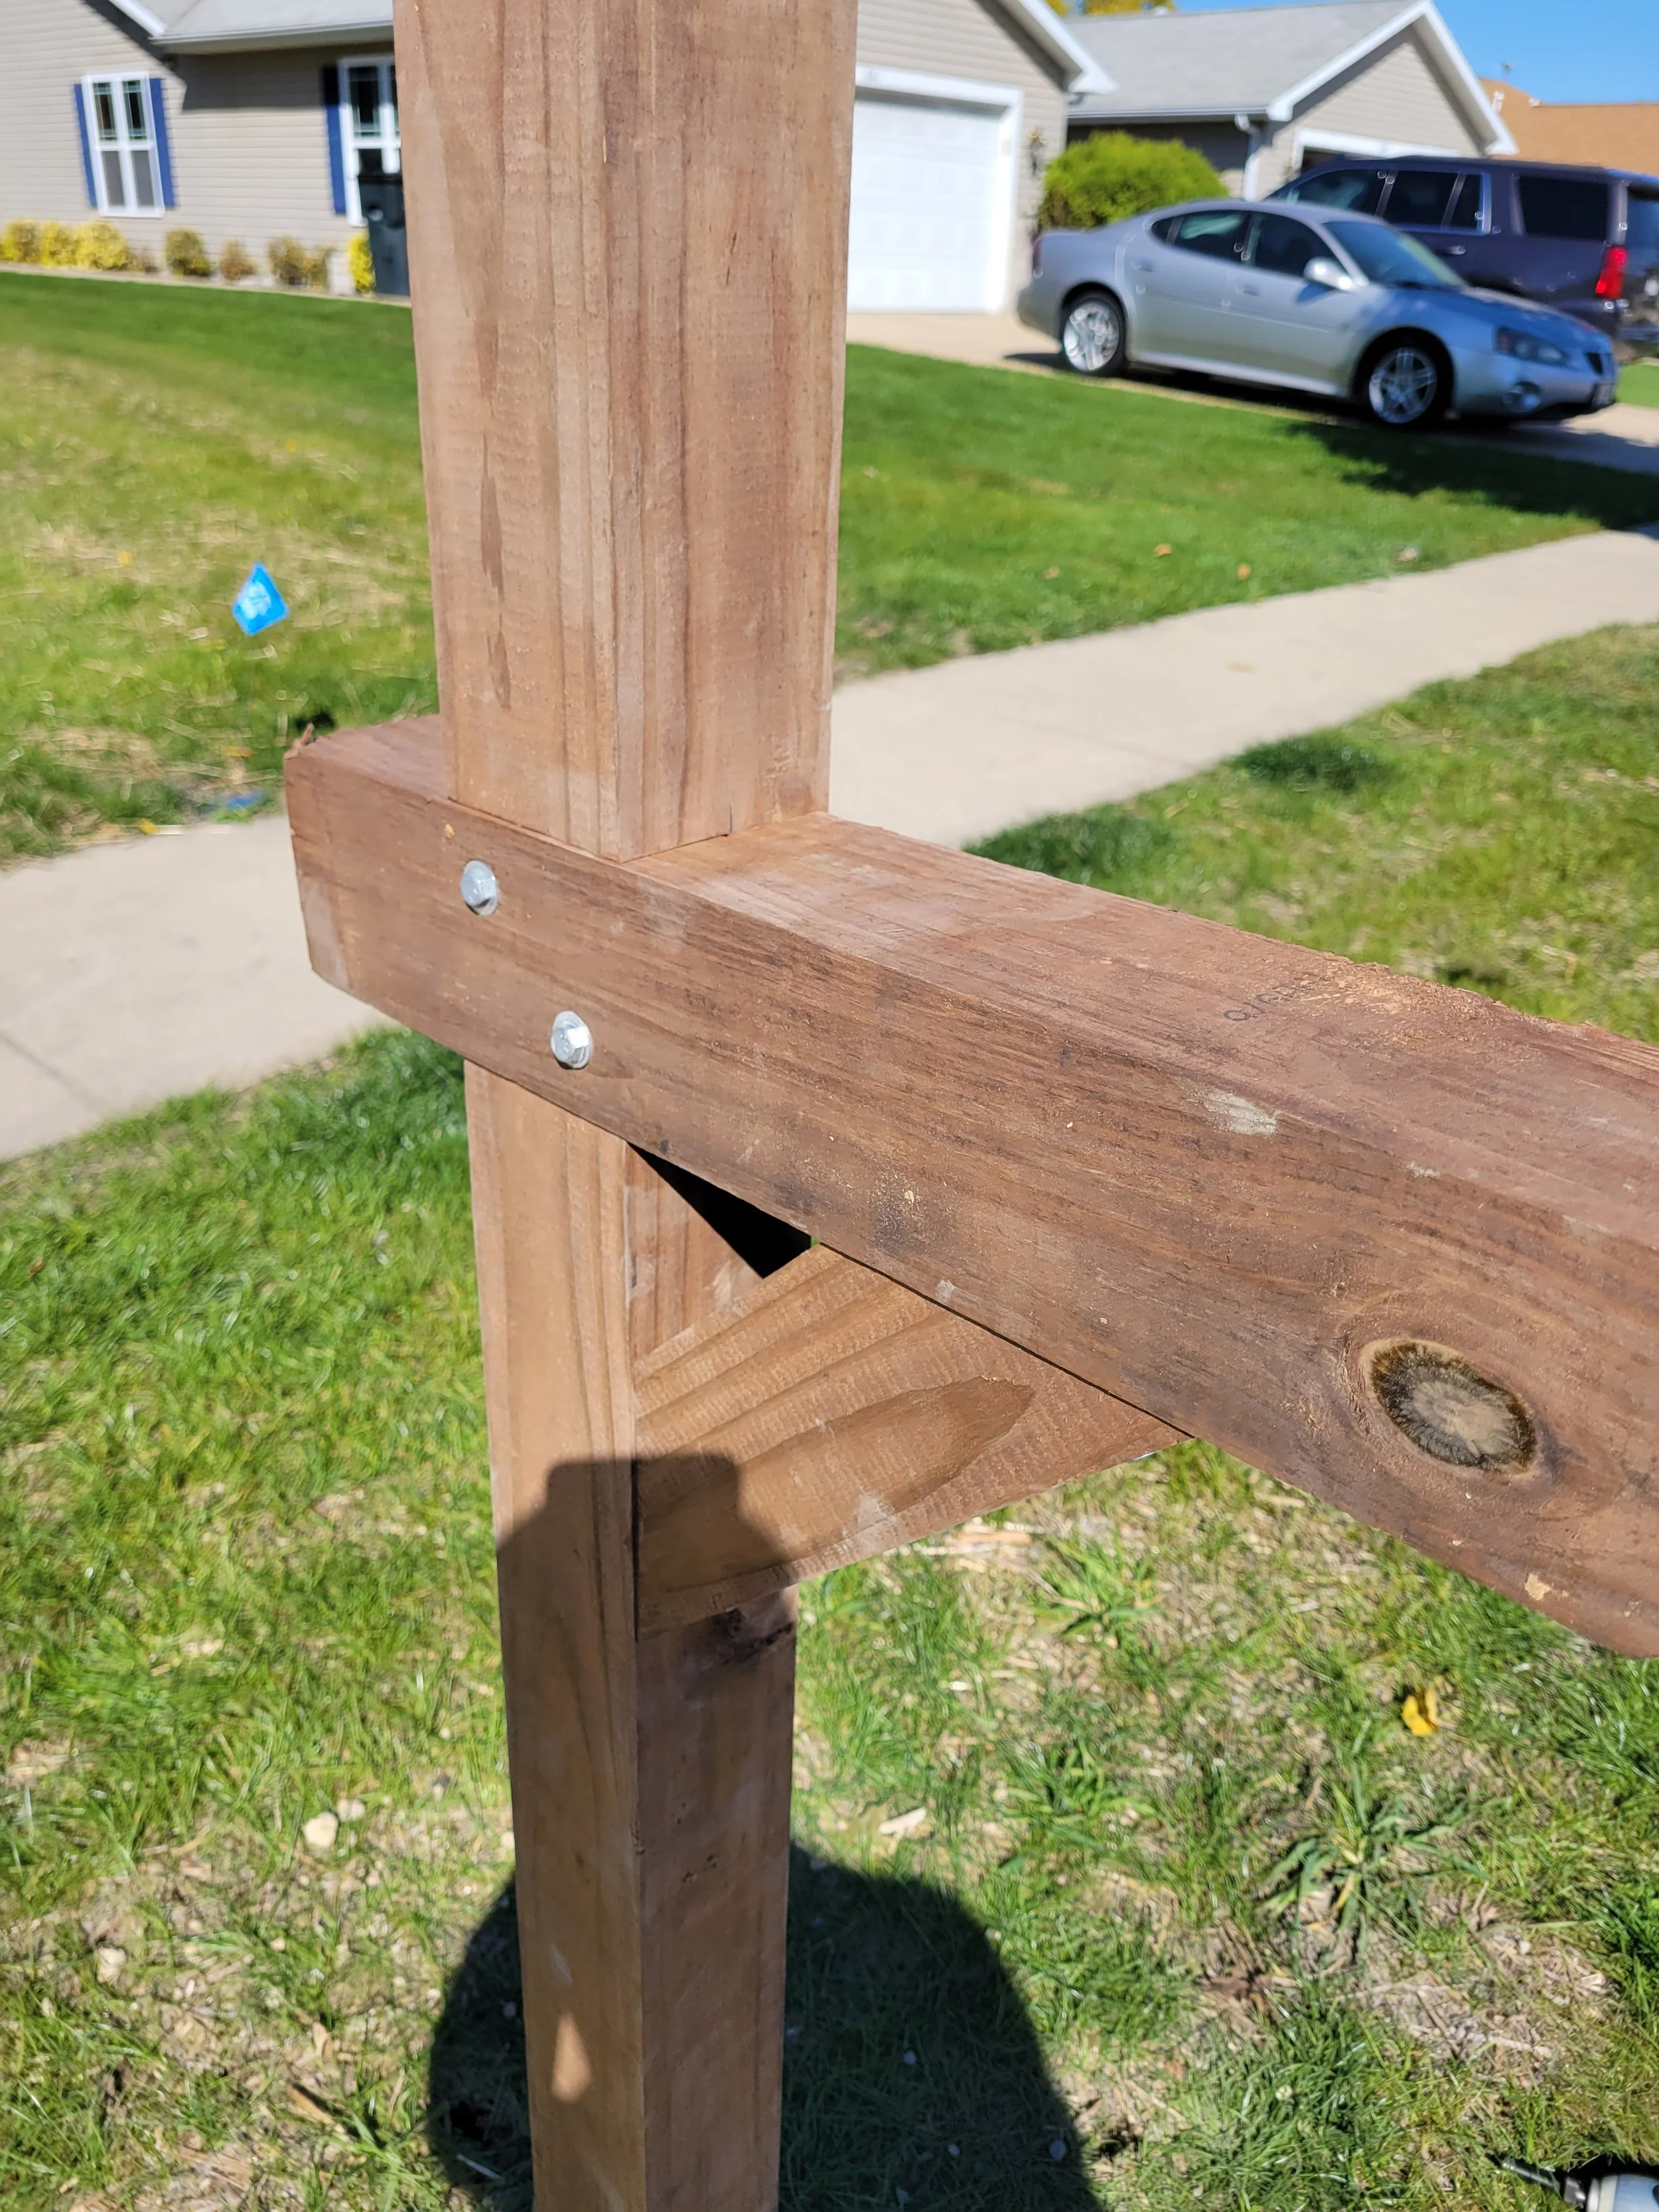
The support structure consists of a post and a crosspiece which the mailbox will rest on. For a clean looking and very strong connection, I used a half lap joint which is also fairly easy to make using a circular saw. A half lap joint is when you notch both materials so that they fit together like in the picture.
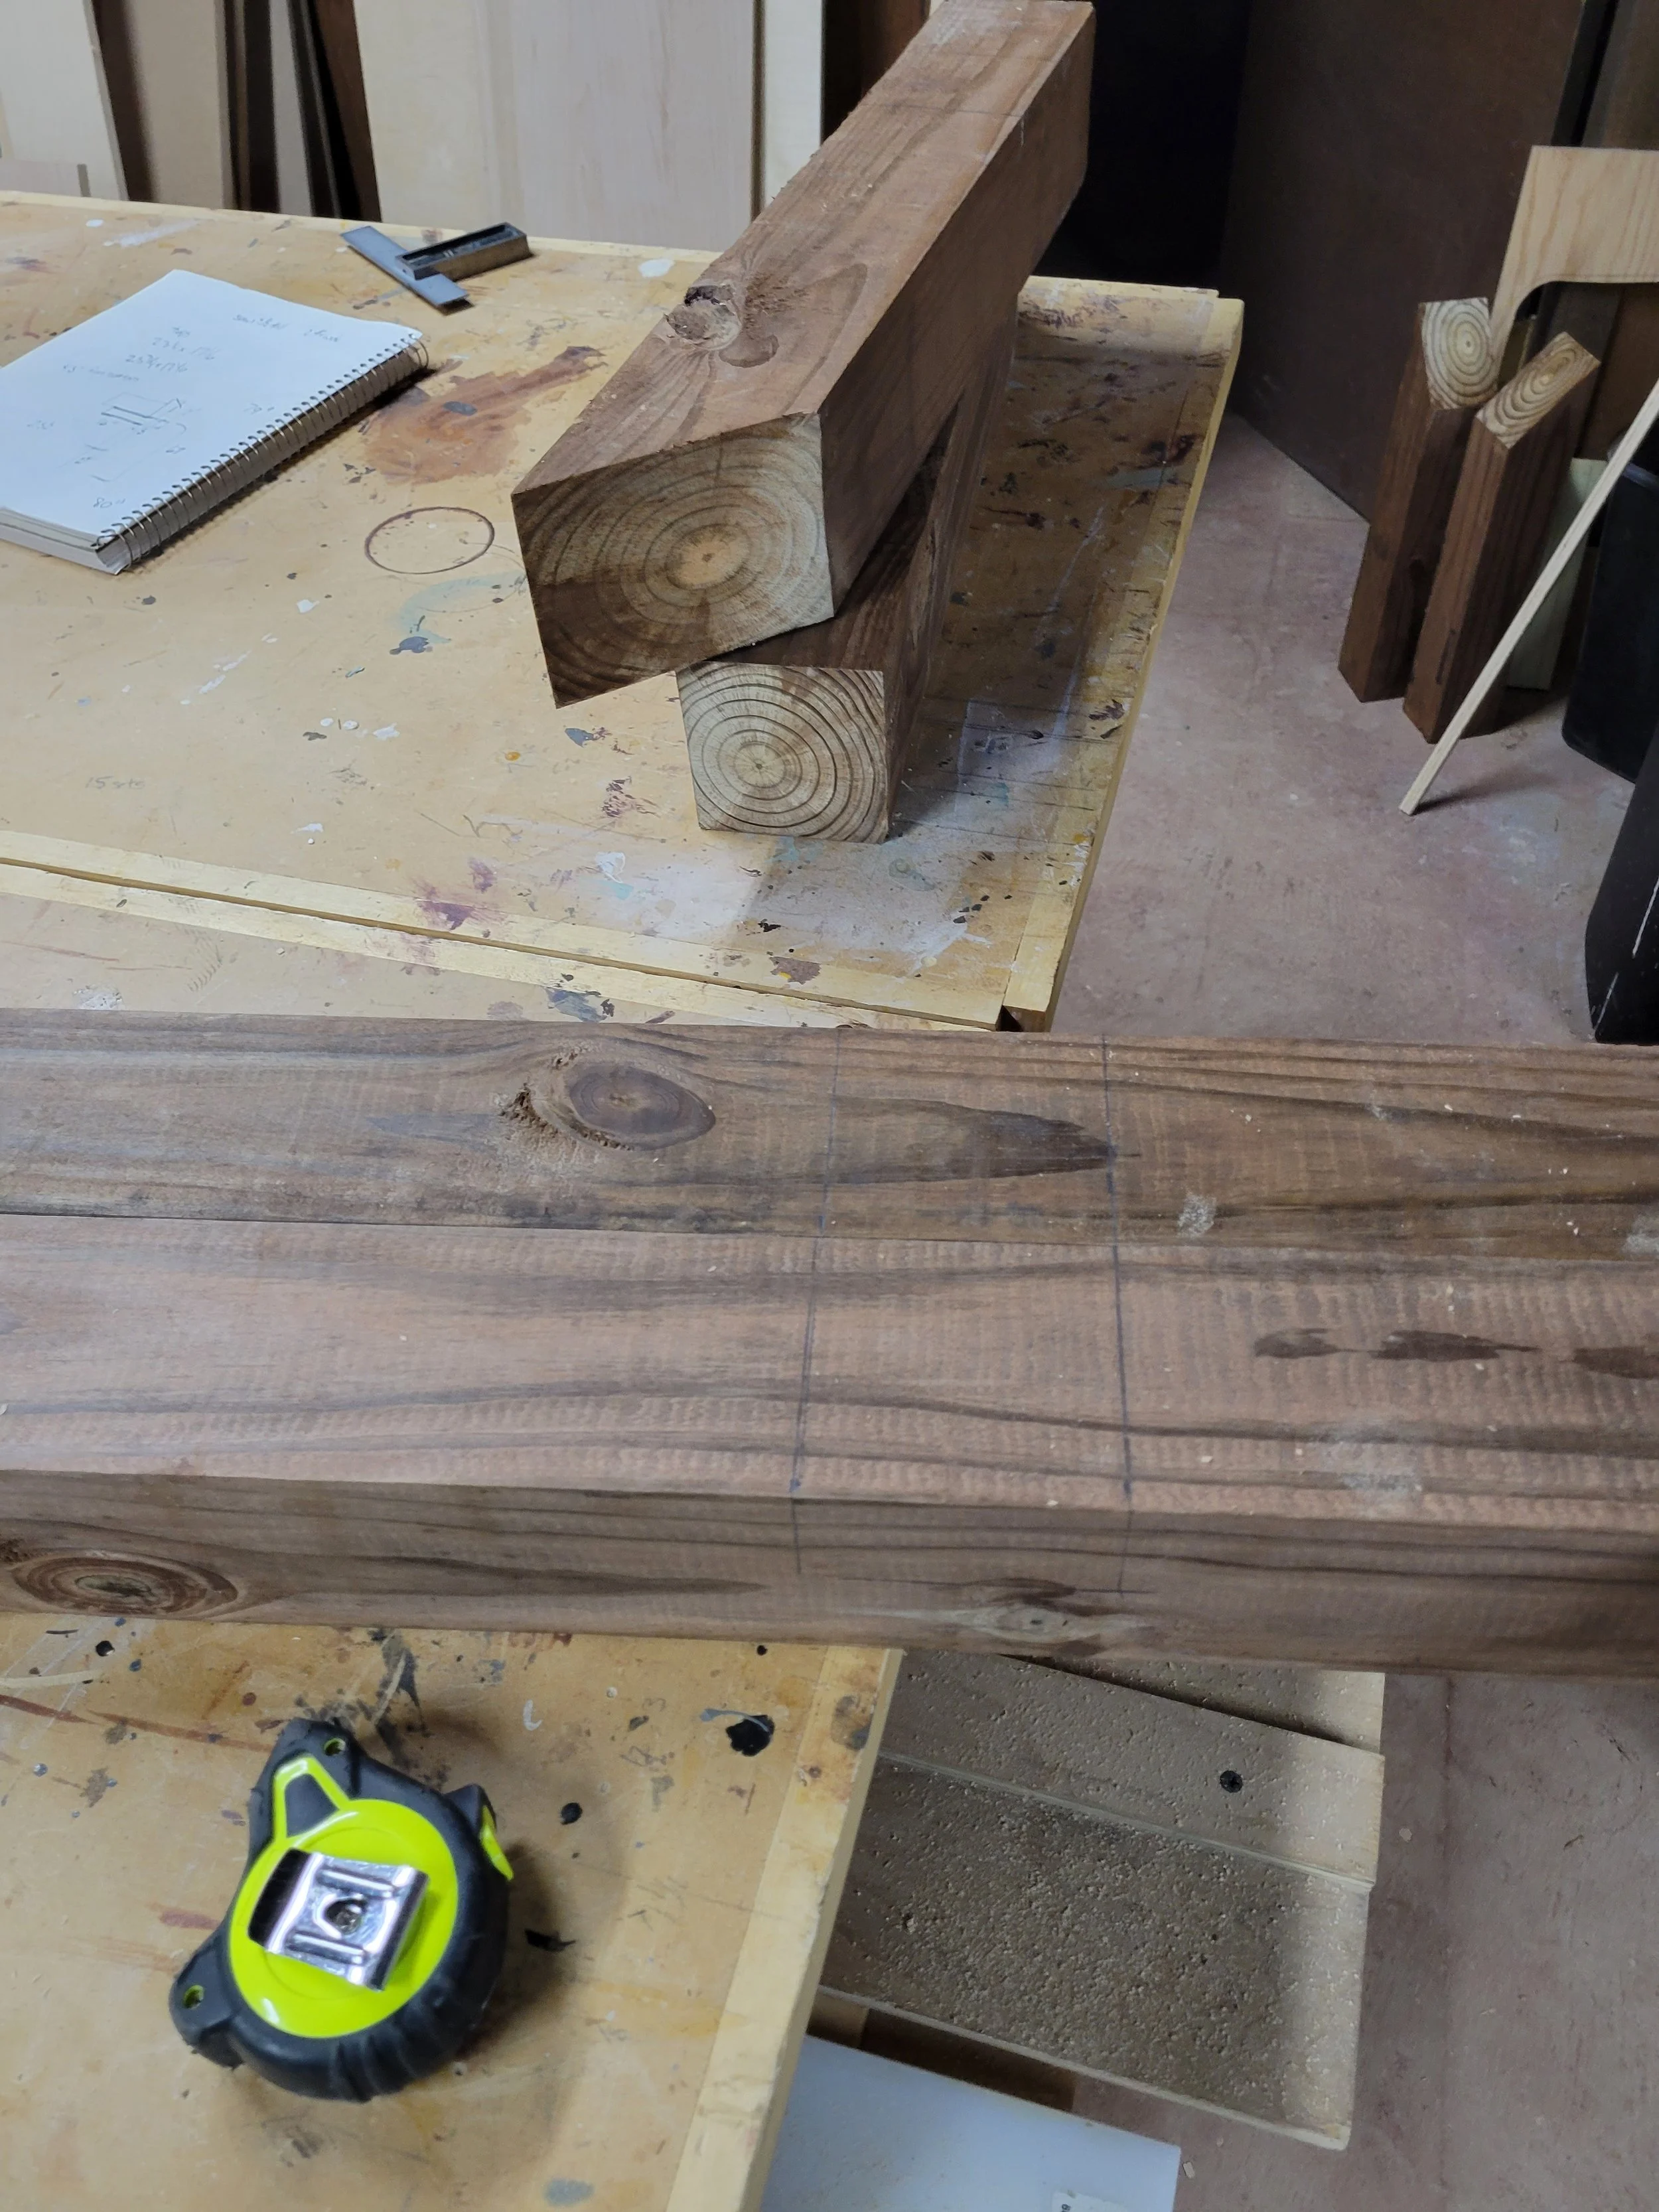
The first step was to mark where I wanted to notch my pieces. My top line on the post would be at the 42” inch mark from the bottom. The bottom line would be the thickness of the crosspiece, which for a 4x4 is actually 3 1/2.” With lumber we call something by the “nominal” size, knowing that the “actual” size is smaller. I fully embrace this rule and I use it when I am asked about certain personal biological measurements.
But anyways… I marked for my notches on both my posts and my crosspieces. For my crosspieces I measured 3 1/2” from the back, marked a line, and them measured another 3 1/2” for the width of the post.
I also wanted to make my notches 1 3/4” deep in both pieces. This is half the width of the pieces (3 1/2”). That way the pieces should align flush with each other when connected.
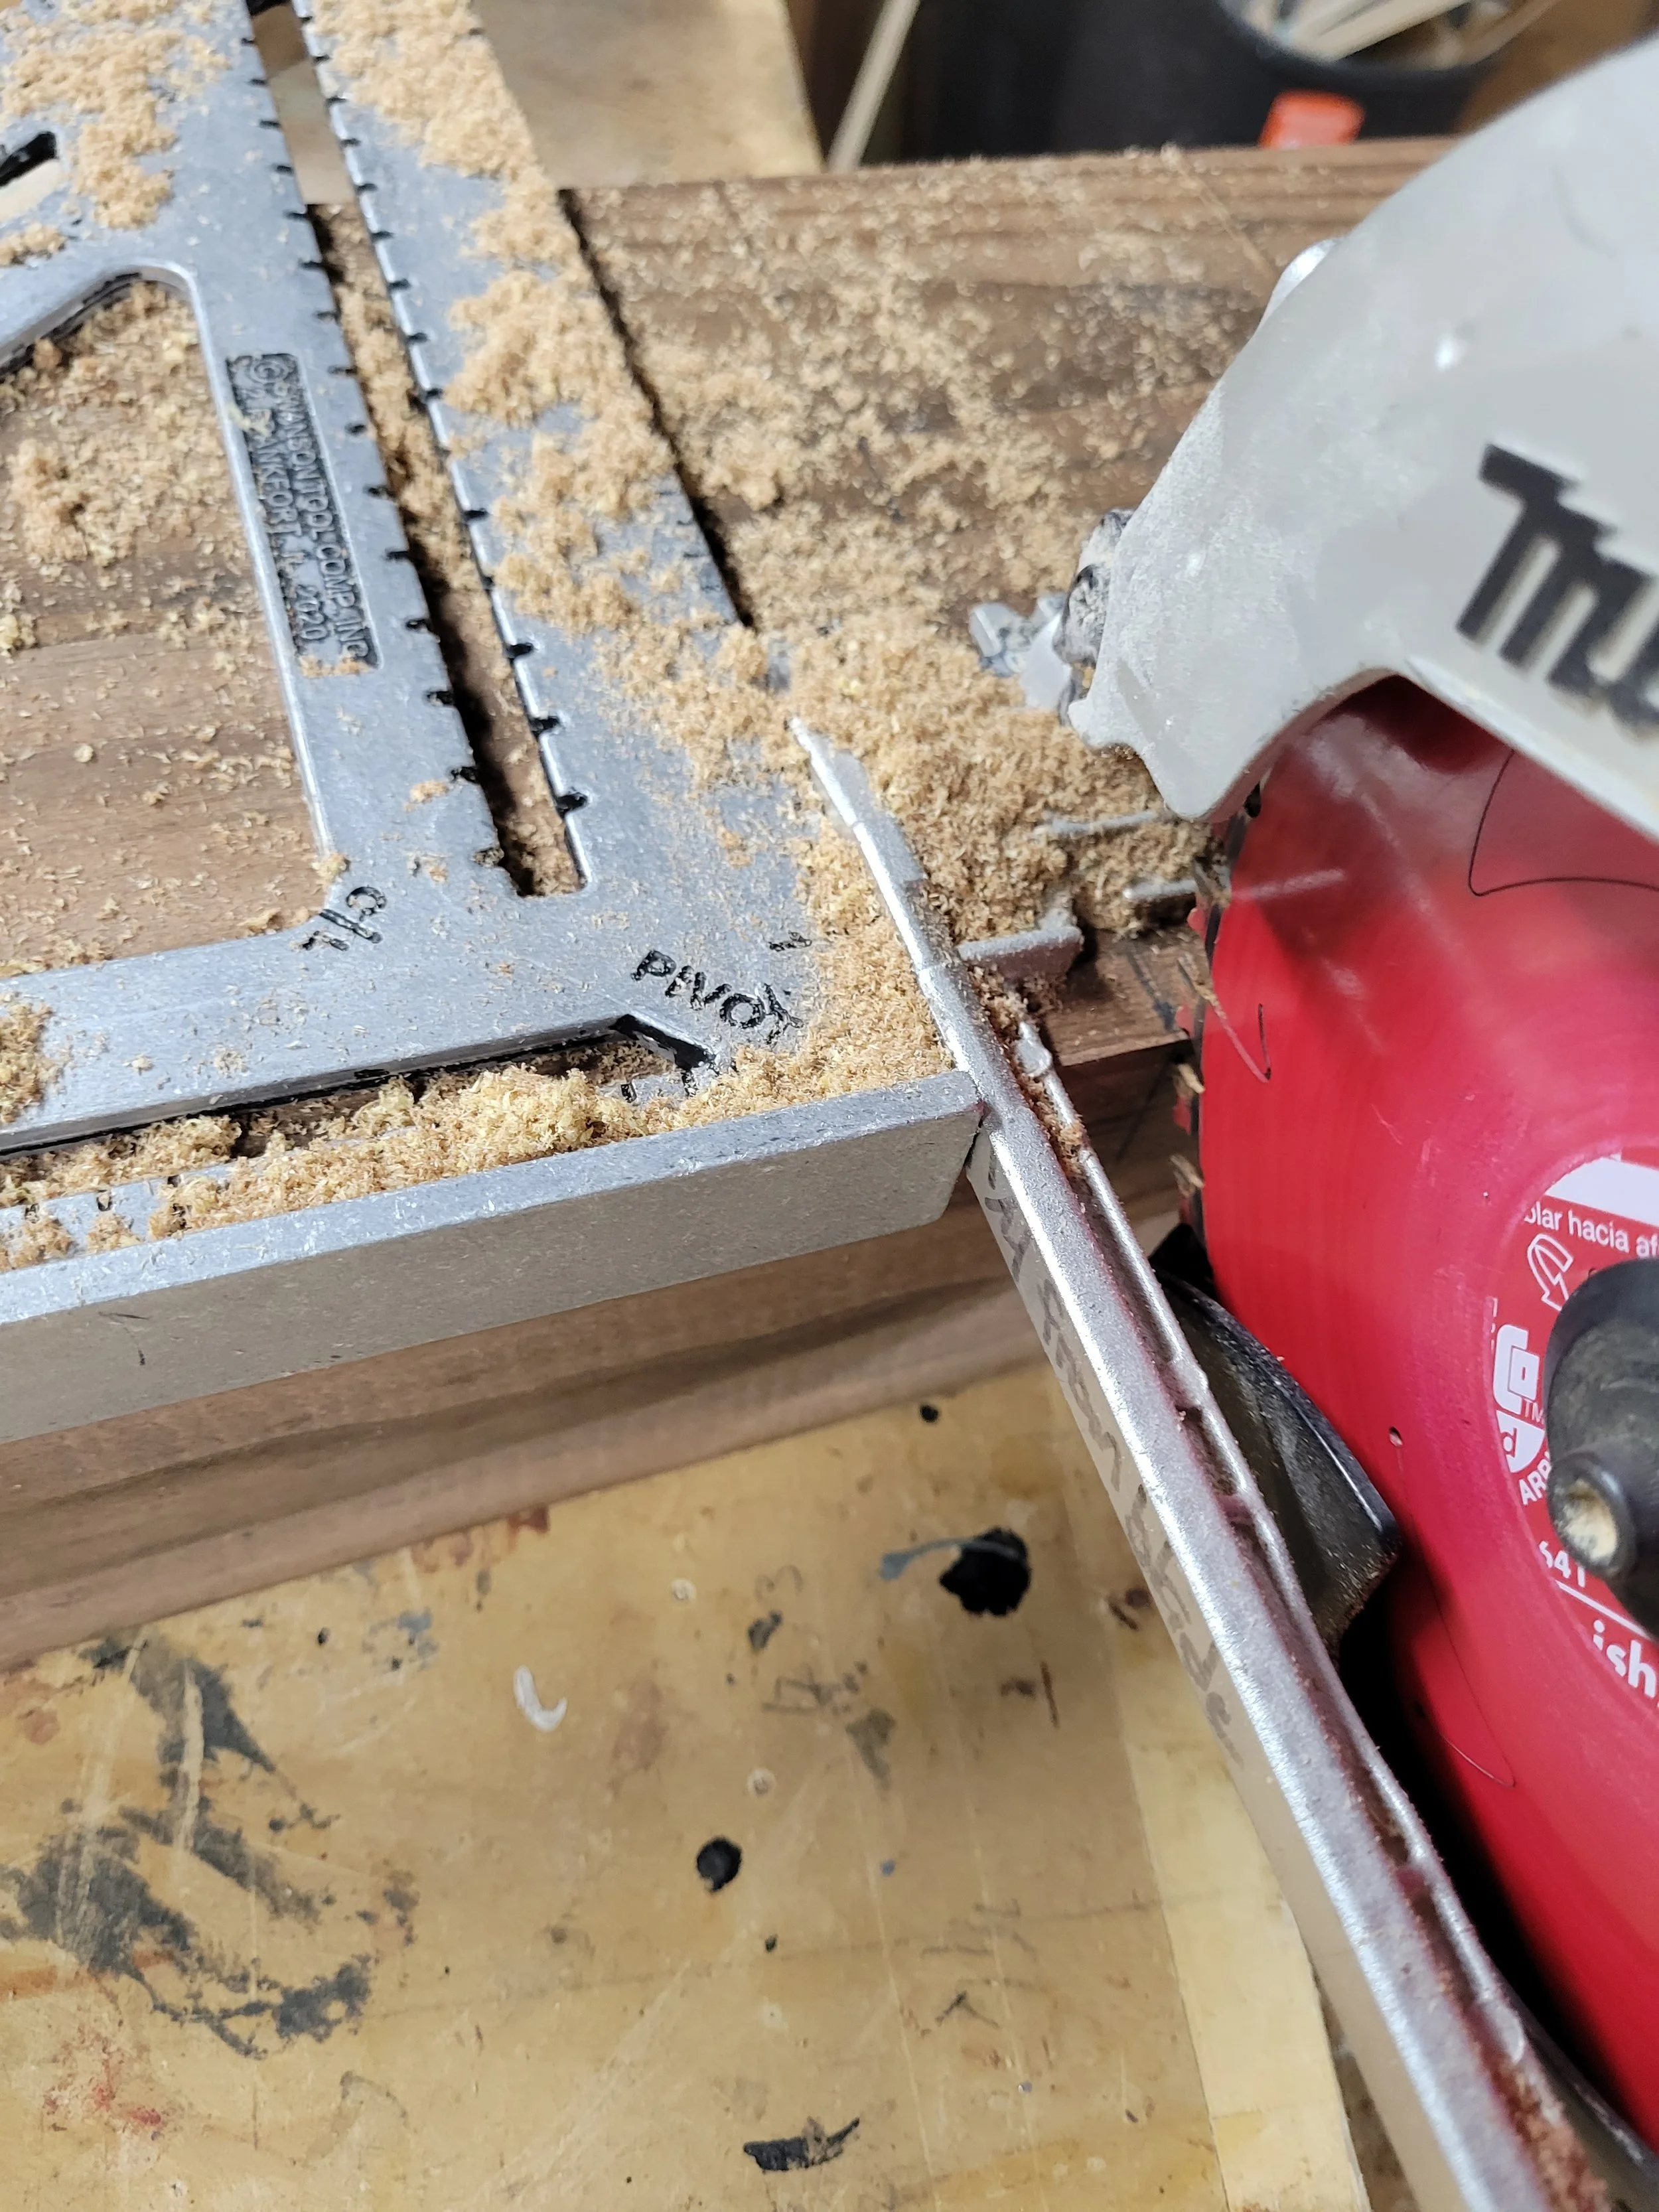
I set my circular saw to cut 1 3/4” deep. I then made cuts along the lines that I drew. I used a speedsquare as a fence to make sure that my saw made perfectly straight and aligned cuts.


With my outer cuts done, I then made a number of cuts between them. I did this to make the step go a lot easier. These I just did free hand because all of the material is getting removed anyways.
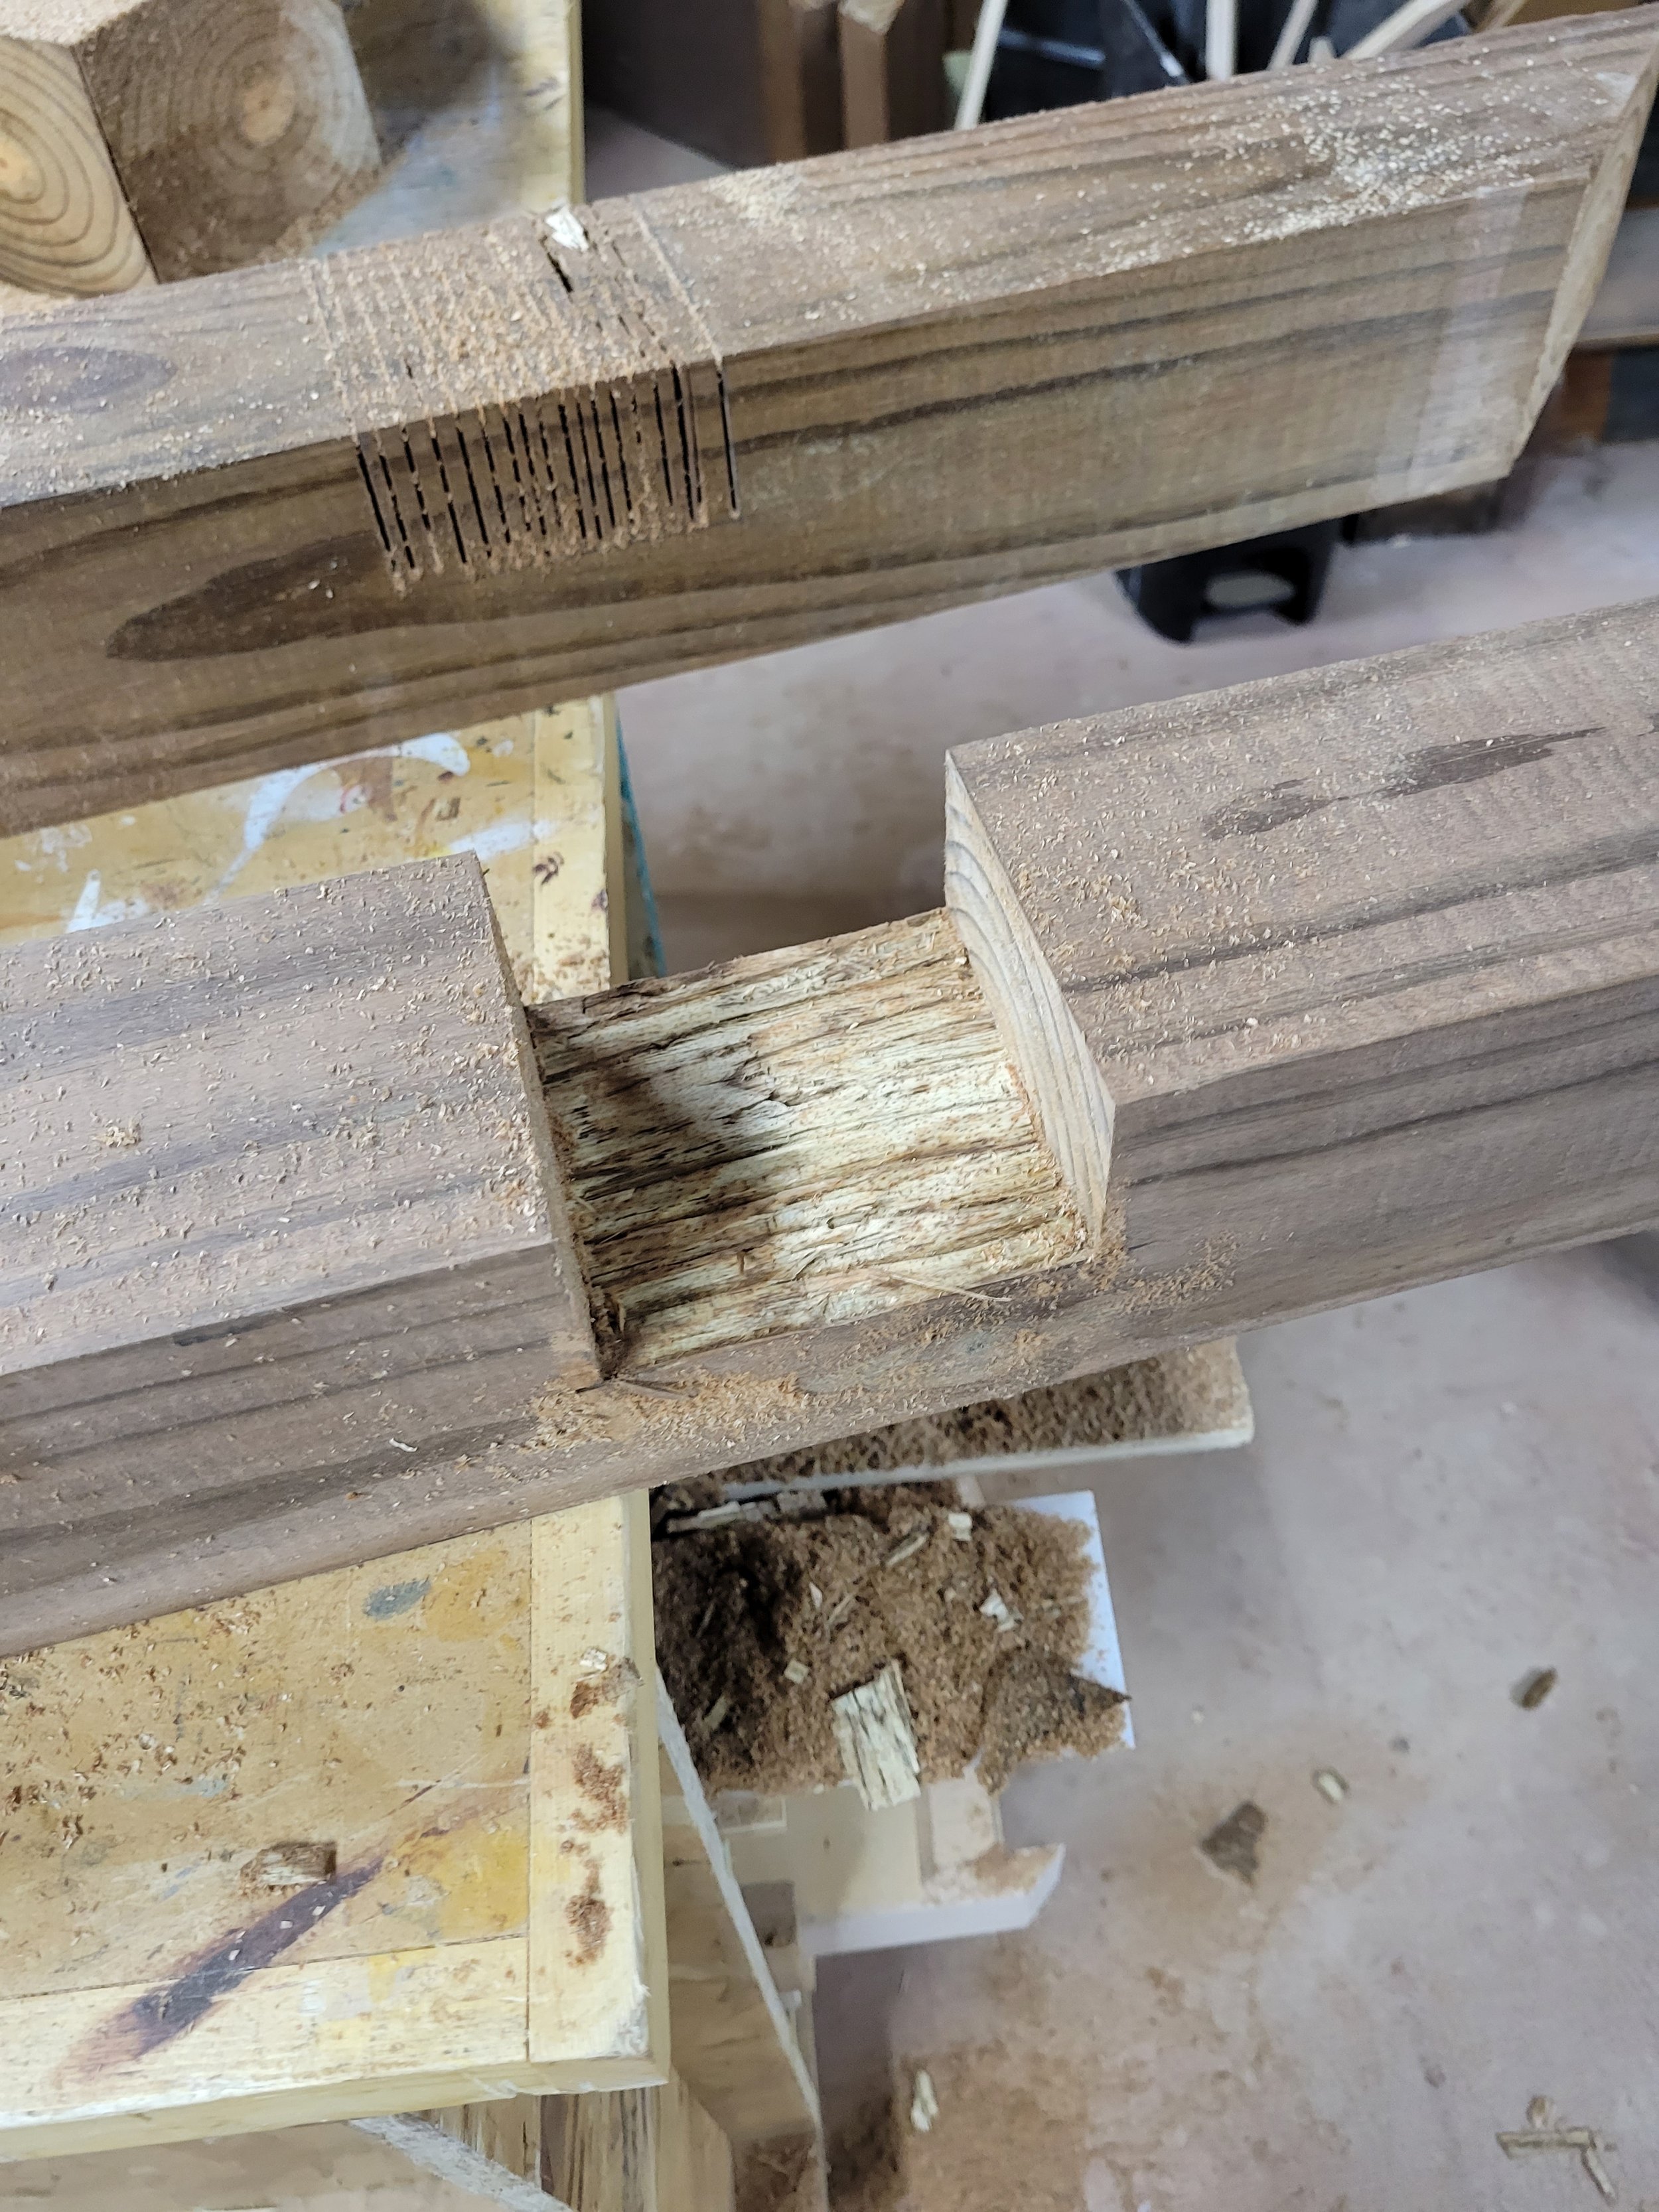
I then used a chisel to remove all of the waste material inside my notches.
I then test fit my pieces. I had to use a mallet to tap them into place but I didn’t fully seat them because it would be a pain to get them back out.
When I had them where I wanted, I then used some extra 4x4 to make a corner brace. This brace is functionally useless because the half lap is all that is needed. But it looks good and I want the mailman to think I have attention to detail.
Dig Deep. But Not To Deep
With the posts built, but not assembled, I took everything to the curb and prepared to dig. A very important step I should mention is that I had called diggers hotline a few days prior to this. Anytime you’re digging, especially near the roadway, you should call diggers hotline. I turned out that I couldn’t put the posts where I wanted to because of water and sewer lines so I had to locate them a little further from the driveway than I wanted.
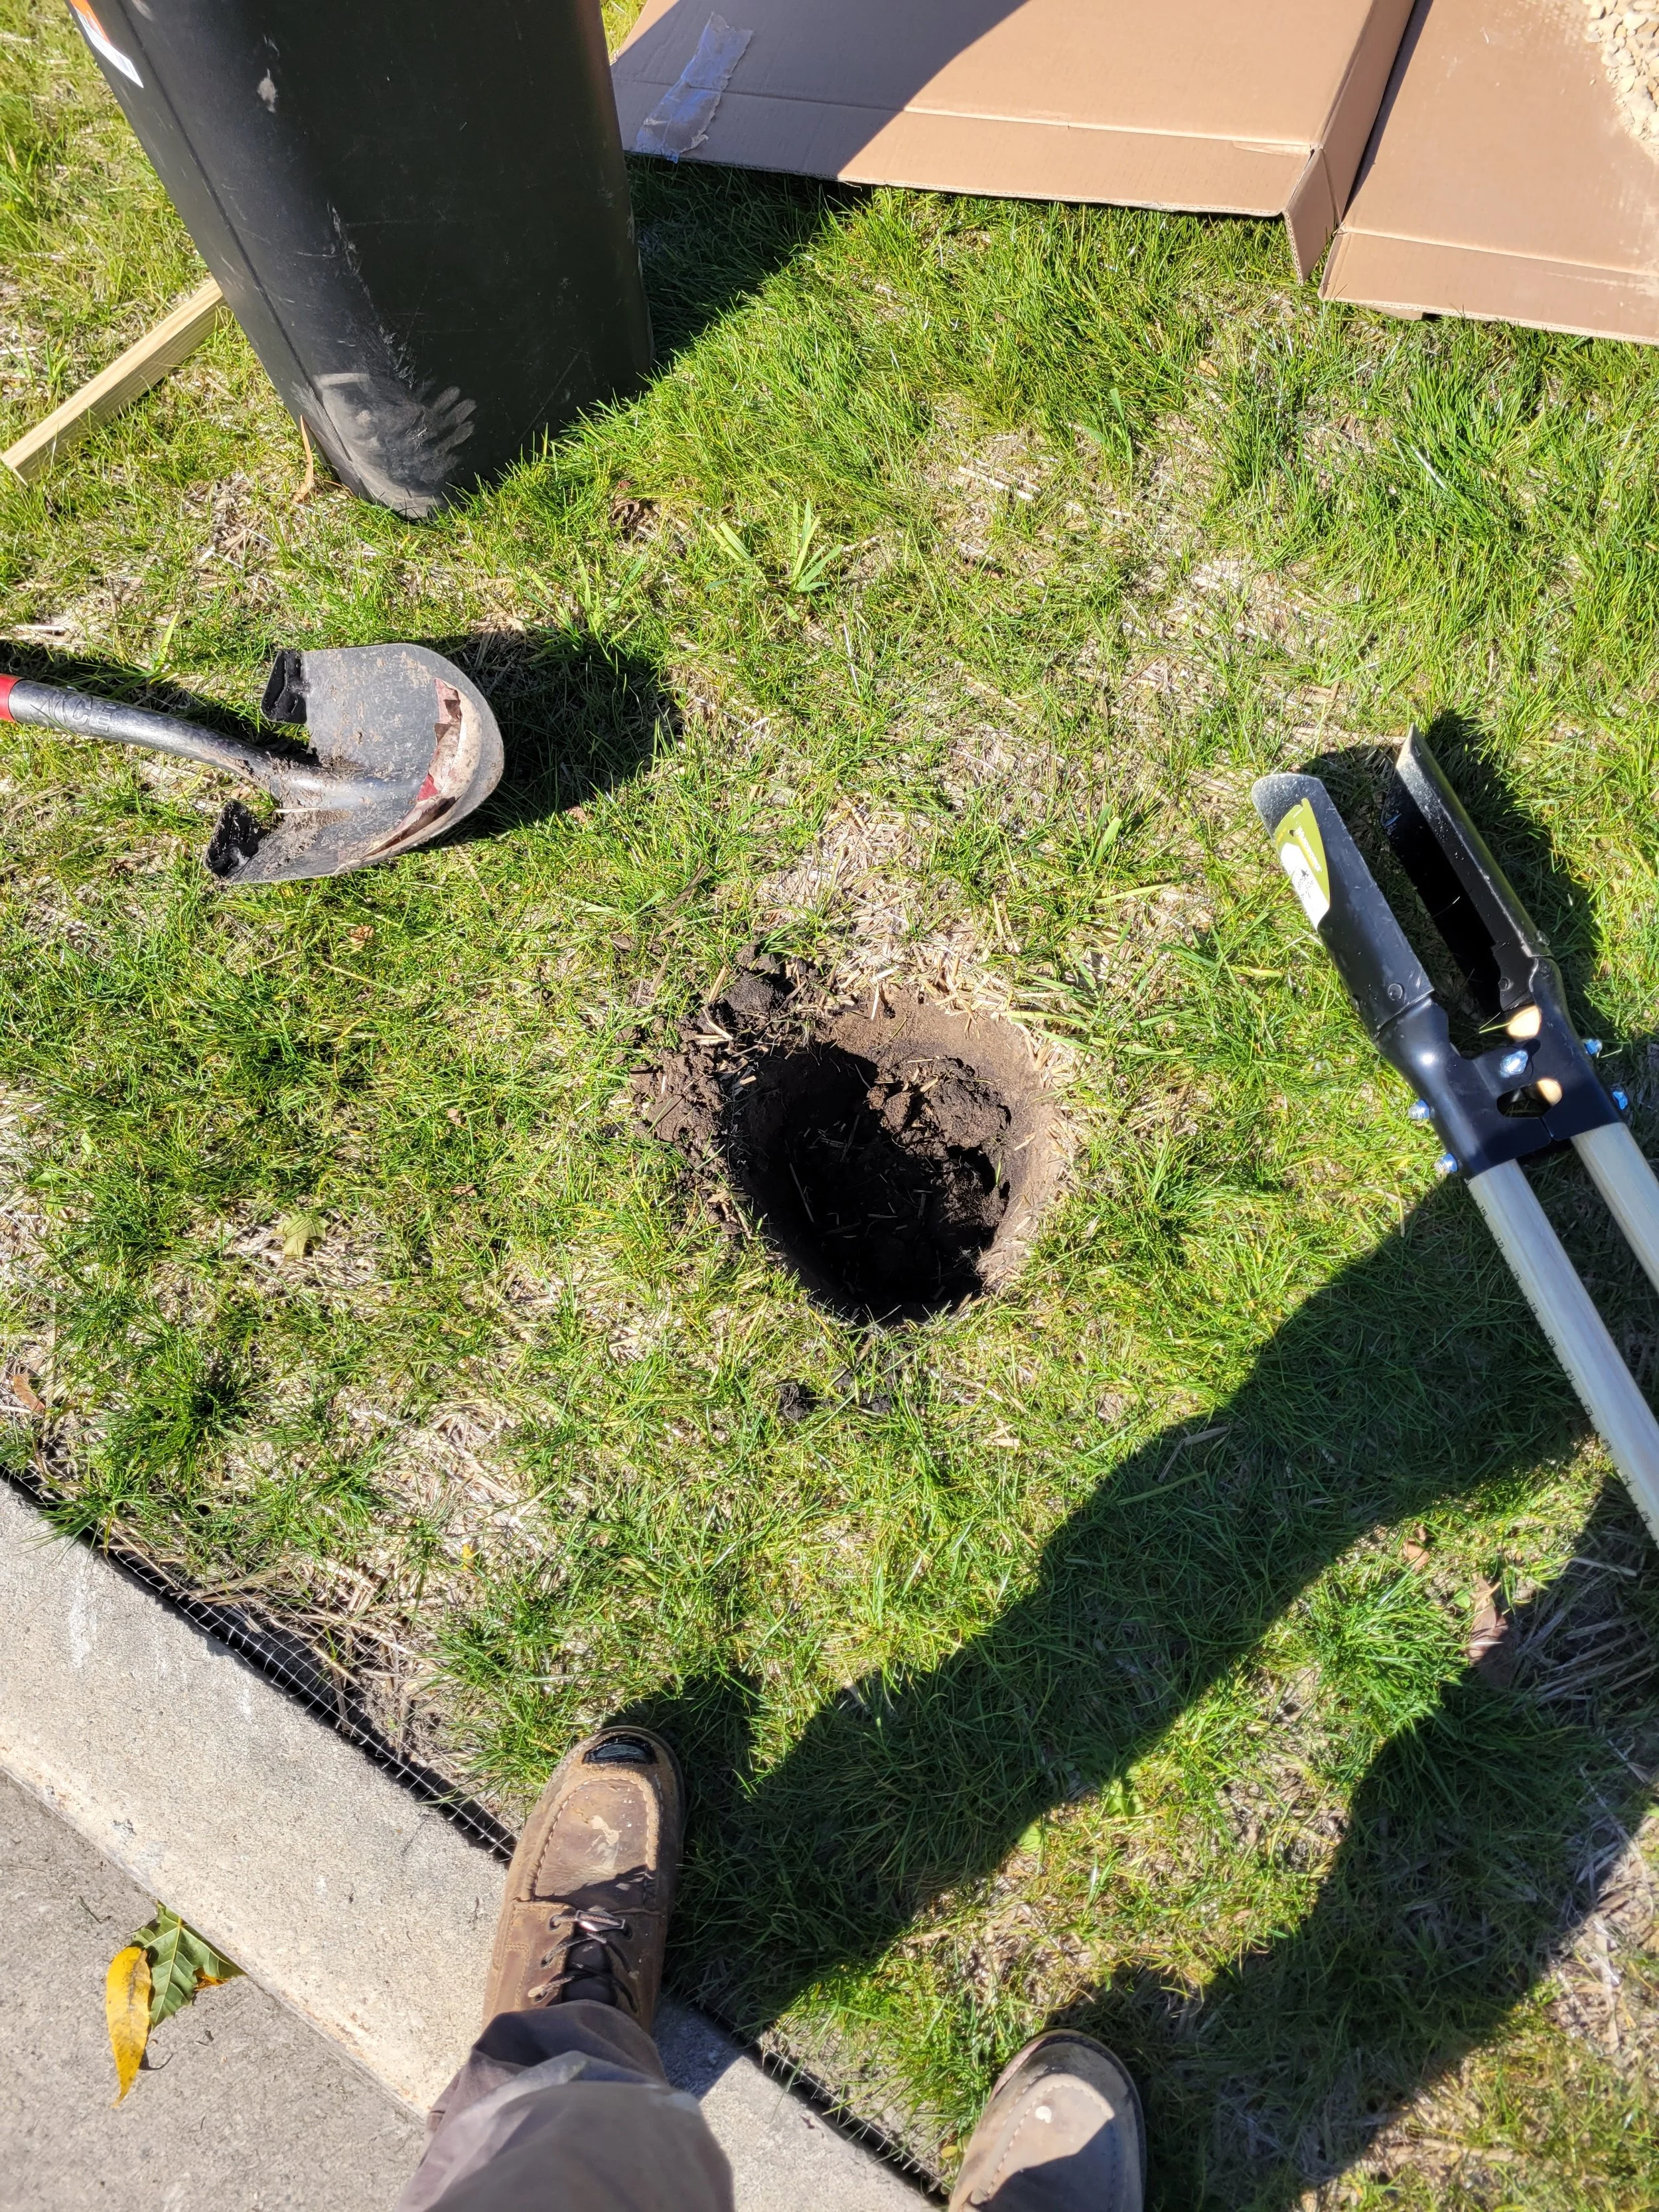
With that said I made sure that my hole was located so that it would set the mailbox opening 6” from the curb. Then I began digging a hole 24” deep with a shovel and post hole digger. As I was doing this, the mailman drove by and we locked eyes. He gave me a head nod, but I knew it wasn’t just a normal head nod. It was a “you’ve got a way with holes” head nod.

Once my hole was dug I used post setting concrete to fill the hole. I used a level to make sure my post was standing perfectly erect. I used some strips of wood as stakes that I attached to the post to keep it level as the concrete was added.
I used quick drying concrete that dries in about 10 minutes. It is only to be used for non structural things such as mailboxes, fence posts, and superficial relationships.
Once the concrete was dry I began assembling. I used 1/4” galvanized lag screws that were 3” long and some washers to attach everything.
I then attached the mailbox and my friendship offering to the mailman was ready to go. Unfortunately I don’t actually live at this place so once again it seems I failed at making a friend. But don’t let my missed connection deter you.