
Hollow inside
Let’s be Honest: It is what’s on the outside the really matters.
Reclaimed wood beams are all the rage right now. But that means that you’re going to pay a premium for somebody else’s used lumber. For $40 you can make your own look-a-like and become your own therapist at the same time.
Don’t Look Up

I recently did a home inspection for a neighbor and saw some serious cracking in the drywall ceiling. I also saw some failed cover up attempts in the form of multiple layers of drywall compound. I was able to poke a screwdriver through a chip in the drywall and then made a journey into the attic.
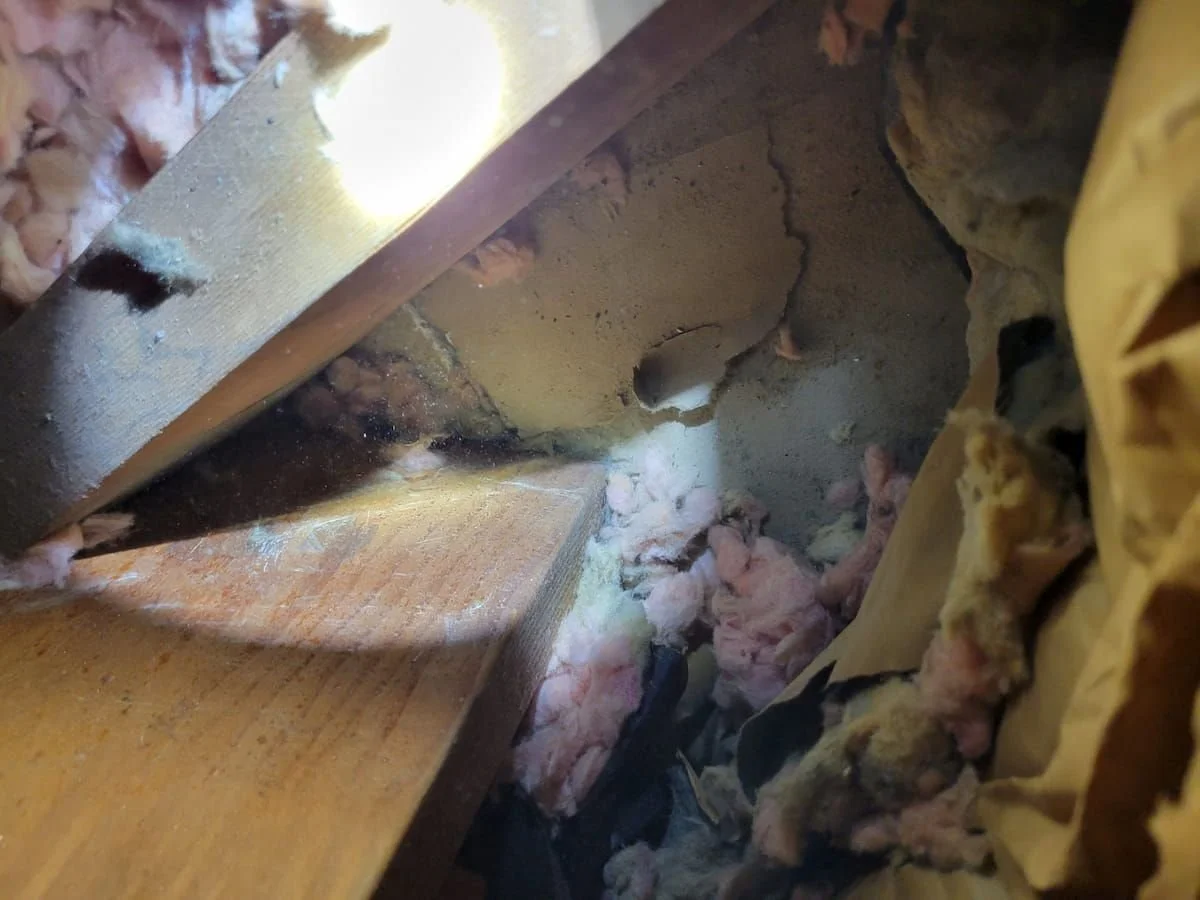
Up in the attic I found a piece of lumber that was attached to a rafter but was then just resting on the drywall. This was transferring some of the weight of the roof to the drywall which caused the cracks. In other words, somebody fucked up. And of course I was asked to fix it. So I tore the piece of lumber out like it was my ex's heart and tossed it in the trash. Problem solved. Except for the giant cracks in the ceiling…
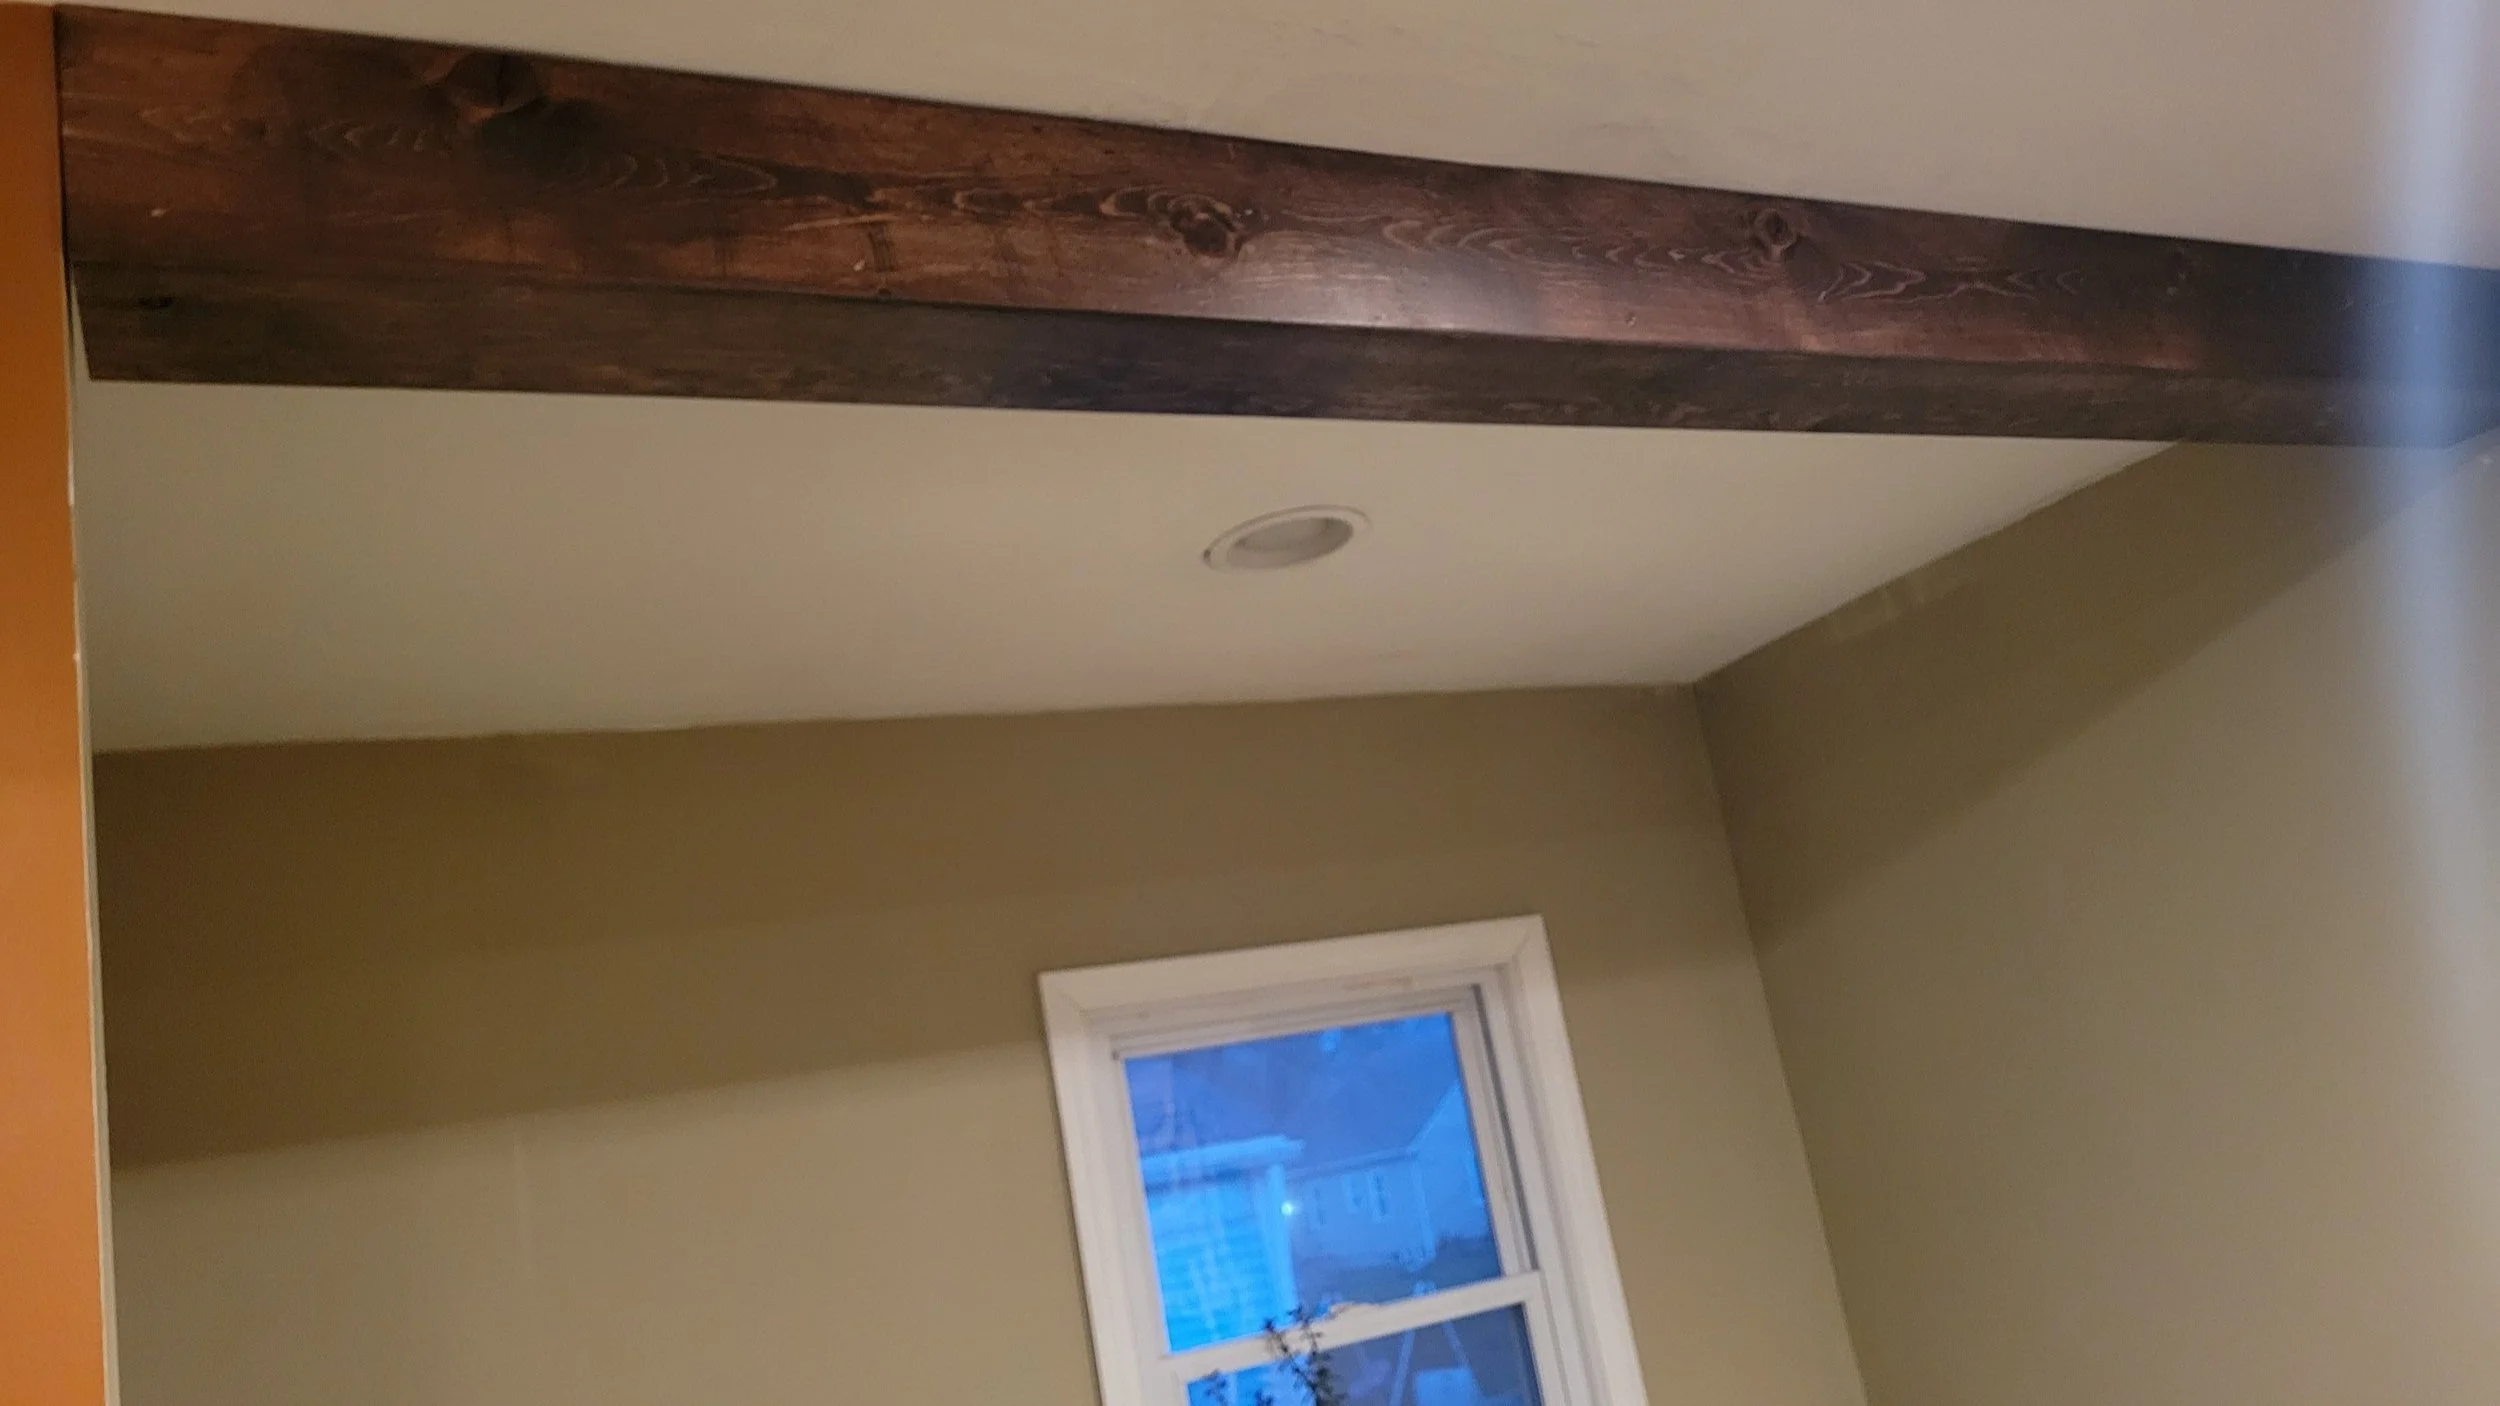
I came up with the idea of attaching a beam to the ceiling as it was right above a staircase and it looked like a beam belonged there anyways. It wasn’t going to be structural so I decided to save my neighbor some money and make my own fake beam. It would be a hollow beam made out of four boards. My neighbor wanted the beam to be distressed so that it looked reclaimed because she is a middle-aged woman and that demographic has something against wood looking nice.
Distressed Out

I picked up four 1x6 pine boards that were long enough to span the opening between walls. My plan was to screw one of the boards to the ceiling and then make 3 sides of a beam that would attach to that board. I cut my boards to length and then width.
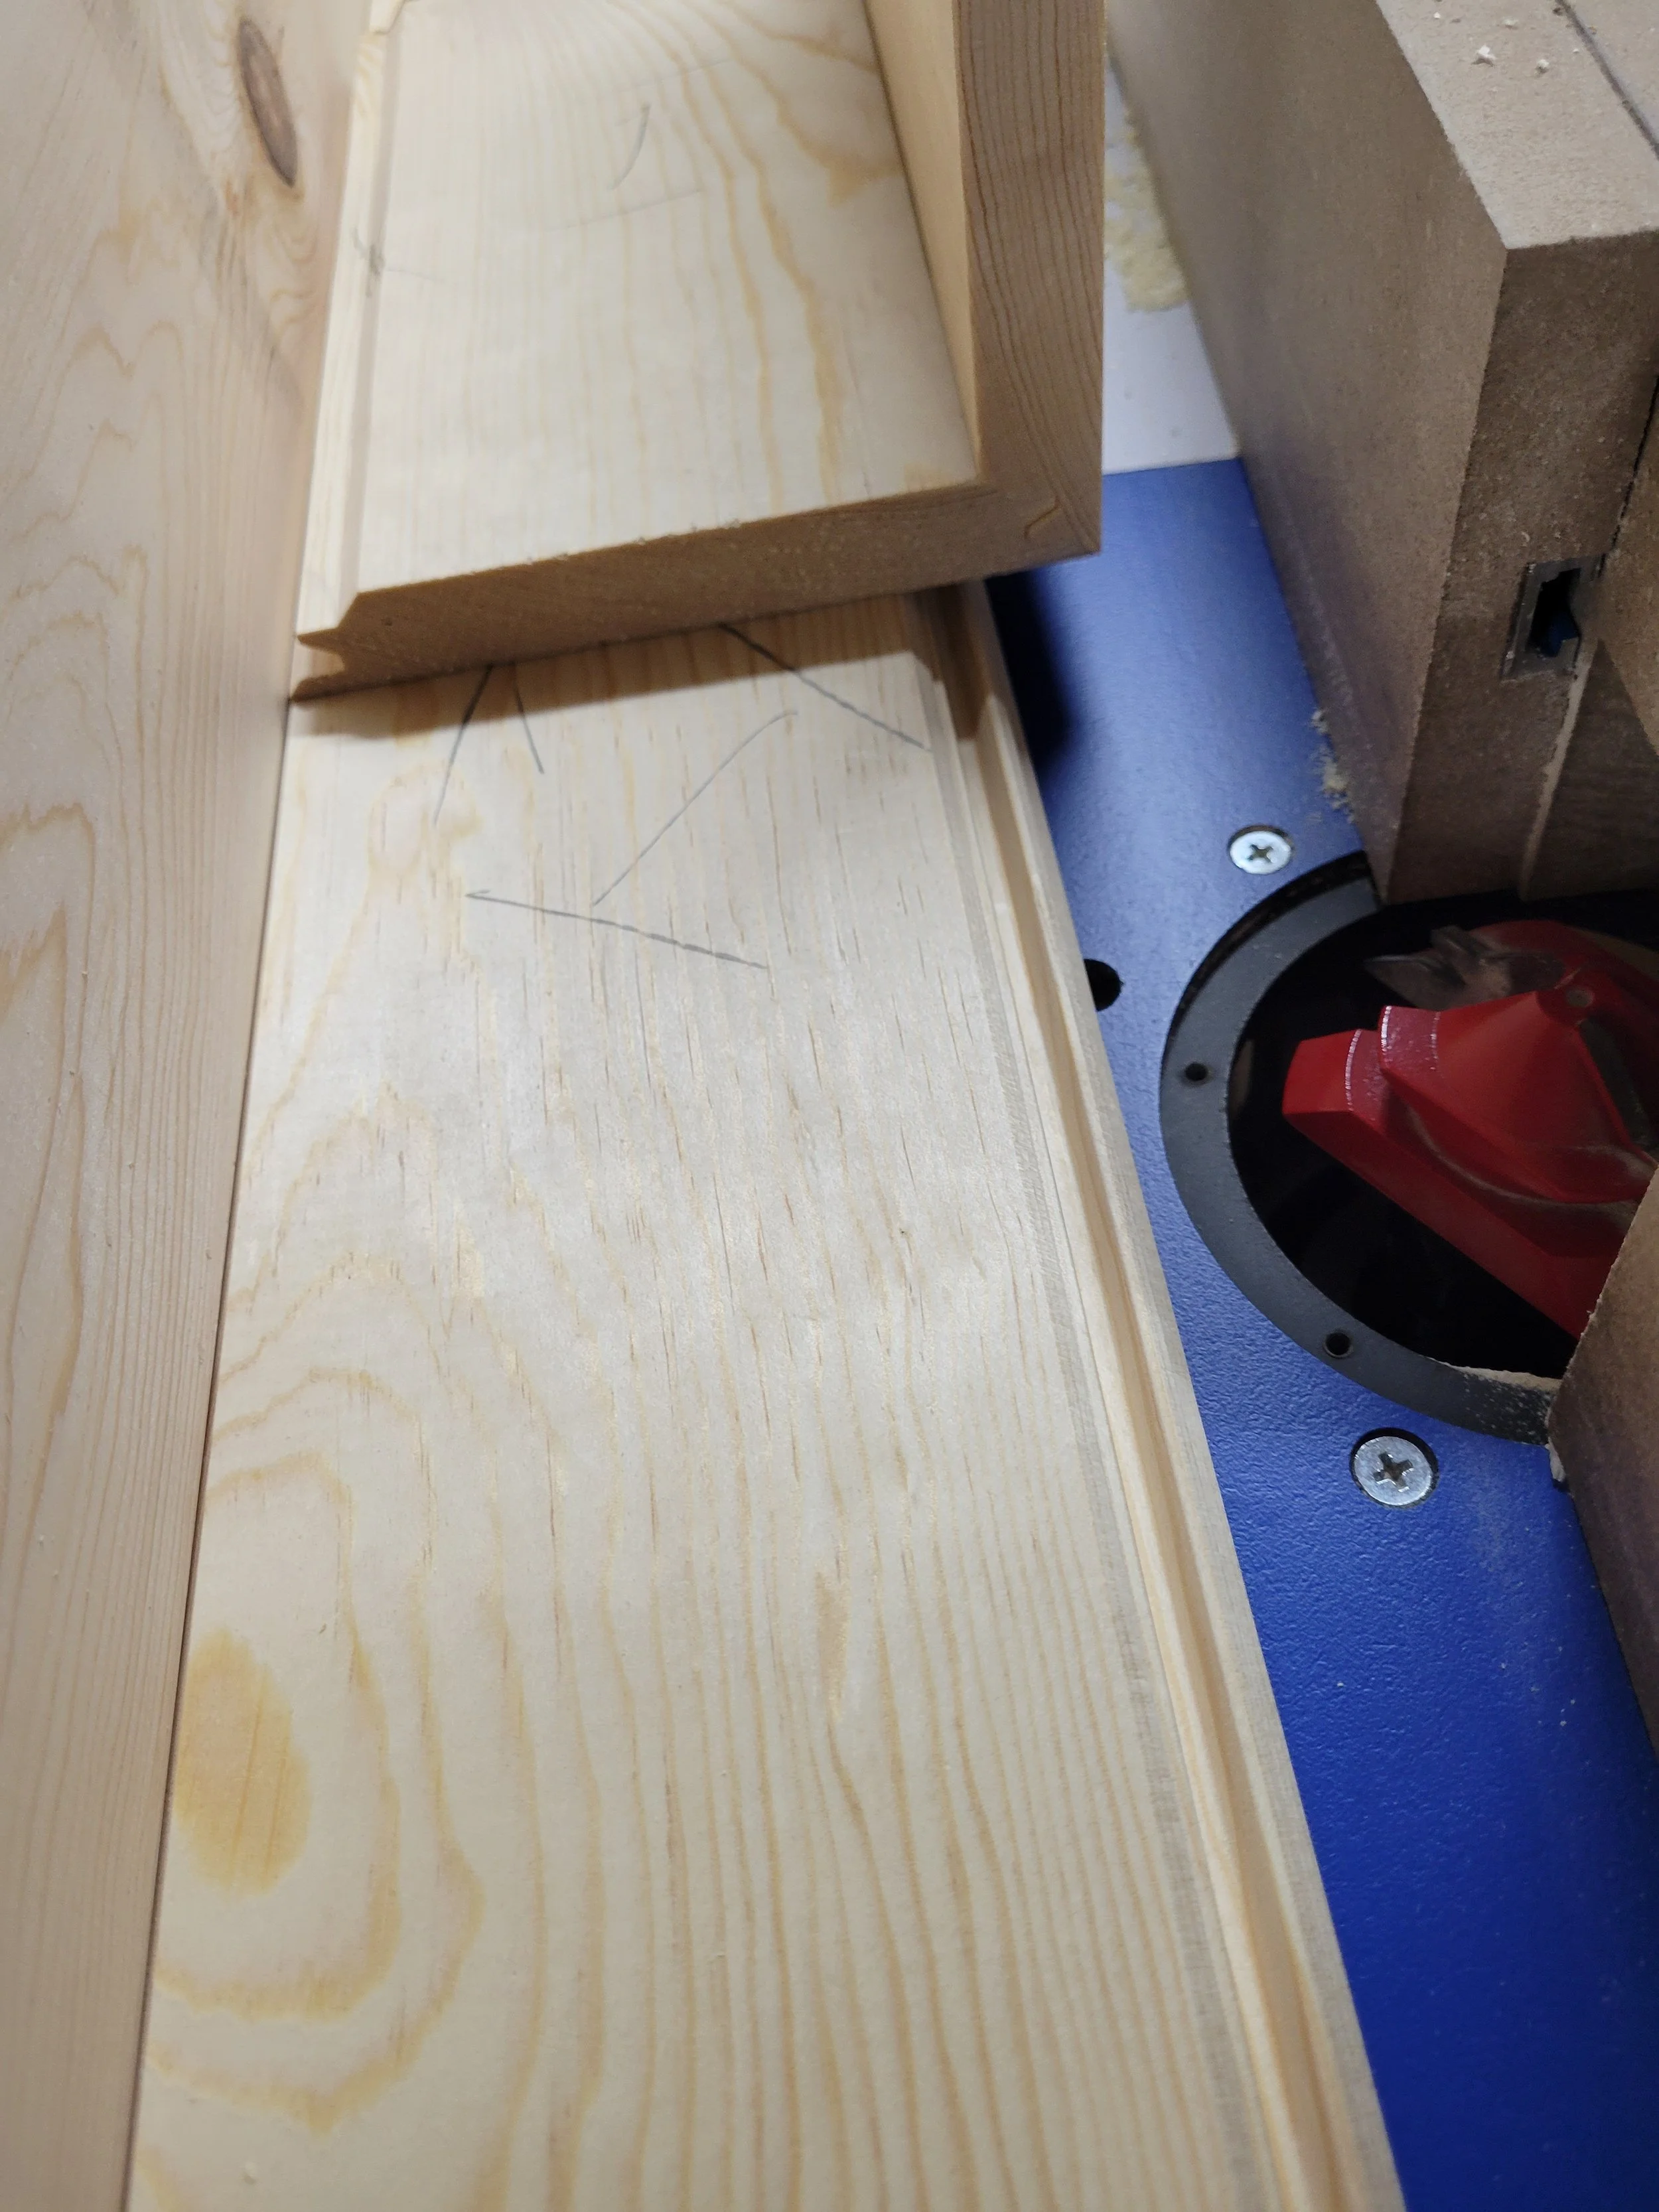
To make the beam look real I had to hide the seams between boards. This can be done with a table saw to make long miters. However, I had purchased a special locking miter bit for my router a long time ago for a lot of money and had never used it. So I felt like I should use it at least one time in my life. It worked great but it was a bit overkill for this project.
After this was done I then turned my attention to distressing the boards.
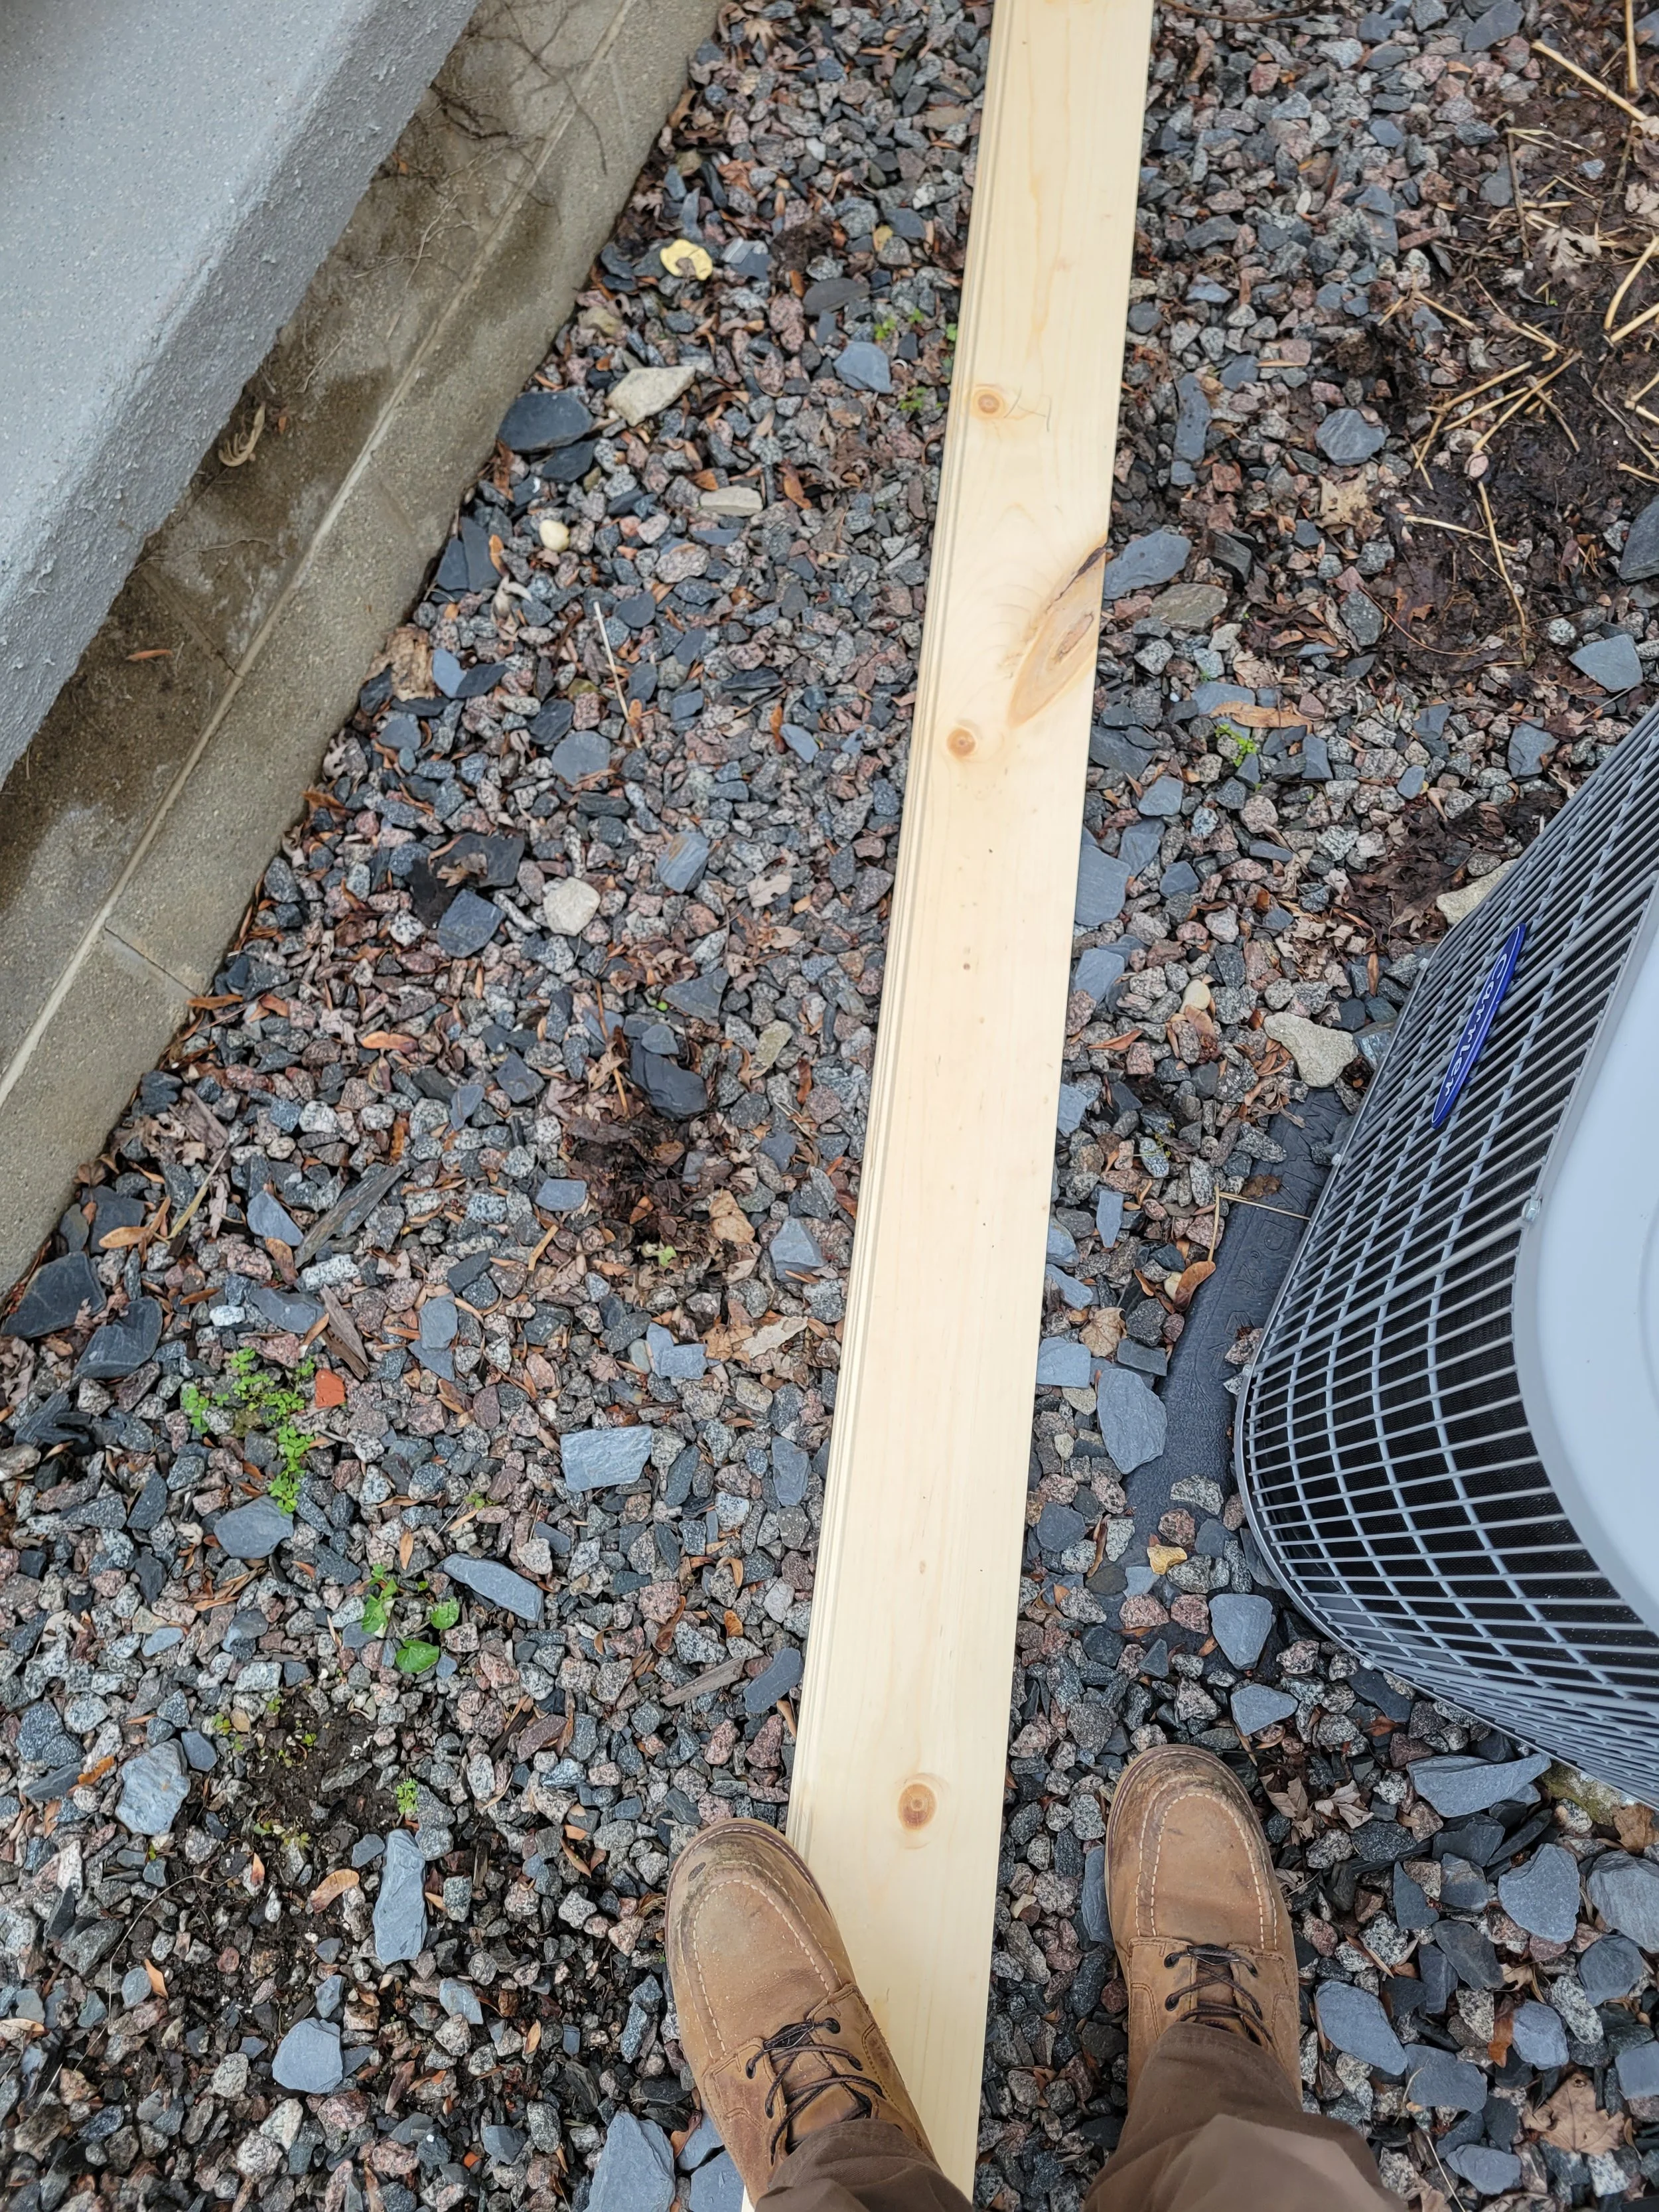
Distressing wood is not rocket science. I literally threw the boards onto a bunch of rocks and then jumped on them a bunch of times. It doesn’t get much easier than that. I also whacked them with a hammer a couple of times to make indents and gouges. These methods are great ways to relieve any pent-up sexual or non-sexual frustration. It was free therapy and just as effective as the real thing.
In order to get the mill marks that are seen on rough sawn lumber I used a rasp and made some semi-circle deep scratches that worked really well. But you’re going to have to take my word on that because I forgot to take a picture.

Then came the glue up. I glued the three sides together and used a gaggle of clamps. The weird thing about woodworking is that I always seem to need one more clamp than what I have. But I made it work.
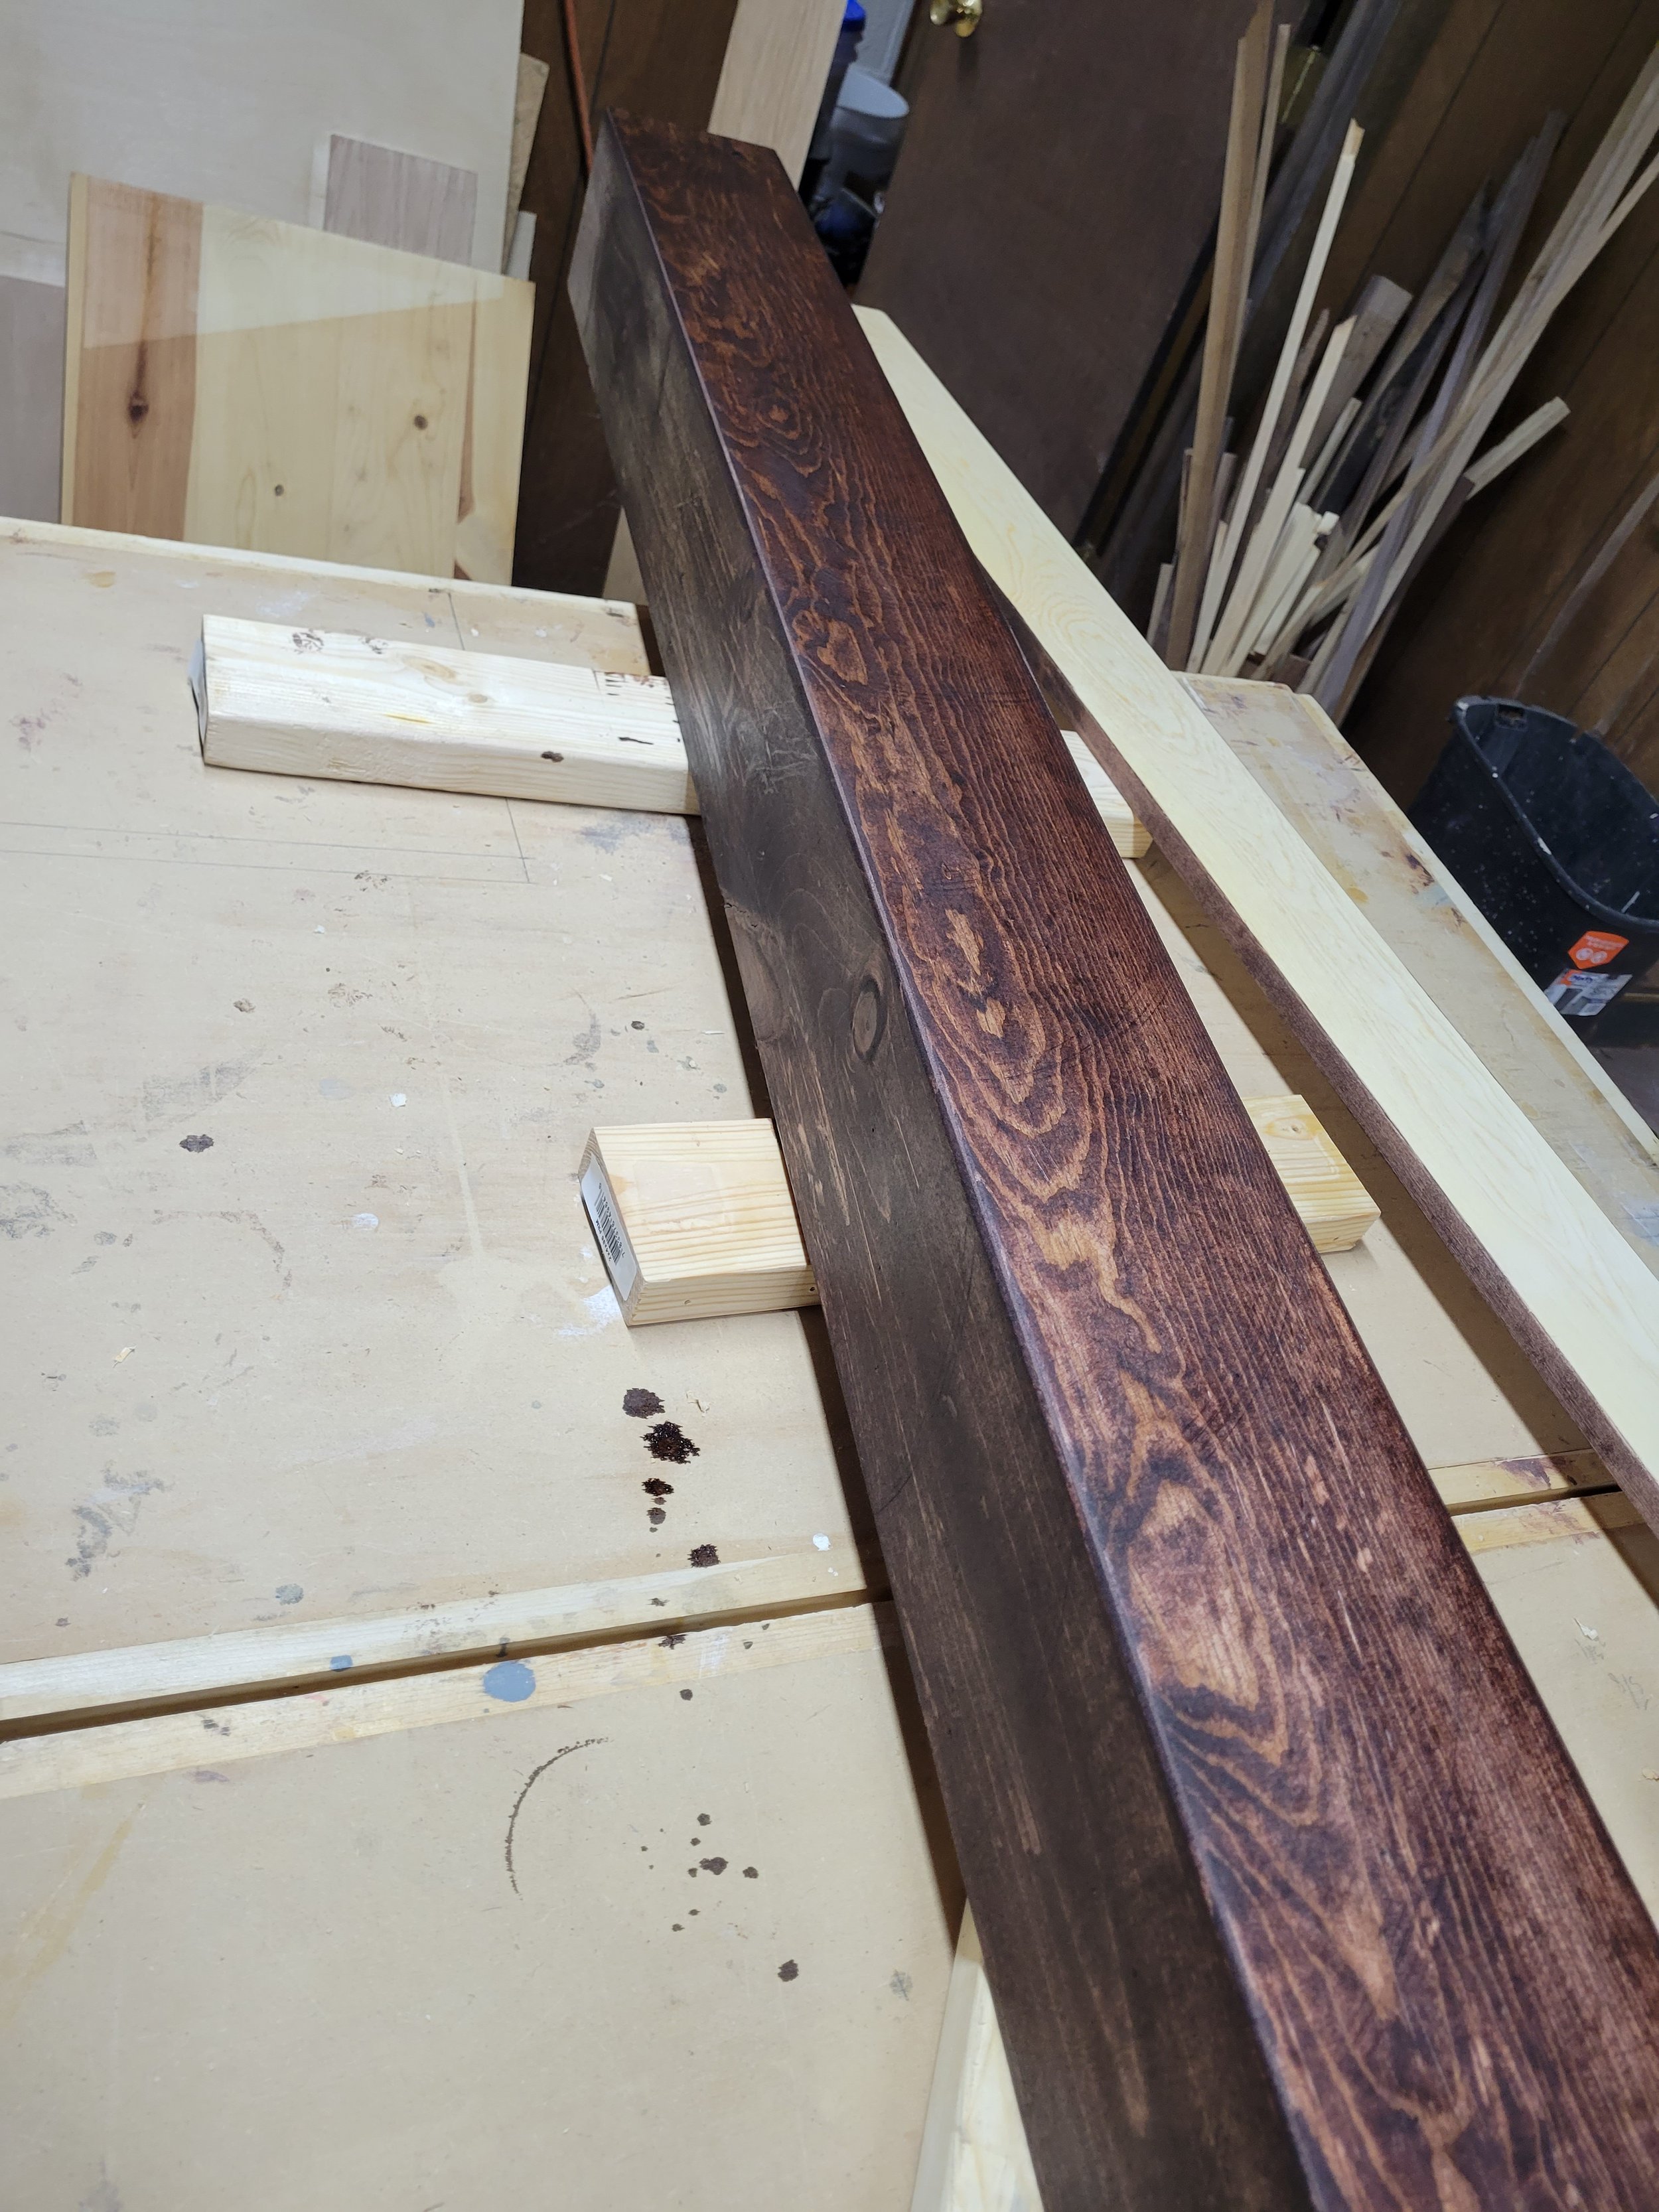
Once the glue was dry I sanded the corners to slightly round them and give a more realistic appearance. I then put a coat of mahogany stain on followed by polyurethane.
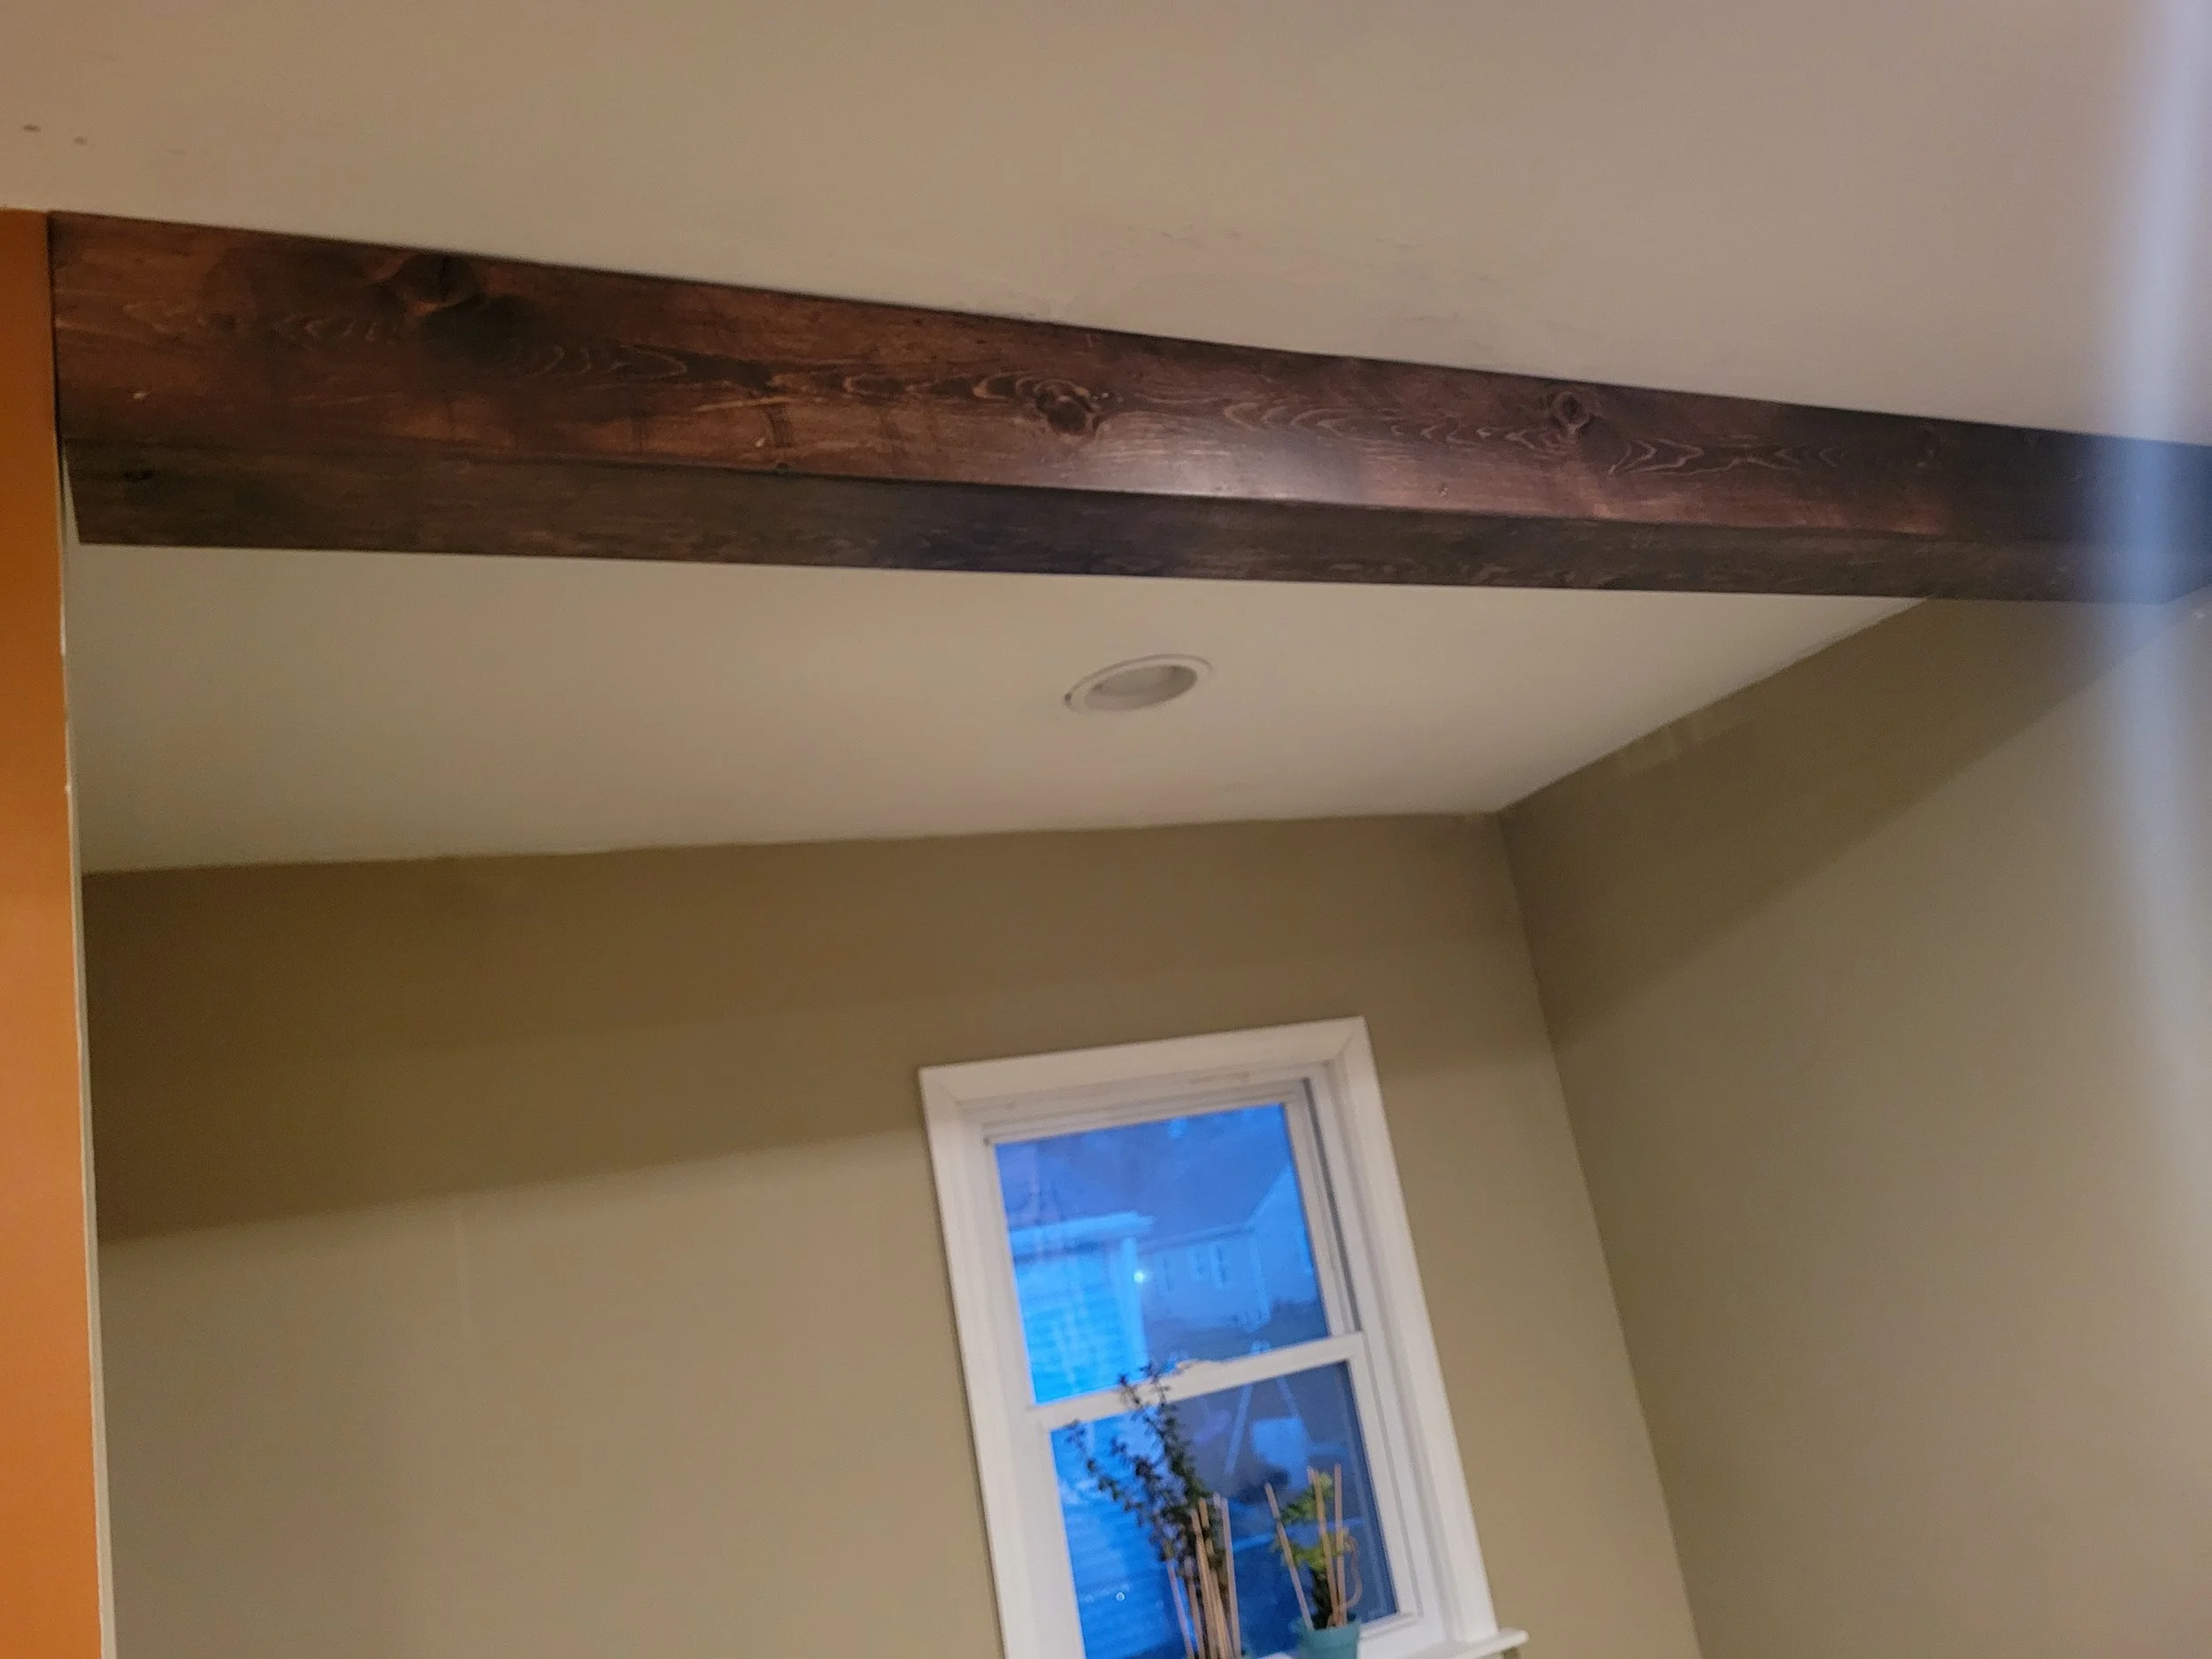
I installed the beam by screwing a strip to the ceiling joists. I was able to slip the three sided beam over that strip and nailed it to the strip. And there it was, just hanging out for everyone to see. And nobody needs to know it is all a lie. Just like my life.

I apologize for the quality of photos in this post, but if I haven’t said it before I’ll say it now… I suck at pictures and blogging and just life in general. I don’t even know why I’m apologizing, it’s not like anybody reads this. Oh well, time to go beat some wood.