
Crawlspace: The Loneliest Space
It can get awfully lonely down there. So give your crawlspace some attention for once. you’ll be glad you did.
Dirty, cold, forgettable. These are just a few traits that I share with that space below your floors otherwise known as the crawlspace. Another thing we share in common is that some attention is required or you’ll be sorry. I recently did some much needed improvements to my crawlspace that were not fun but I’m glad I did them.
What is a Crawlspace
The crawlspace is where you keep skeletons when closets aren’t good enough. But they also serve another, even more important purpose. Houses are commonly built on concrete slabs where the first floor rests on the slab (referred to slab on-on grade) or with a space underneath the first floor. This would look like a basement or a crawlspace. This setup allows water, electrical, and HVAC to be easily run under the floor. A crawlspace may be used instead of a basement to save on cost and hassle of digging all that way into the ground or if the water table prevents digging that far down. In the case of my house I have a basement under the original structure, however there is an addition that was built over a crawlspace.
Silent But Needy
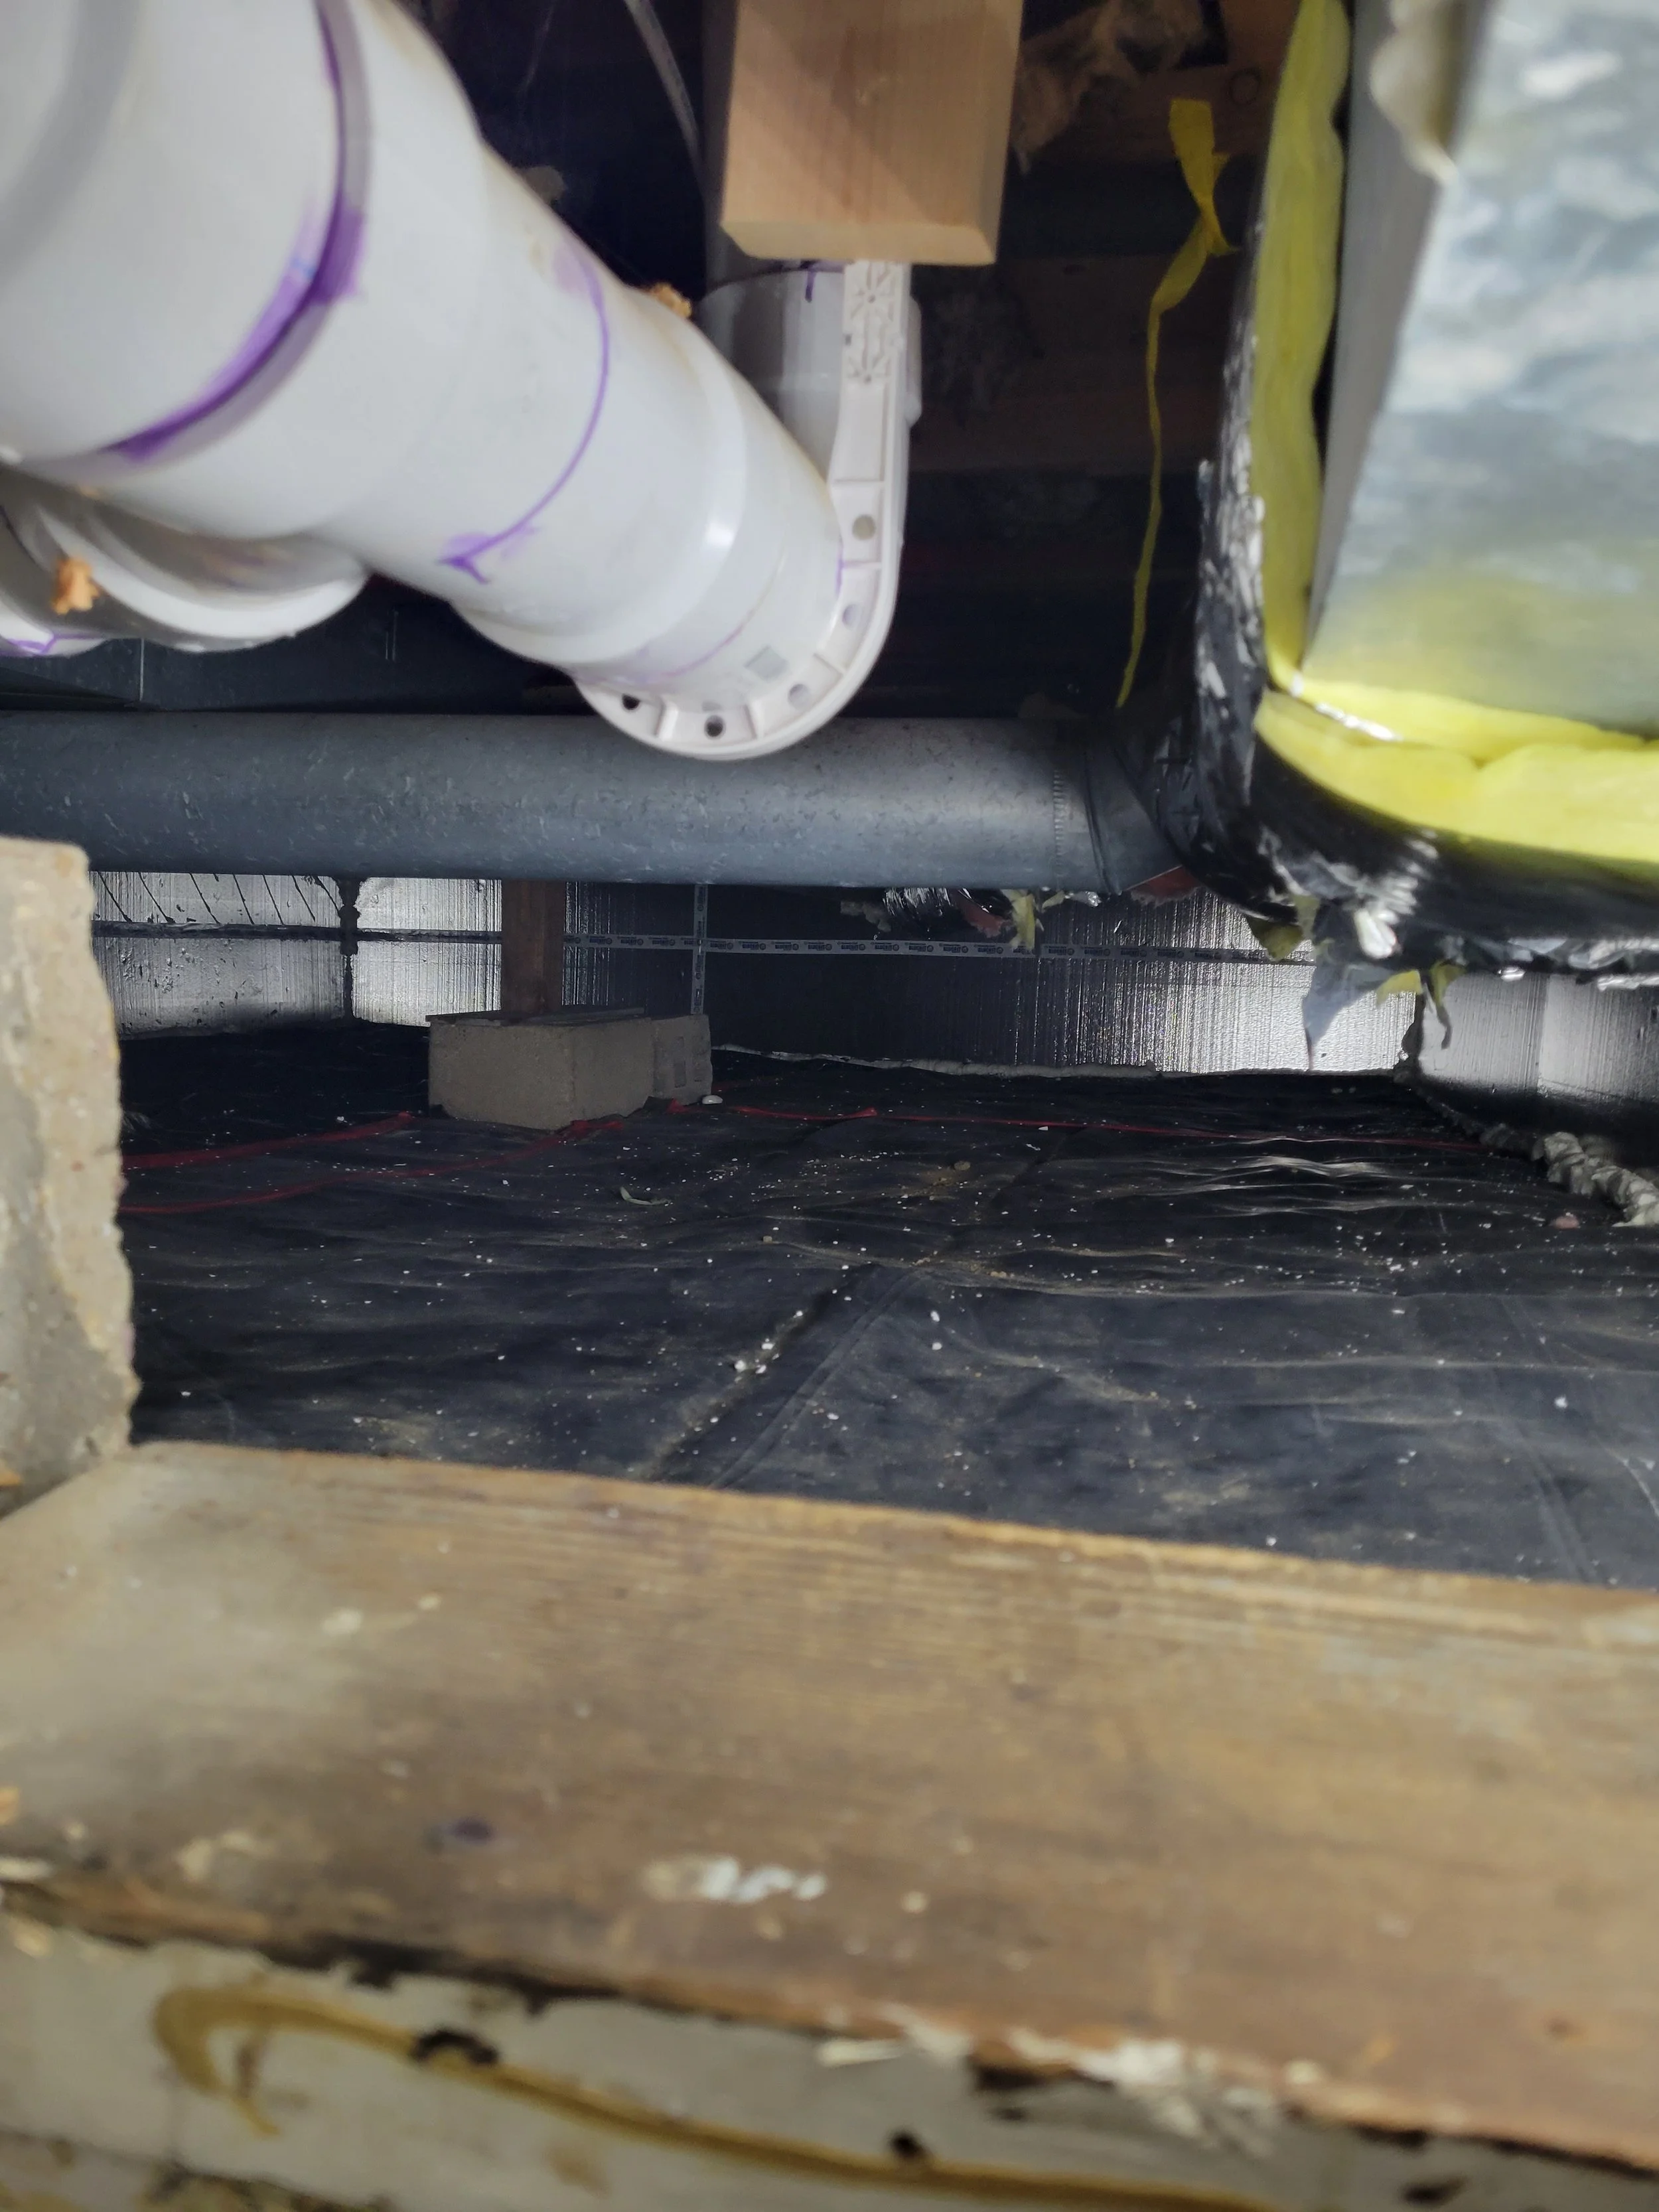
This picture is my crawlspace as I had found it. It was actually sealed by some foam board from when the previous owner tried to finish the basement but failed miserably. There were some major issues with this space besides the spider paradise down there.
Fuck-up #1 No Vapor Barrier
The first and major fuck-up was that there was no vapor barrier on the floor. If you have a dirt floor crawlspace it is crucial that you cover the floor with a vapor barrier, at least 6mm plastic sheeting. During the summer, moisture and humidity will work it’s way through the soil into the house framing, like my ex still works her way into my life. This promotes rot, mold, and pests which will really kill your vibe. A vapor barrier prevents this. I used a bunch of leftover from a rubber roof installation, which is overkill for this but I wasn’t going to use it for anything else. In order to provide a continuous barrier all seams need to be overlapped and taped as well as the perimeter edges need to go up the walls about 6” and adhered to the walls.
Fuck Up #2 Uninsulated Ducts
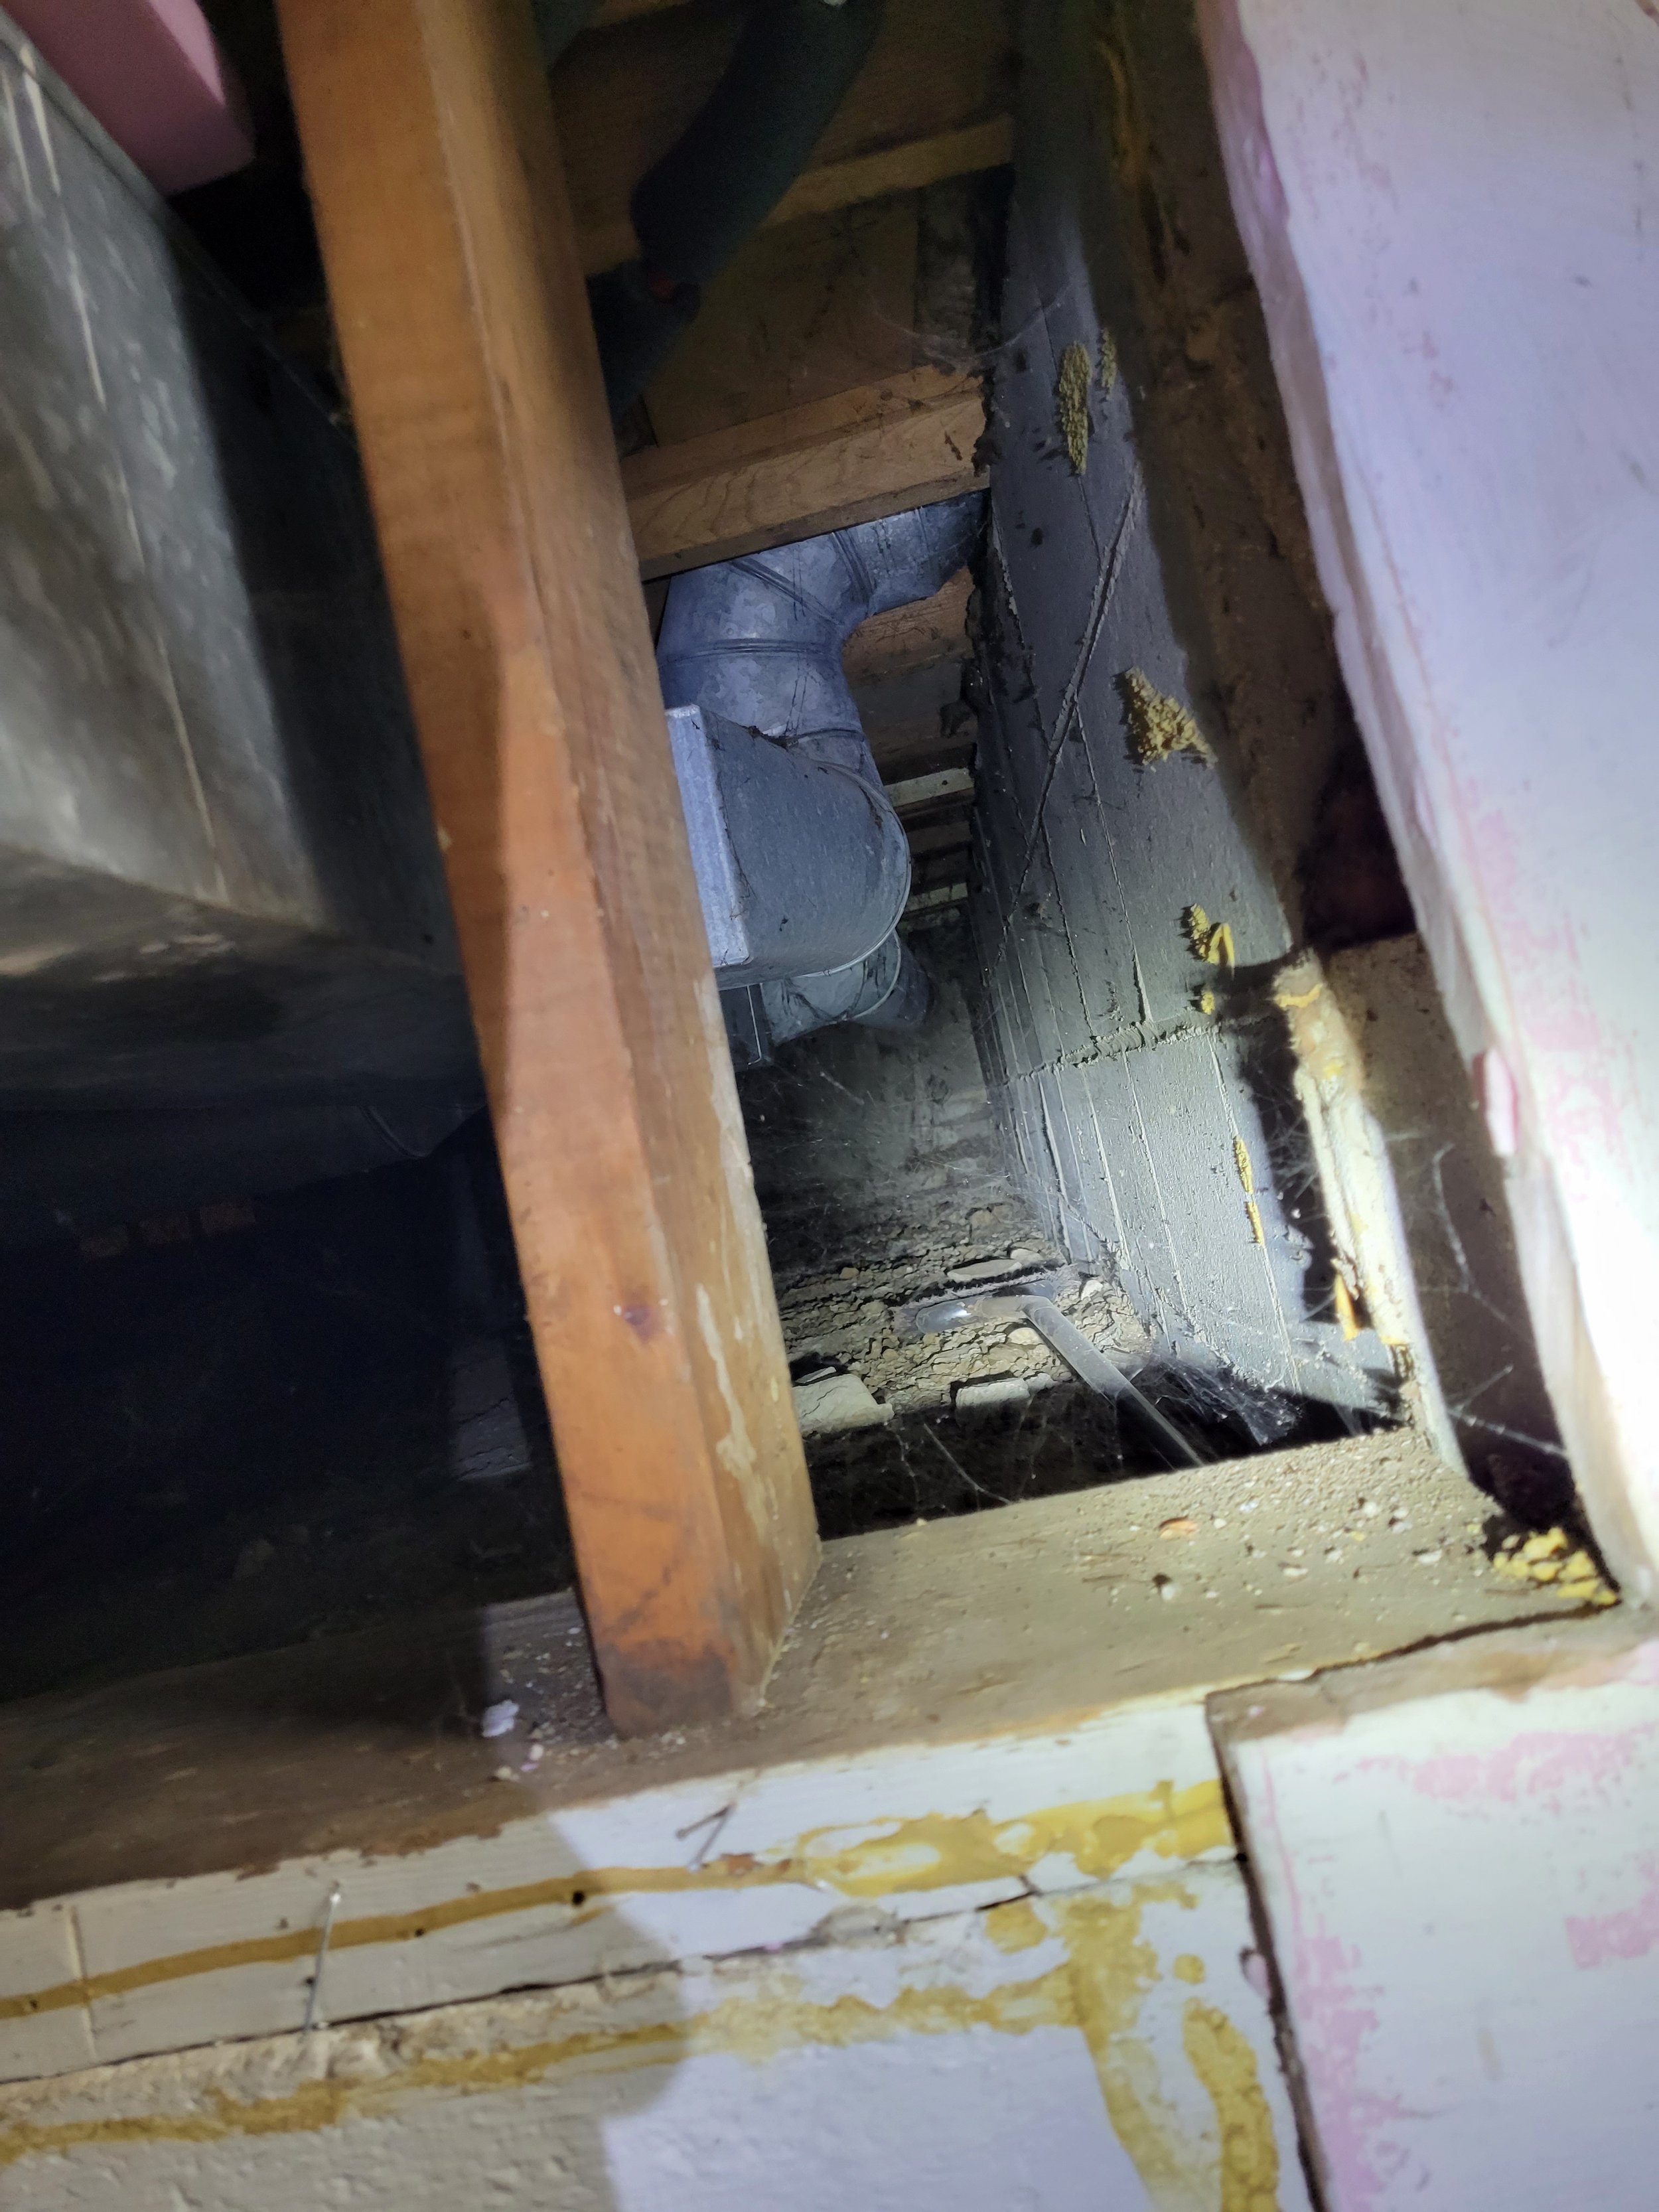
My crawlspace had no conditioned air going to it so the floors above it were already cold as hell in the winter. Yes, there was insulation between the floor joists but this by no means solved the issue. The rooms themselves were also extremely cold. This was because the ductwork that carried the heated air were uninsulated as they ran through the crawlspace. The longest duct run was about 20’ running through a room that was barely above freezing temperatures. So by the time the hot air got to the register, it had already taken the equivalent to an ice bath. To solve this, I had to insulate the ducts using insulating sleeves on the round ducts and duct wrap on the rectangular portions.
Fuck Up #3 Venting Issues
The debate between whether venting or not venting a crawlspace is best is one that will probably never end in the construction world. But there are some agreed upon points that my crawlspace was violating. My crawlspace was not vented, meaning there were no openings to the outside so that air could circulate and remove any humidity that would be built up. There was an opening to the basement that would help this, but the previous owner had sealed this opening up as well. So not only was moisture creeping up through the dirt, but it had nowhere to go but to be absorbed by building materials. If your crawlspace is not vented to the outdoors it is best practice to either have it open to the basement or to condition it with HVAC. But is never a good idea to just have the space sealed up with nowhere for air to move.
Cold Hearted Bonus
Did I mention how cold the rooms above the crawlspace were? In order to help with this I insulated the perimeter walls with 2” R-8 rigid foam boards. To do this I cut the boards to the wall height and adhered them to the masonry walls with construction adhesive. I then taped the seams and used some expanding spray foam to fill any cracks. Maybe now I won’t have to wear shoes in my bedroom.


Looking at the before and after you’ll see the moisture barrier on the floor, insulation on the ducts (which actually isn’t finished when I took the picture but you can take my word for it), and the insulation board on the walls. It’s still not the most welcoming space but at least I can now have a hiding place when my family tries to visit.