
Power Bottom
A cheap and Easy way to build a bar base that will leave you satisfied

Last week I finished making a custom bar and put it on my blog. If you haven’t seen it yet, you can check the blog post out here. I promise it won’t be life changing. This is the first of a few more detailed posts where I go into the specifics of how everything was made. For this post, I’ll be focusing on the construction of the base of the bar, the trim, and installing the electrical.
build walls. Not bridges
The base of the bar is essentially 3 half walls that wrap around the cabinets. They will also support the bar tops. I wanted a countertop to be at a height where it’s comfortable to do food and drink prep, or 36” from the floor to the underside of the countertop. I got this height from measuring my kitchen cabinets. I also set this as the height of the cabinets so that they could help support the countertop. I wanted the bar top to be at a height where you could comfortably stand or sit on a bar chair. This height was 44” including the bar top.
I am pretty good at building walls. I’ve had a lot of practice in all of my relationships. For this project I framed the walls the same way I would frame a wall in a house: with a bottom and top plate and studs running between the two. I used whatever 2x4’s I had lying in my shop which turned out to be a mixture of treated and untreated wood. In this case it doesn’t really matter how they look because nobody will see them, but if you’re going to buy studs for this project I would get untreated. While a wall is framed with studs that are 16” apart on center, I spaced mine 12” apart because I was planning on using 1/4” thick planking to cover them. With such thin wood I wanted the studs closer together to prevent the wood from flexing if someone was to bump into it, or if it needed to survive a “domestic dispute.”

After cutting everything to size I put my top and bottom plates (the horizontal 2x4’s on the top and bottom of the wall) together and lined them up. I then measured on one where I’ll be placing each 2x4. I extend the lines onto the other. This means you only have to measure once saving you half the time. It also means you don’t have to spend time making sure you’re studs are at right angles. You just place them in between the lines and screw them in place.

Once the plates were marked I laid them on the ground and placed the studs in between. I used clamps to hold everything together while I screwed each stud. You don’t need to do this, but it saved me some hassle by helping keep everything aligned. I used 2 1/2” screws that were left over from a different project.
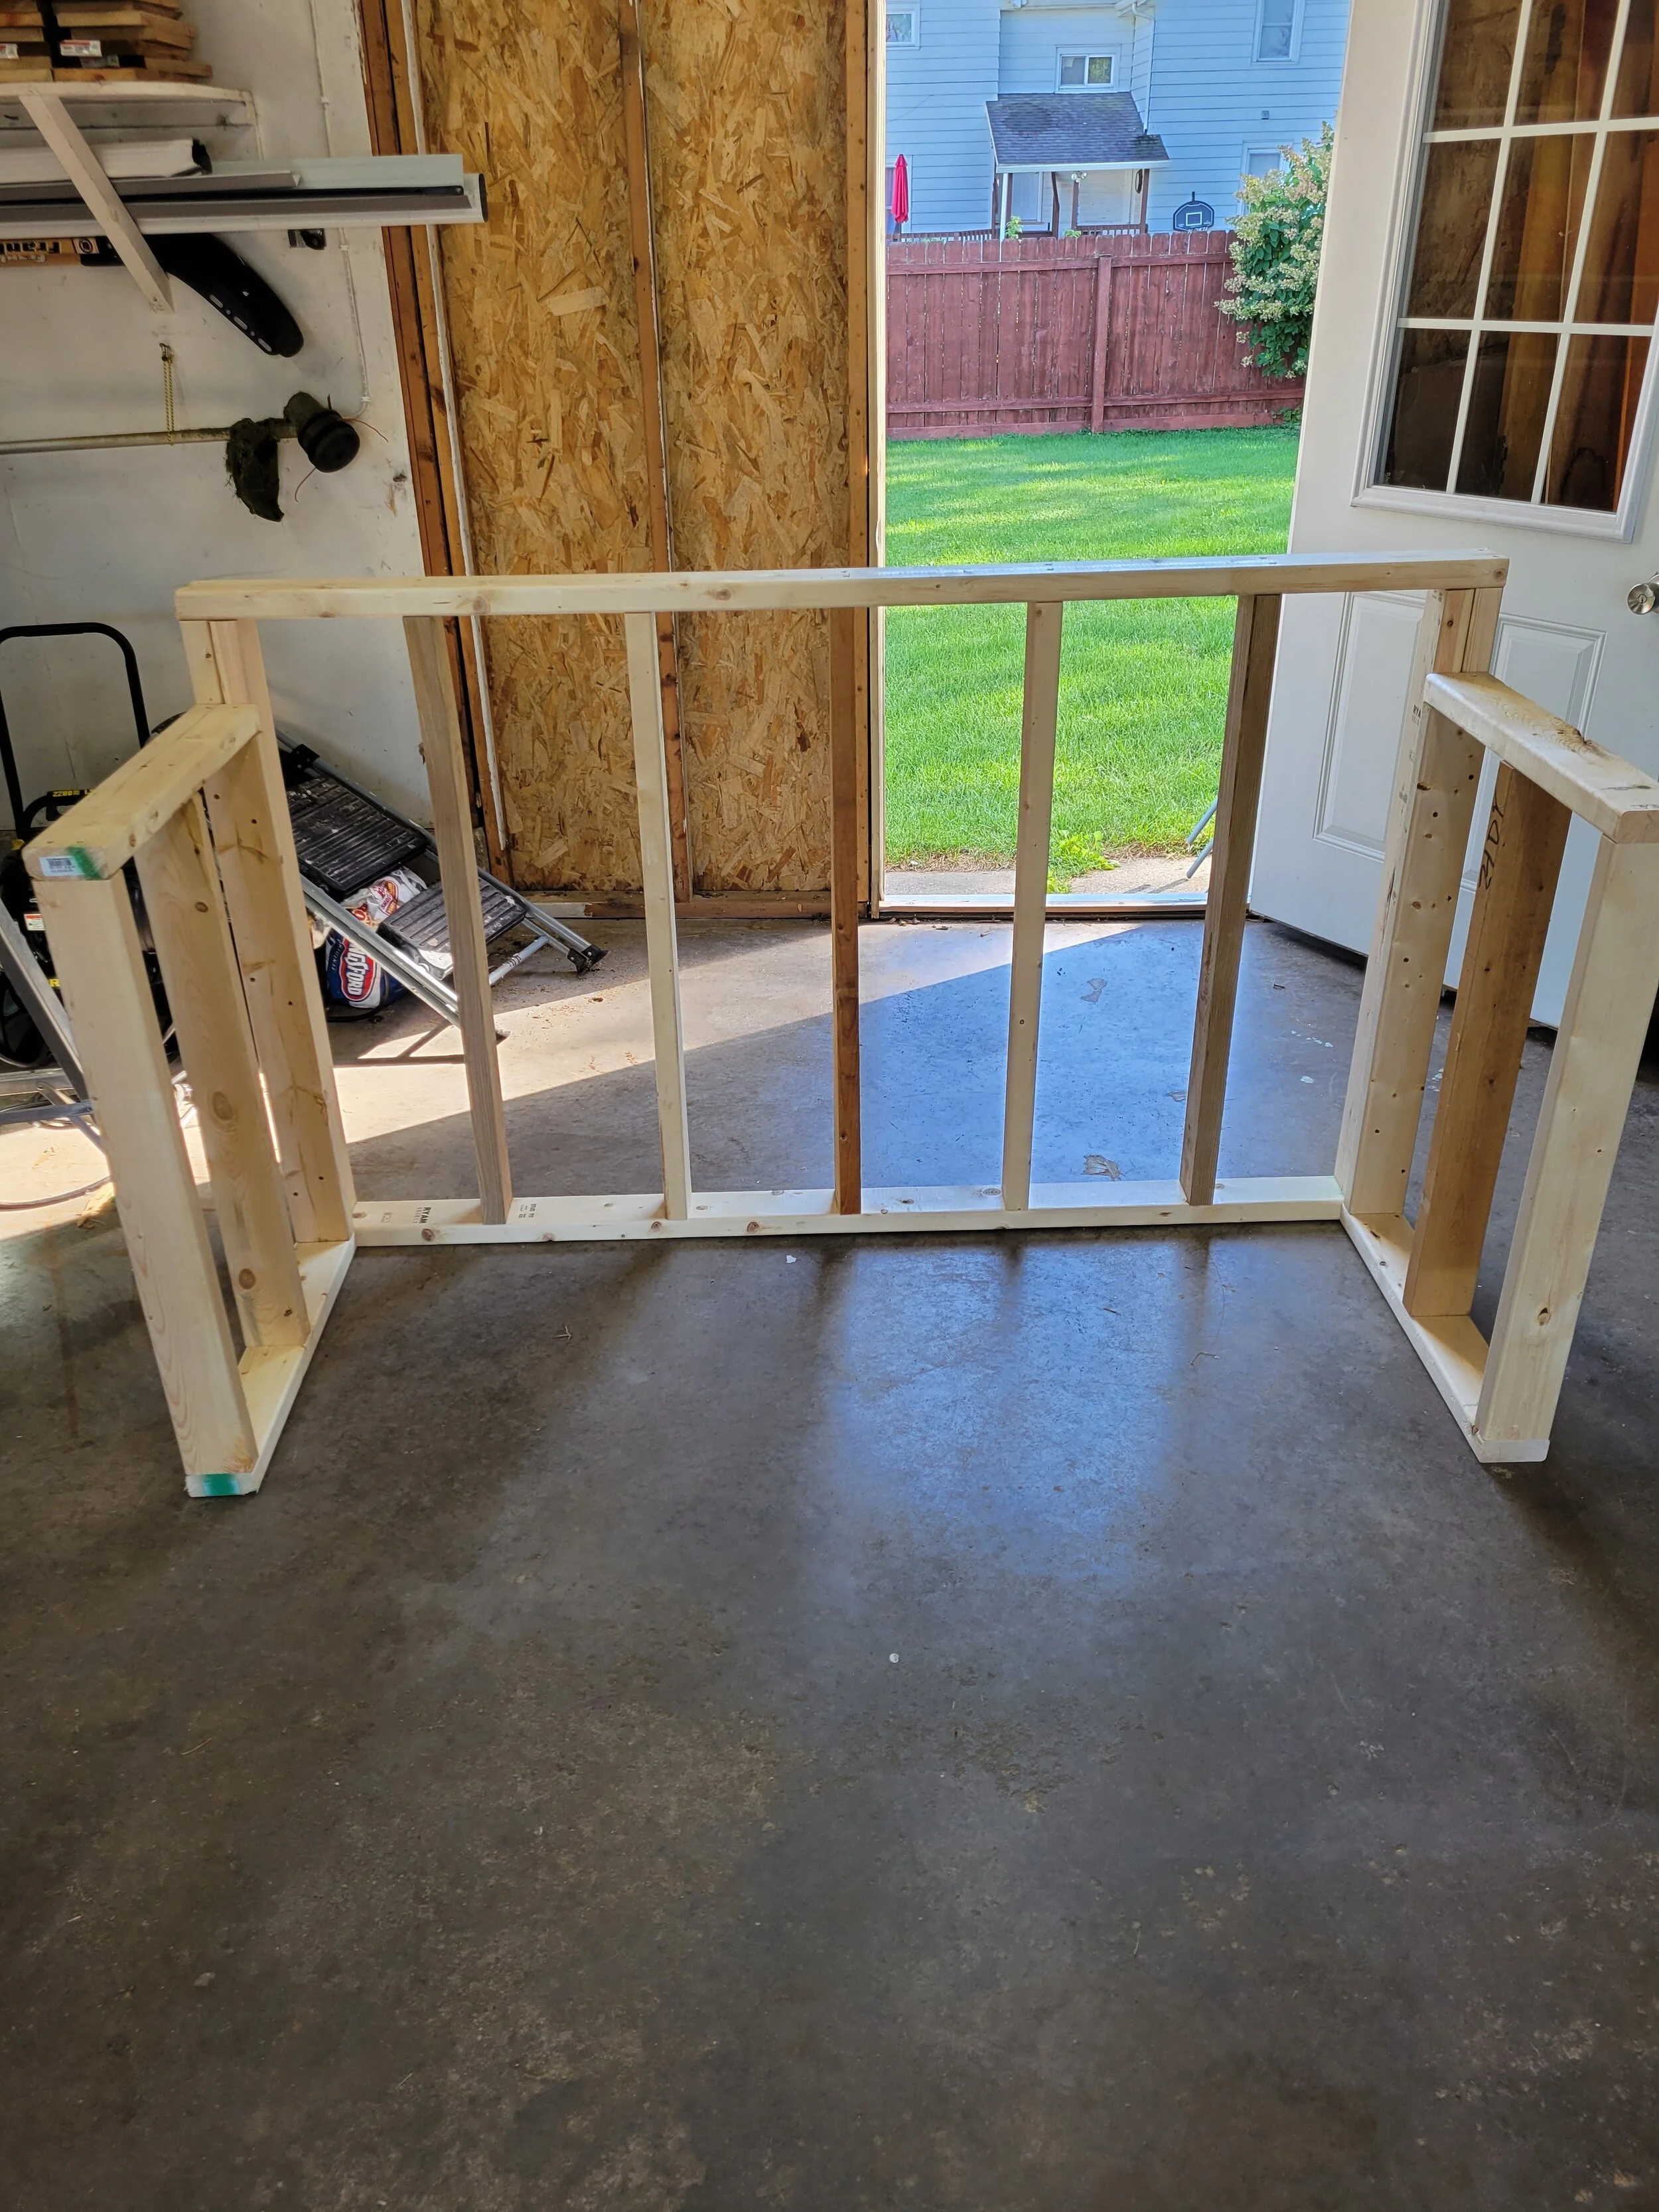
Once I built the 3 frames I then stood them up and screwed them together. At this point, it wasn’t the most sturdy thing on the planet, but I knew that I would be attaching cabinets that would add support and weight. With the cabinets installed this bar is sturdy enough to support a 5’ 1” blond female dancing to Shania Twain in an alcohol soaked bridesmaid dress.
Everyone Needs an Outlet
What good is all that counter space if you can’t clutter it with a bunch of appliances that you’ll never use. This bar was going to be placed right by a wall outlet so that a mini fridge that sat under the counter could plug into it. If this was going to be a permanent built in bar I would’ve attached the bar to the wall and ran wiring from the outlet into the bar itself. However, this bar was modeled after the concept of marriage, meaning I hoped it would be permanent but I had to plan for the possibility that it wasn’t. So I decided to use a 6’ long 15 amp appliance cord that would plug into the wall outlet and run it to an outlet above the bar countertop. In other words it works pretty much like an extension cord.


In order to do this I had drill a hole through a stud and notch out another one so that the wire doesn’t get pinched when the cabinets get installed. I then used cable staples to secure the wiring. The wiring will exit the bar through a hole I would cut out in the planking.

The appliance cord had stranded wiring, meaning there were a number of very small wires that worked together to carry the current. Outlets on the other hand are designed to connect to solid wire. In order to work around this, I had to use small lengths of solid wire and connect them to the stranded wire with wire nuts. I then connected the other end of the solid wires to the outlet. These are called pigtails. I then folded the cords back into the outlet like I fold my clothes. I just stuffed them in there.
One thing to keep in mind is that when installing the outlet box, it should be flush with the finished surface. Because I was installing 1/4” planking over the 2x4 I had to make sure the box was 1/4” proud of the 2x4 it was attached to.
the good kind of stains

To keep the ugly on the inside I used 1/4” tongue and groove pine planking that I got from Menards. While this stuff is overpriced it is still cheaper than overpriced plywood or overpriced any kind of wood. And it looks better. The backs were only rough planed so I put the boards on inside out to give a little bit of a rustic look. I then used left over stains from other projects for color and put on 2 coats of polyurethane for protection.

When I installed the planking I used 1” finish nails and put nails in each stud. I varied the colors and lengths of boards as well. But each board had to end on a stud so that I had something to nail into. I wasn’t concerned about the corners lining up because I was going to put trim on the corners.

When it came to the counter side I installed 2 rows to serve as a backsplash. I had to cut out notches in two of the boards for the outlet using a jig saw. The countertop just butts up against the backsplash when installed.
Trimming the bottom parts

I made my own trim to hide the edges of the planking. I used red oak from the Habitat Restore and planed it to 5/8” thickness. I only picked this thickness because I wanted to do 1/2” and then decided I was sick of this shit and stopped at 5/8”. When you run boards through a planer, you’re taking off at most 1/16” of thickness at a time. When you have multiple boards starting at 1” thickness, that’s a lot of passes.
The trim pieces are 2” wide. The front trim pieces that match up with the cabinets had to cover the width of a 2x4 so these pieces were a bit wider, more like 4".

The vertical corners are two trim pieces that butt up against each other. I actually glued these pieces together before staining. I did this to ensure that there were no gaps between the boards which would’ve been likely if I was to just nail them together.
I nailed the trim pieces using 2” nails into the studs. I then put some brown wood putty over the nails to blend them in.
And that is how I built the base of this bar. It was the easiest part of this project and because of that it was also the most enjoyable. Stay tuned next week when I tell you what to do when your bar catches on fire from the electrical you installed. Actually though if the owners of this bar are reading this, it’s fine. I promise. But also I’m not insured.